Certiflat Welding Table
After years of working off the floor, make-shift benches and everything in between I ordered a Certiflat 36×48 Pro Top Kit. Yup, felt a bit foolish for not having built my own over the years but my work never has been traditional bench/layout work. Recently I have had been dabbling in some fab work requiring a bit more precision. So I took the plunge….I will do my best to chronicle the purchase/ship/assemble and usage of the Pro Top Table.
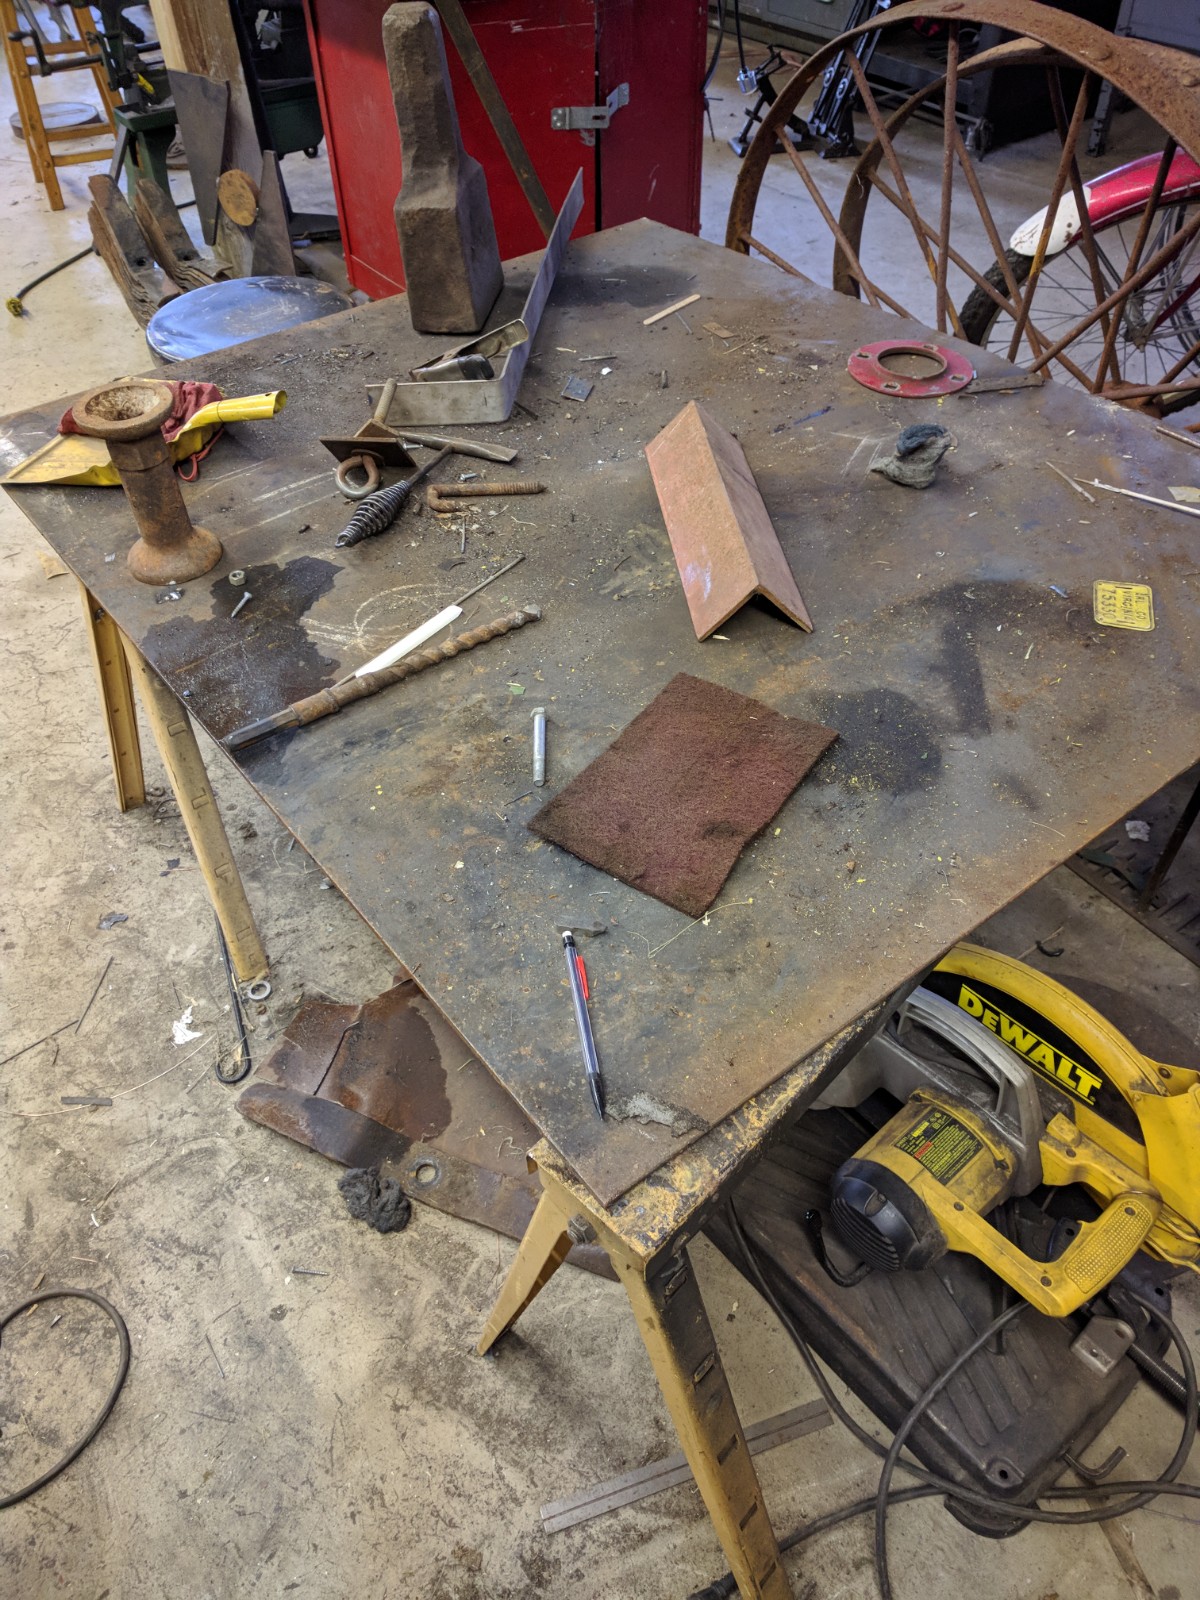
First: old faithful – lots of work done on this setup (well, there has been lots of these types over the year, this is the latest one)
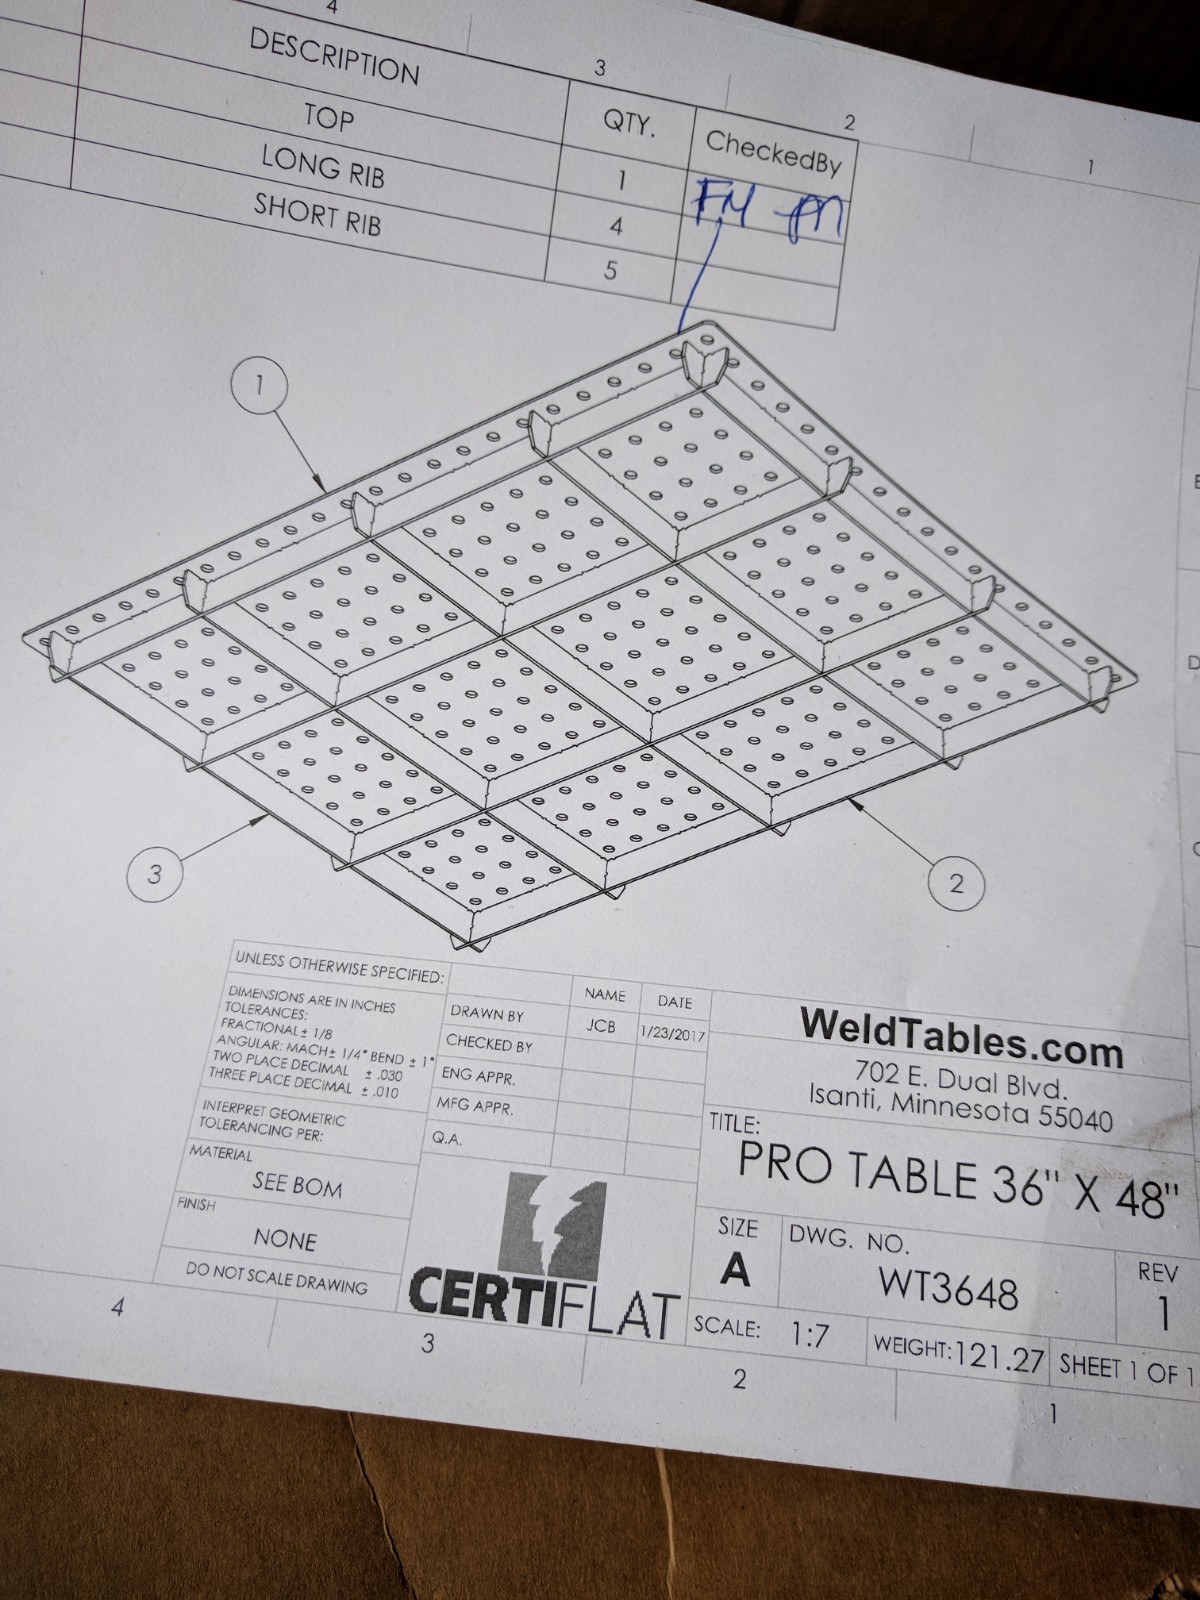
Enter weldtable.com Certiflat Pro Top Kit w/Legs (shameless referral link)
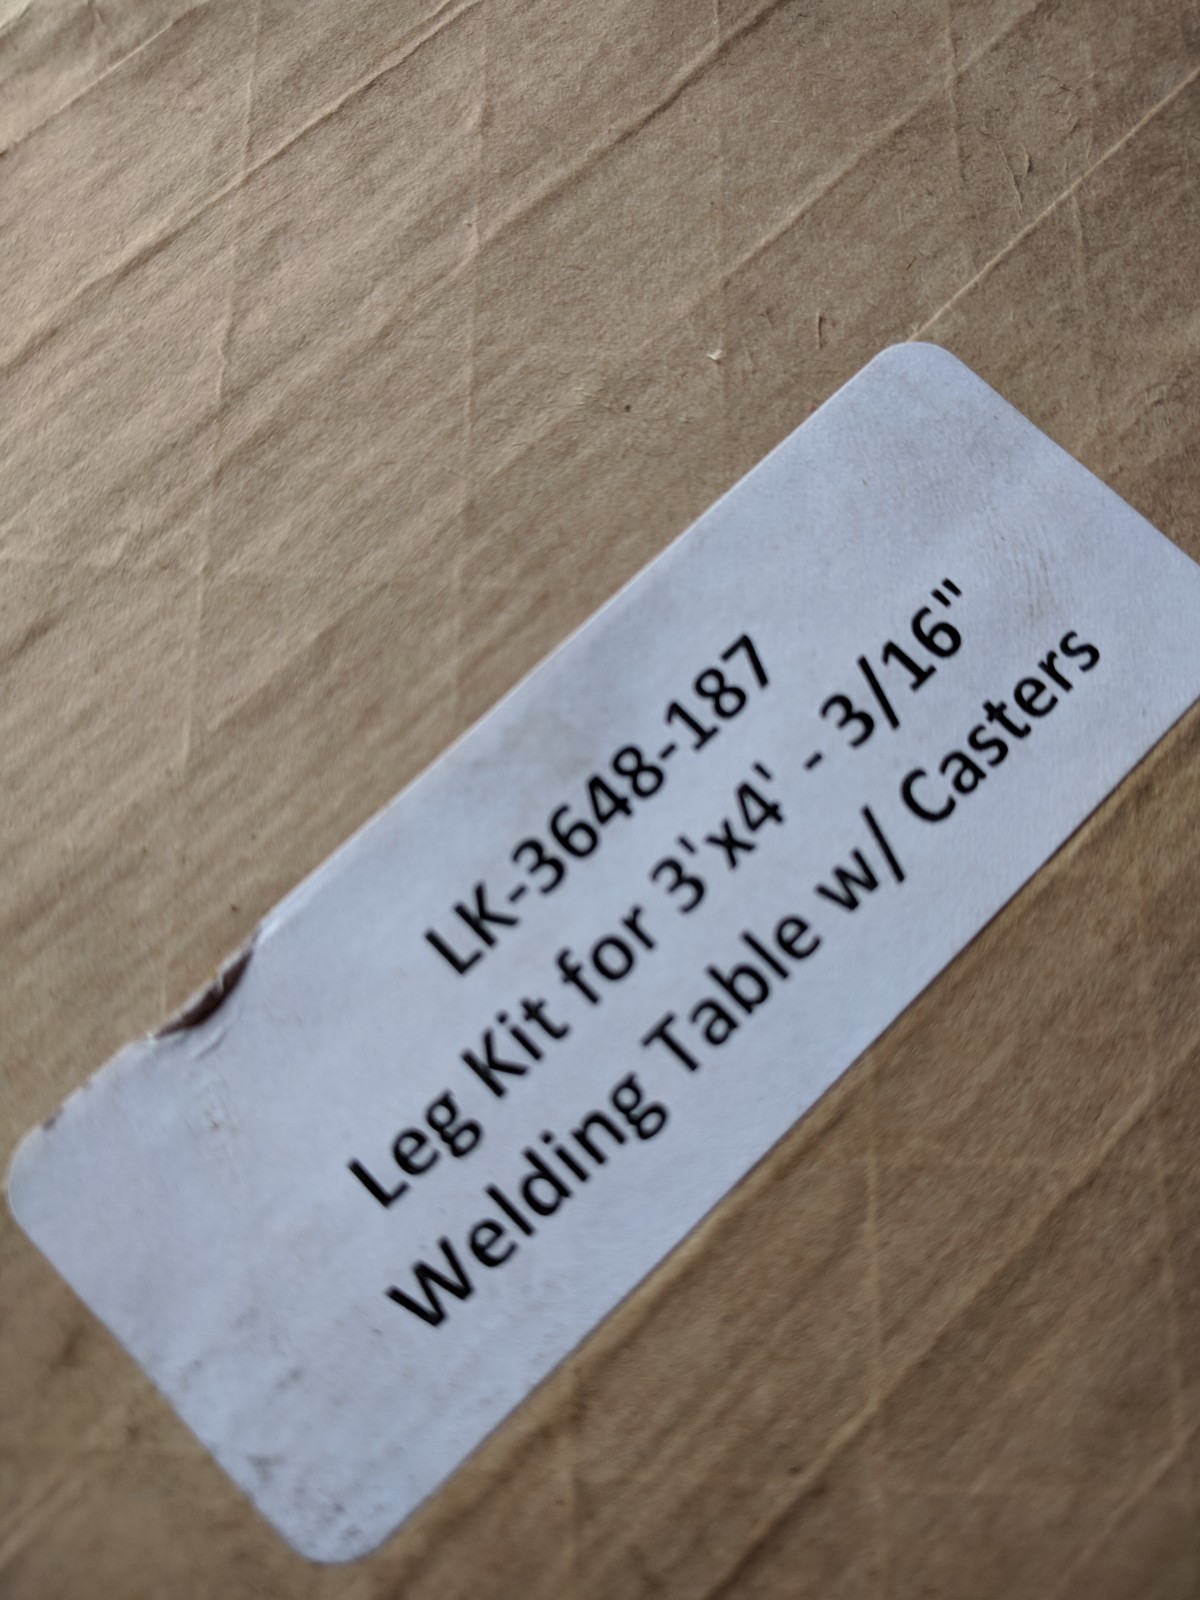
Ordering was straight forward, there follow up with referral program was quick, almost annoying but at the same time understandable. Took about 6 days until initial ship. Shipping for me was UPS and tracking was spot on. Packaging was done well, see pics below. (have seen some post where folks got damage tables)
Fresh off UPS Truck


Phone a Friend
Pretty damn heavy and very awkward to get out of box and onto saw horses. Call a friend makes easy work of that! Like I said, I have heard stories of bad packaging but this is pretty stable and had no issues.


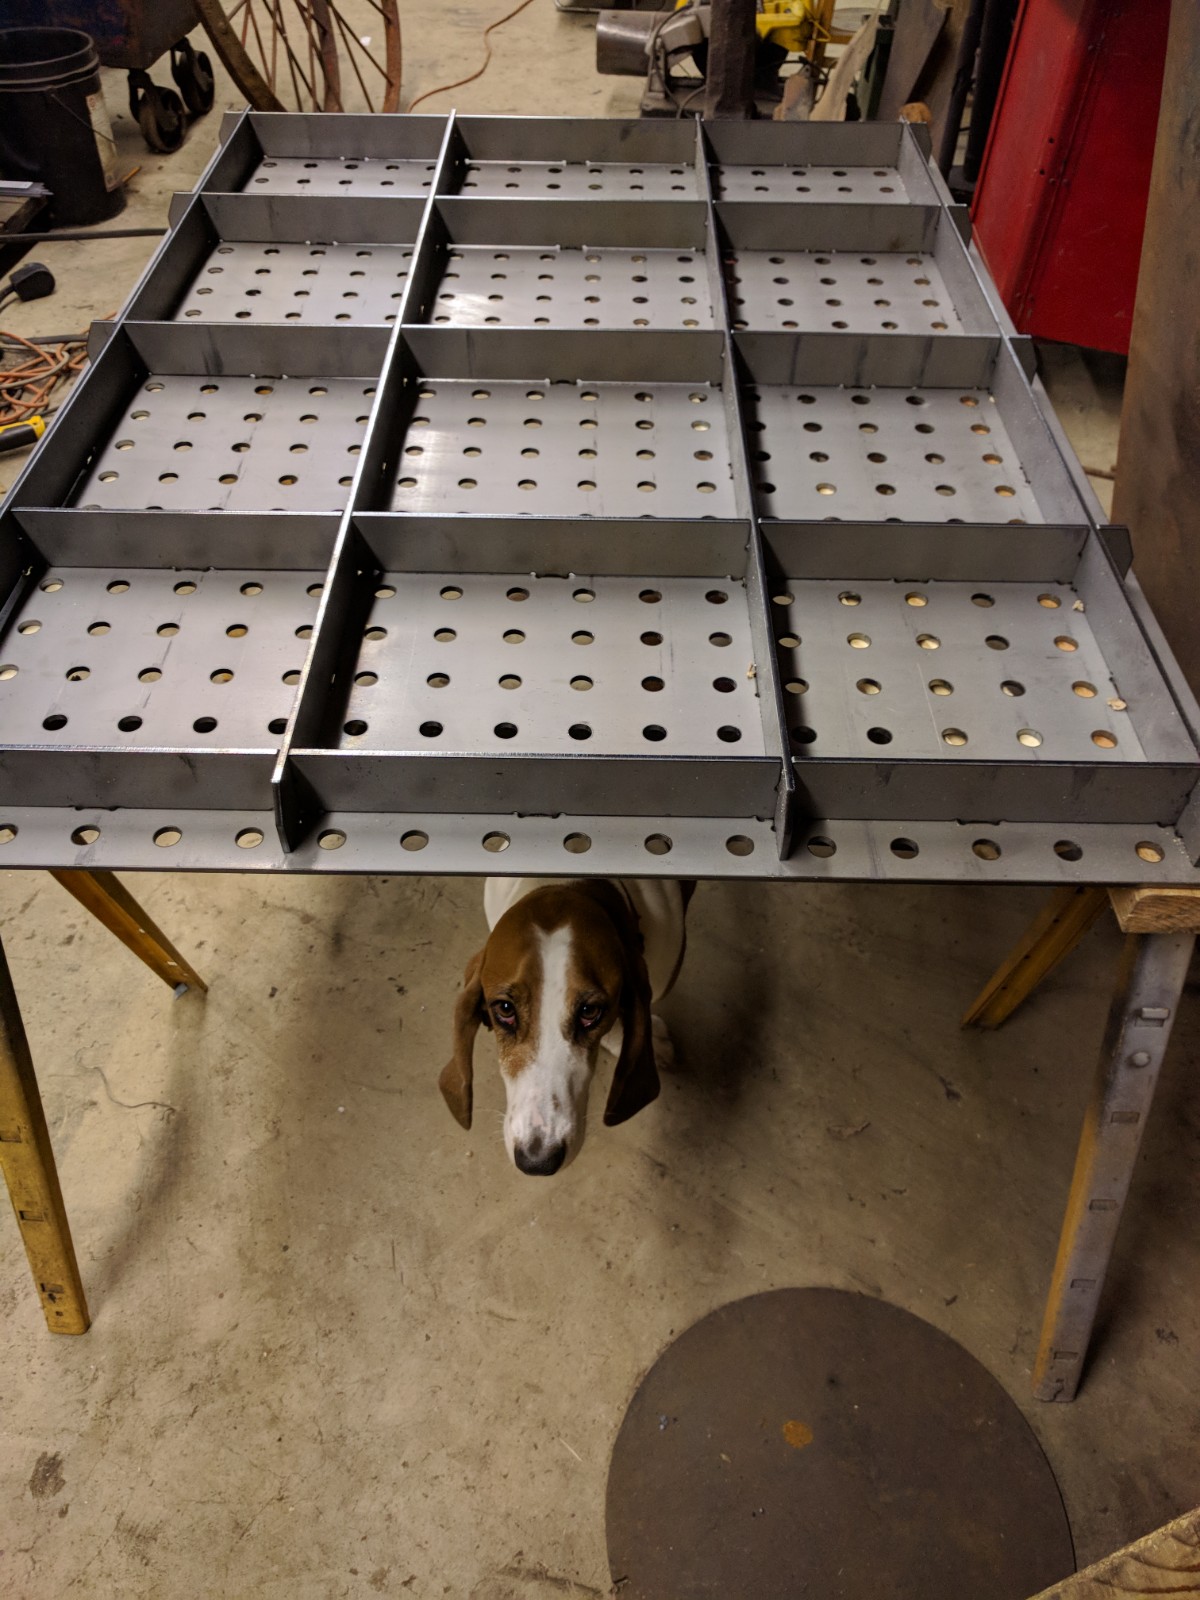
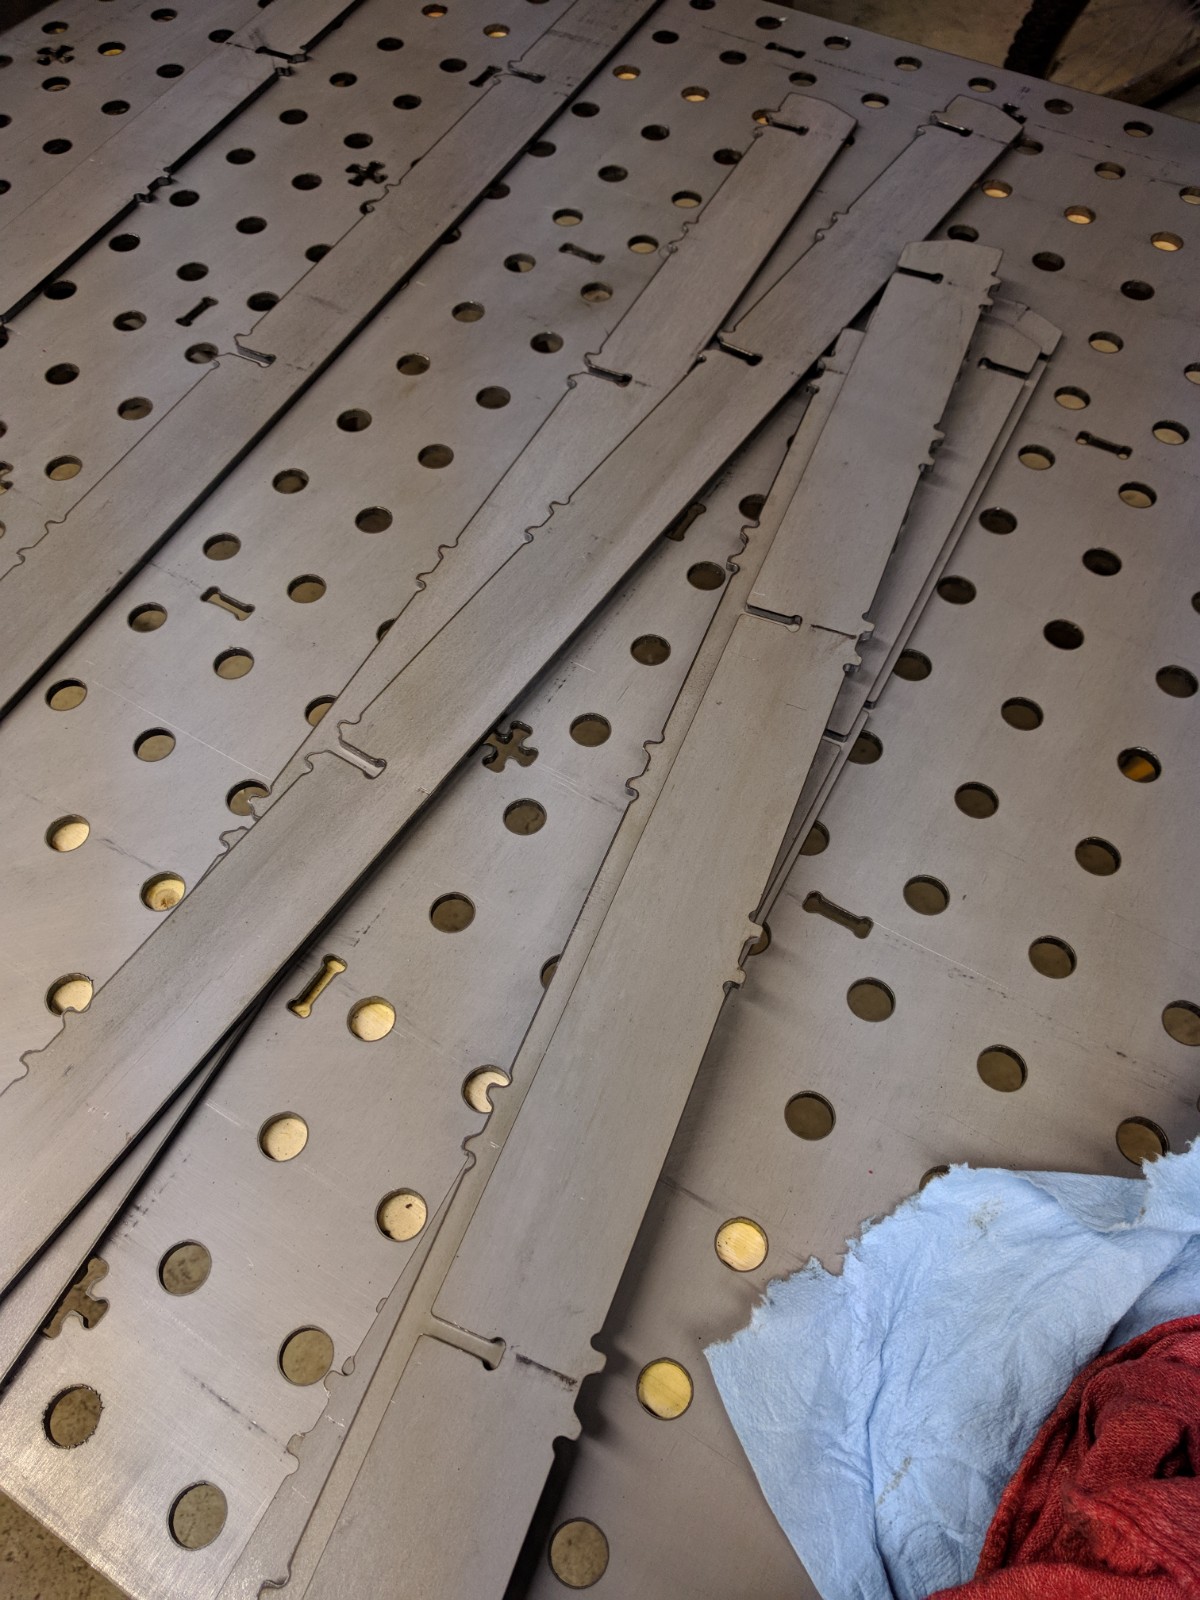
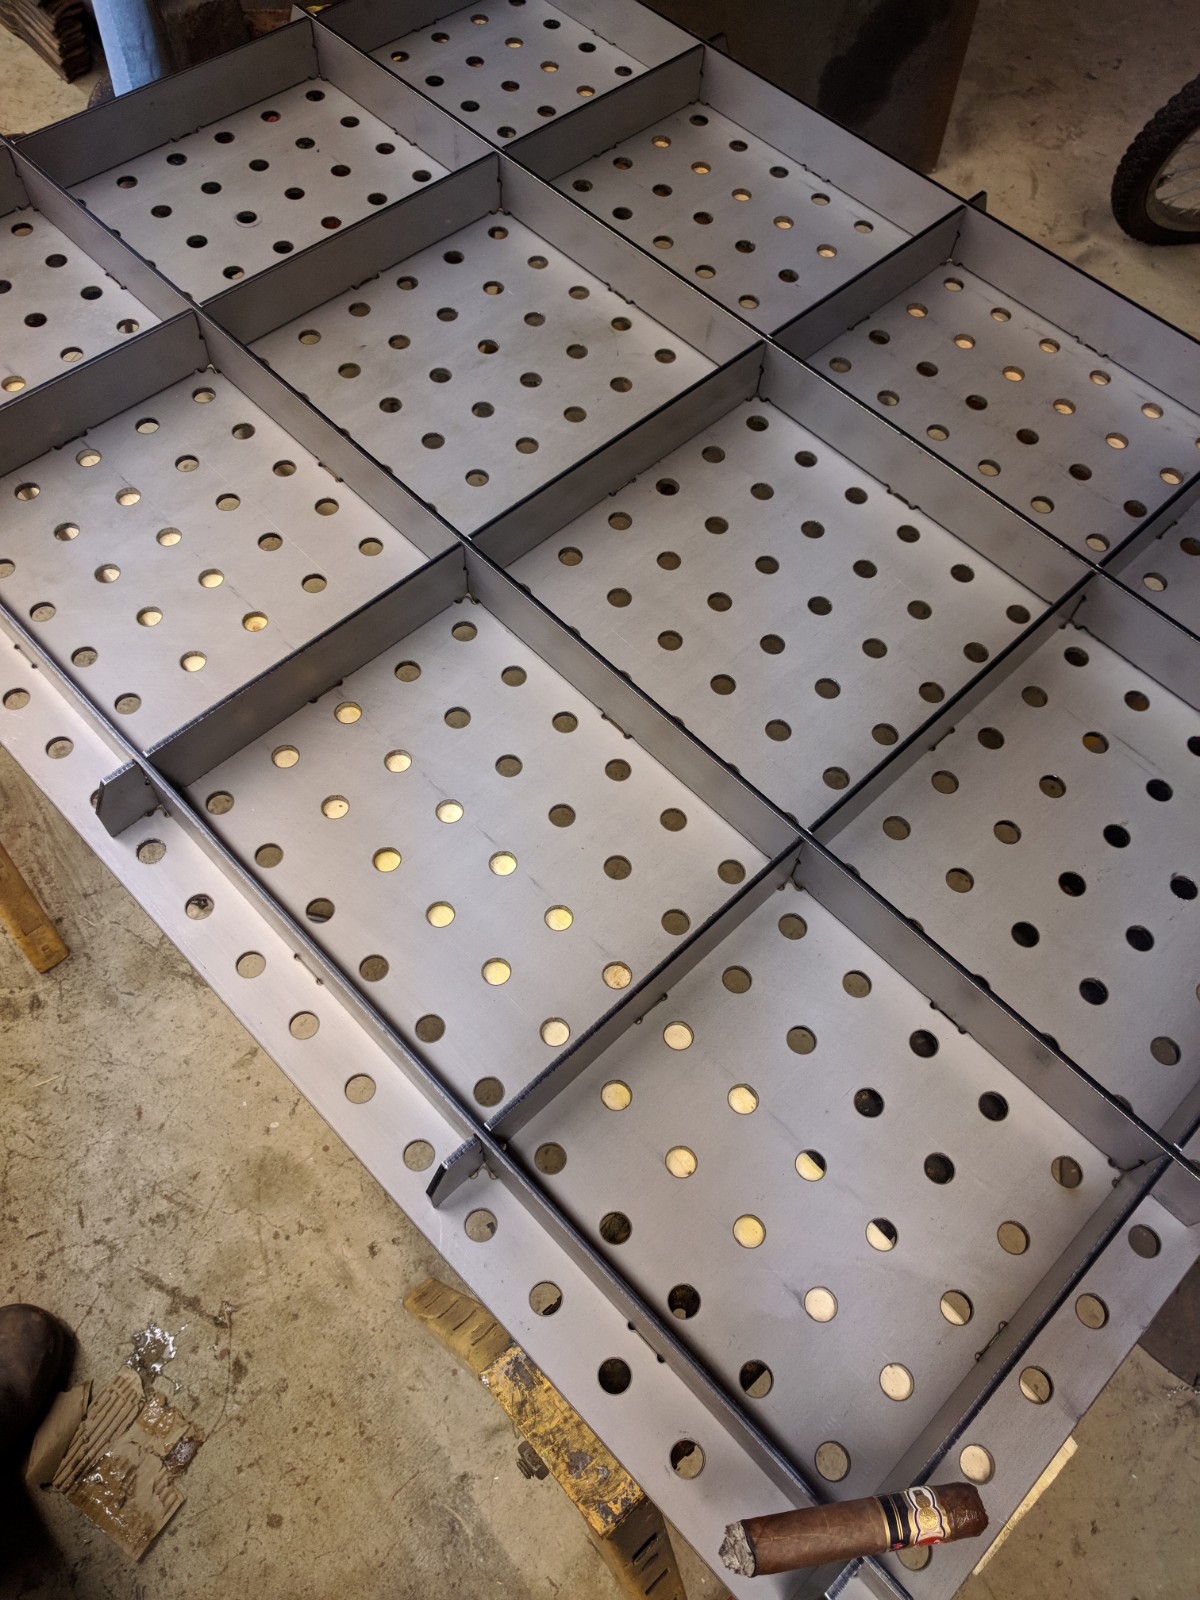
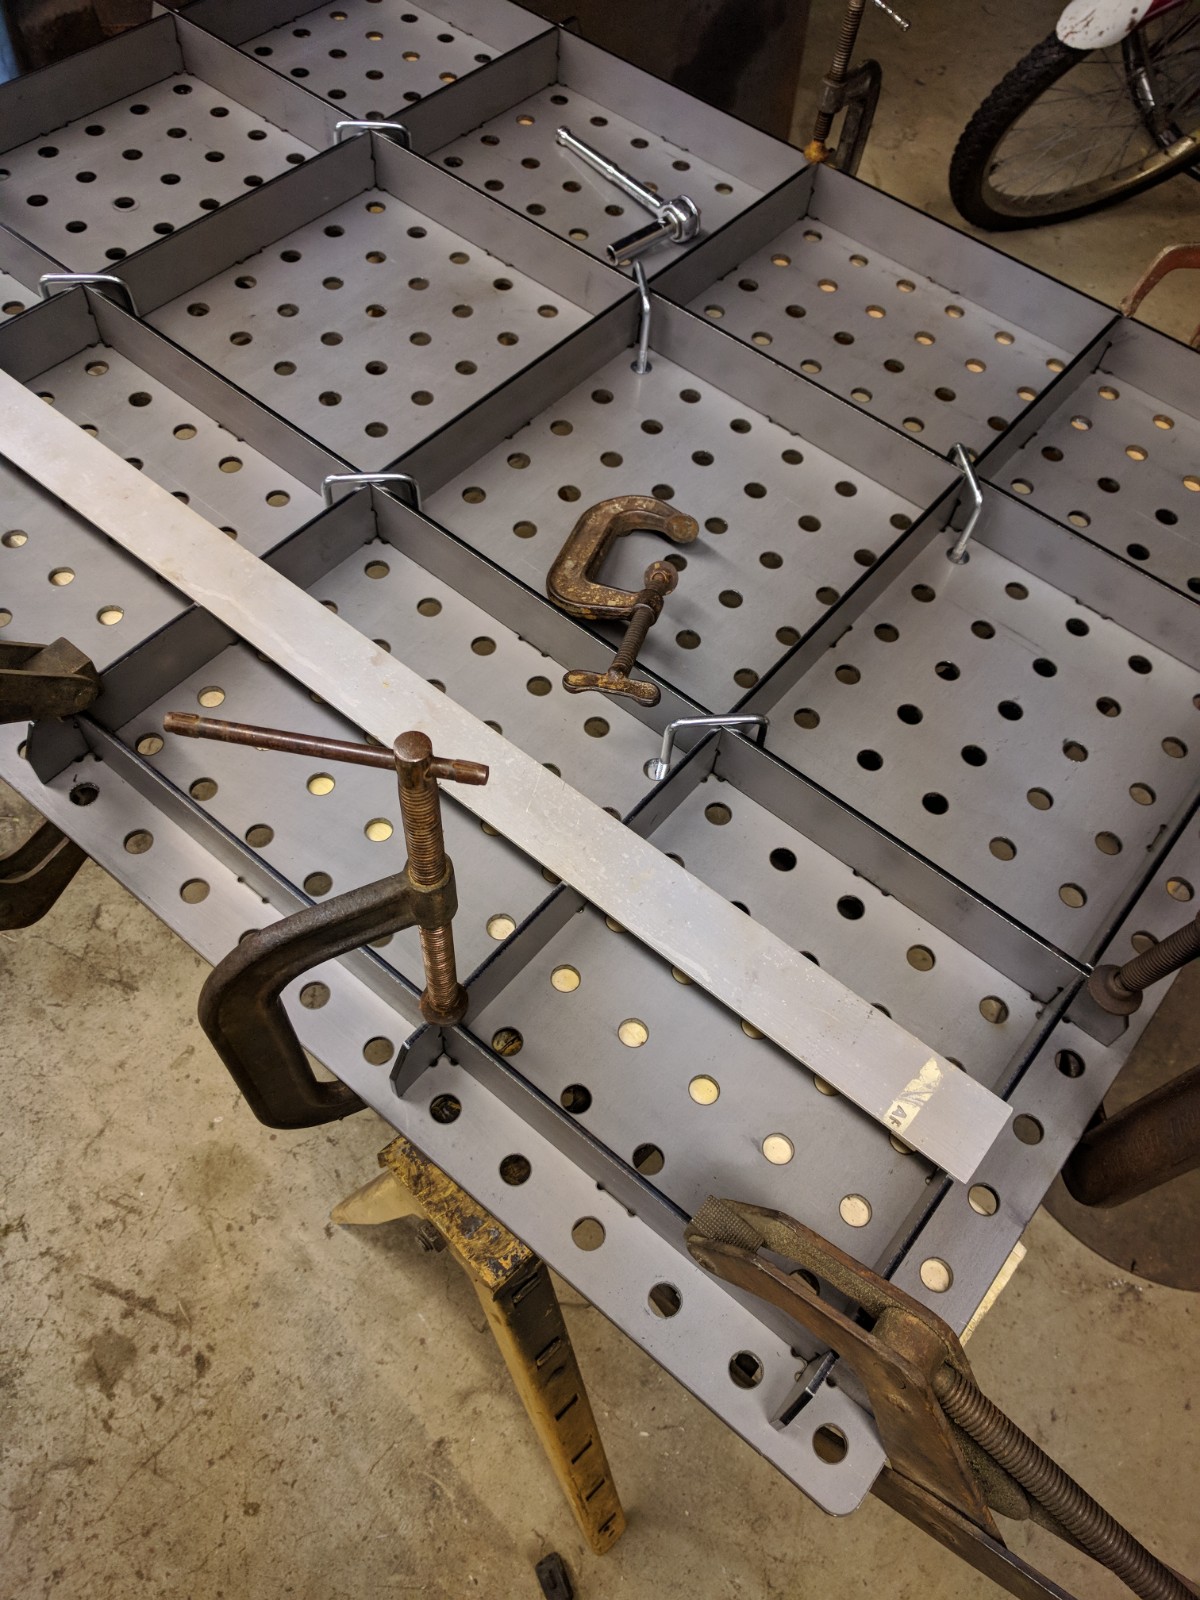
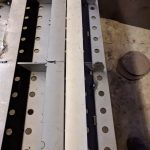
Clean up and clamp up
Cleaned up all the pieces from left over oil and grit from the manufacturing process before clamping in place. Note, need more clamps but so far so good and all the “light tests” are looking good. Did have one troublesome rail (more light test failures than all the other parts of the table) and will take it off and double check for burrs and what not.

Tacking it up! Oh Shit!
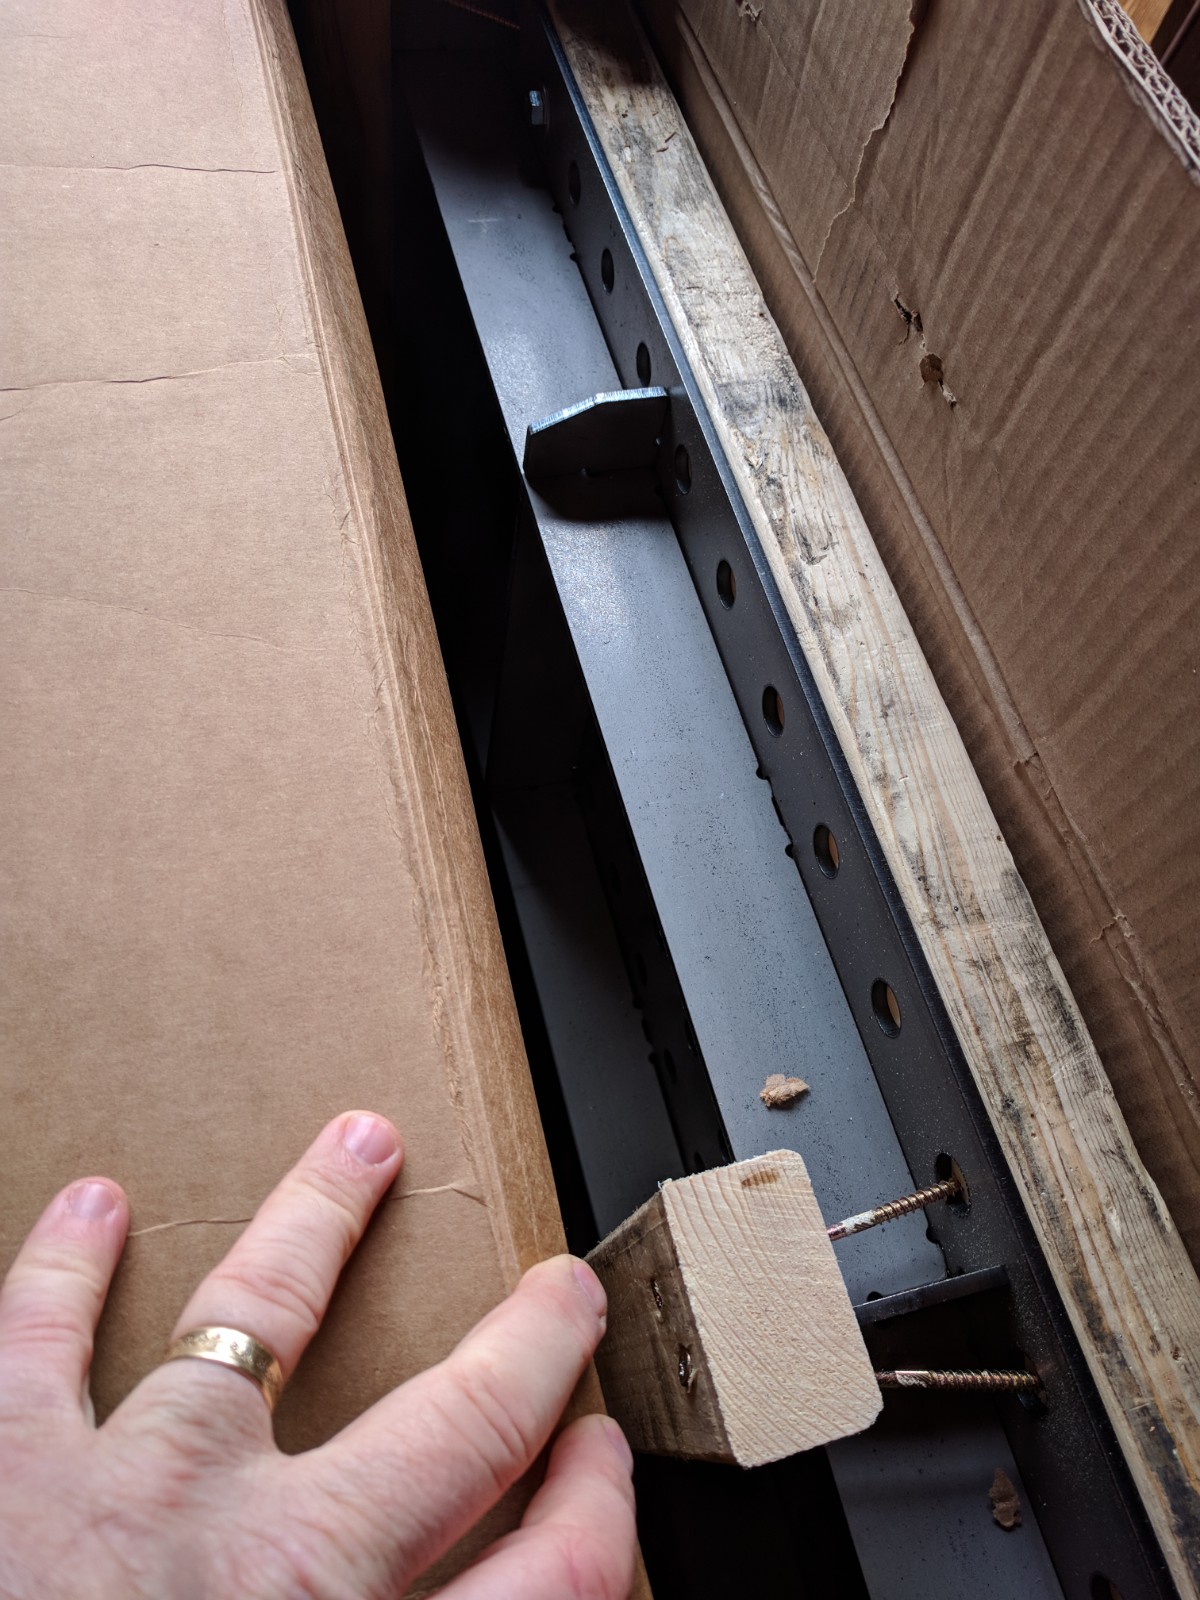
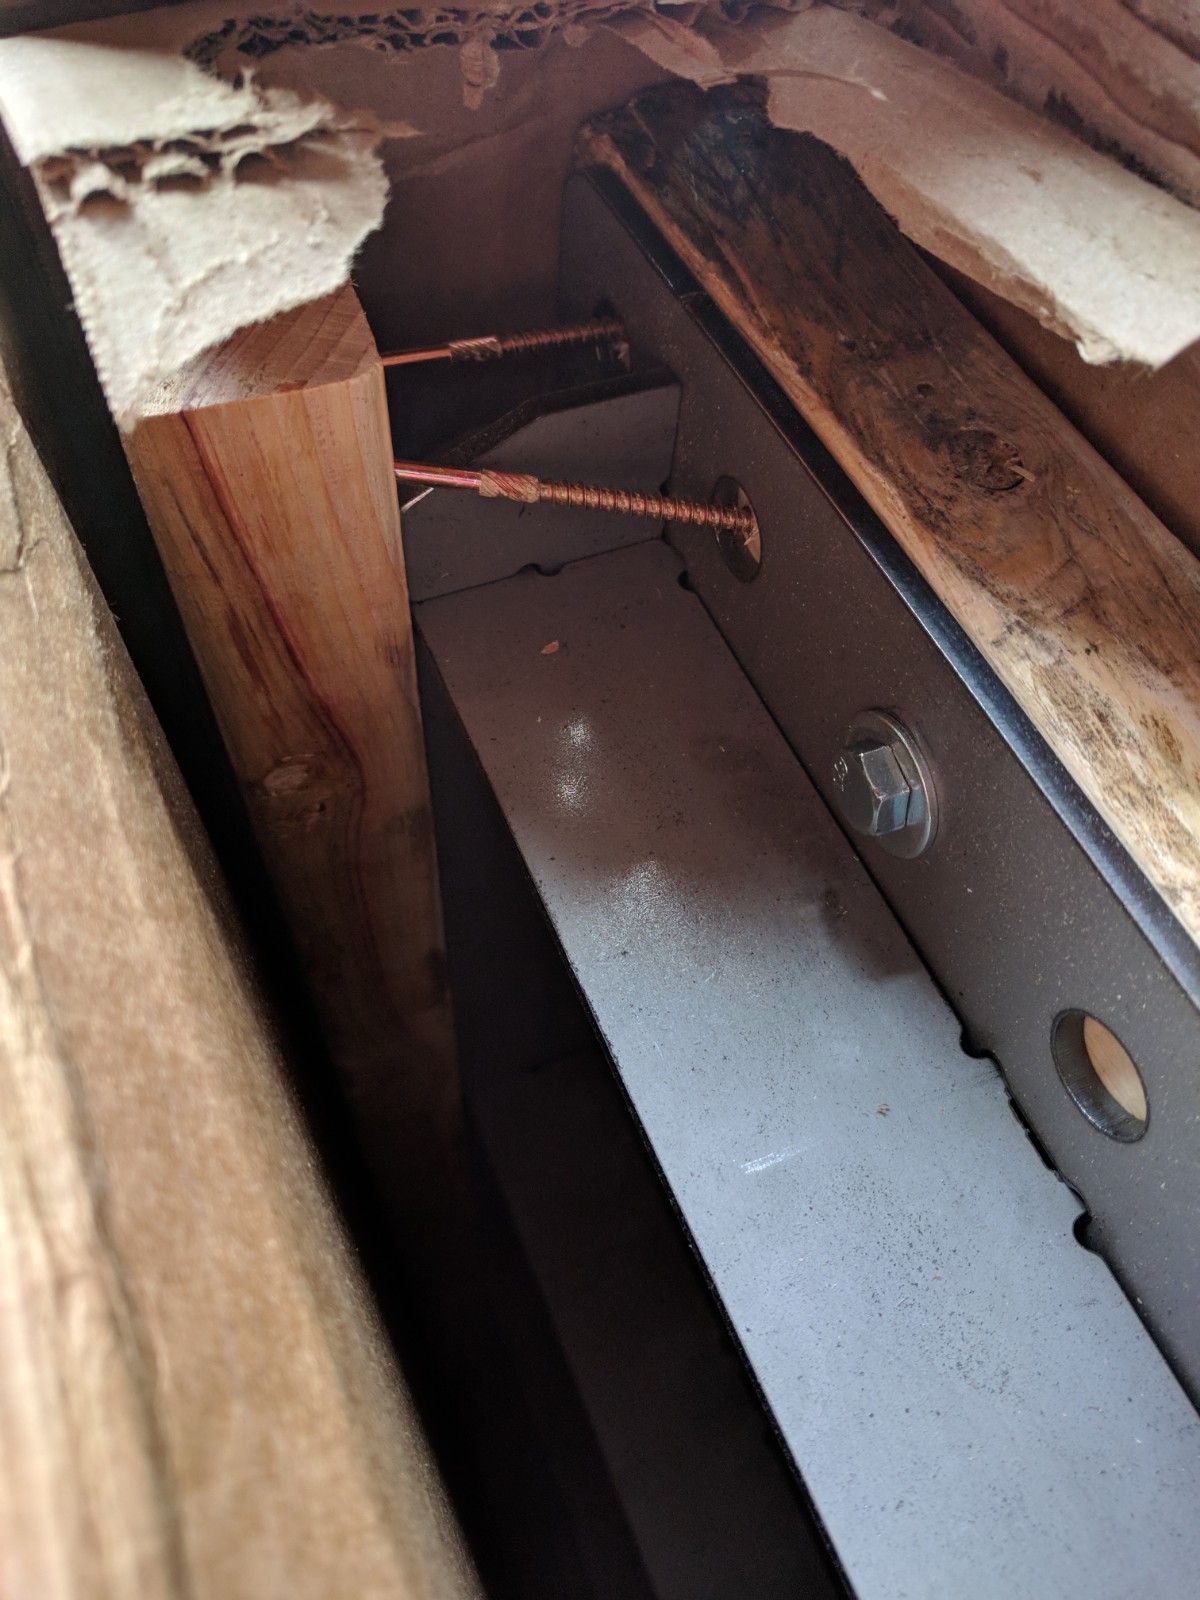
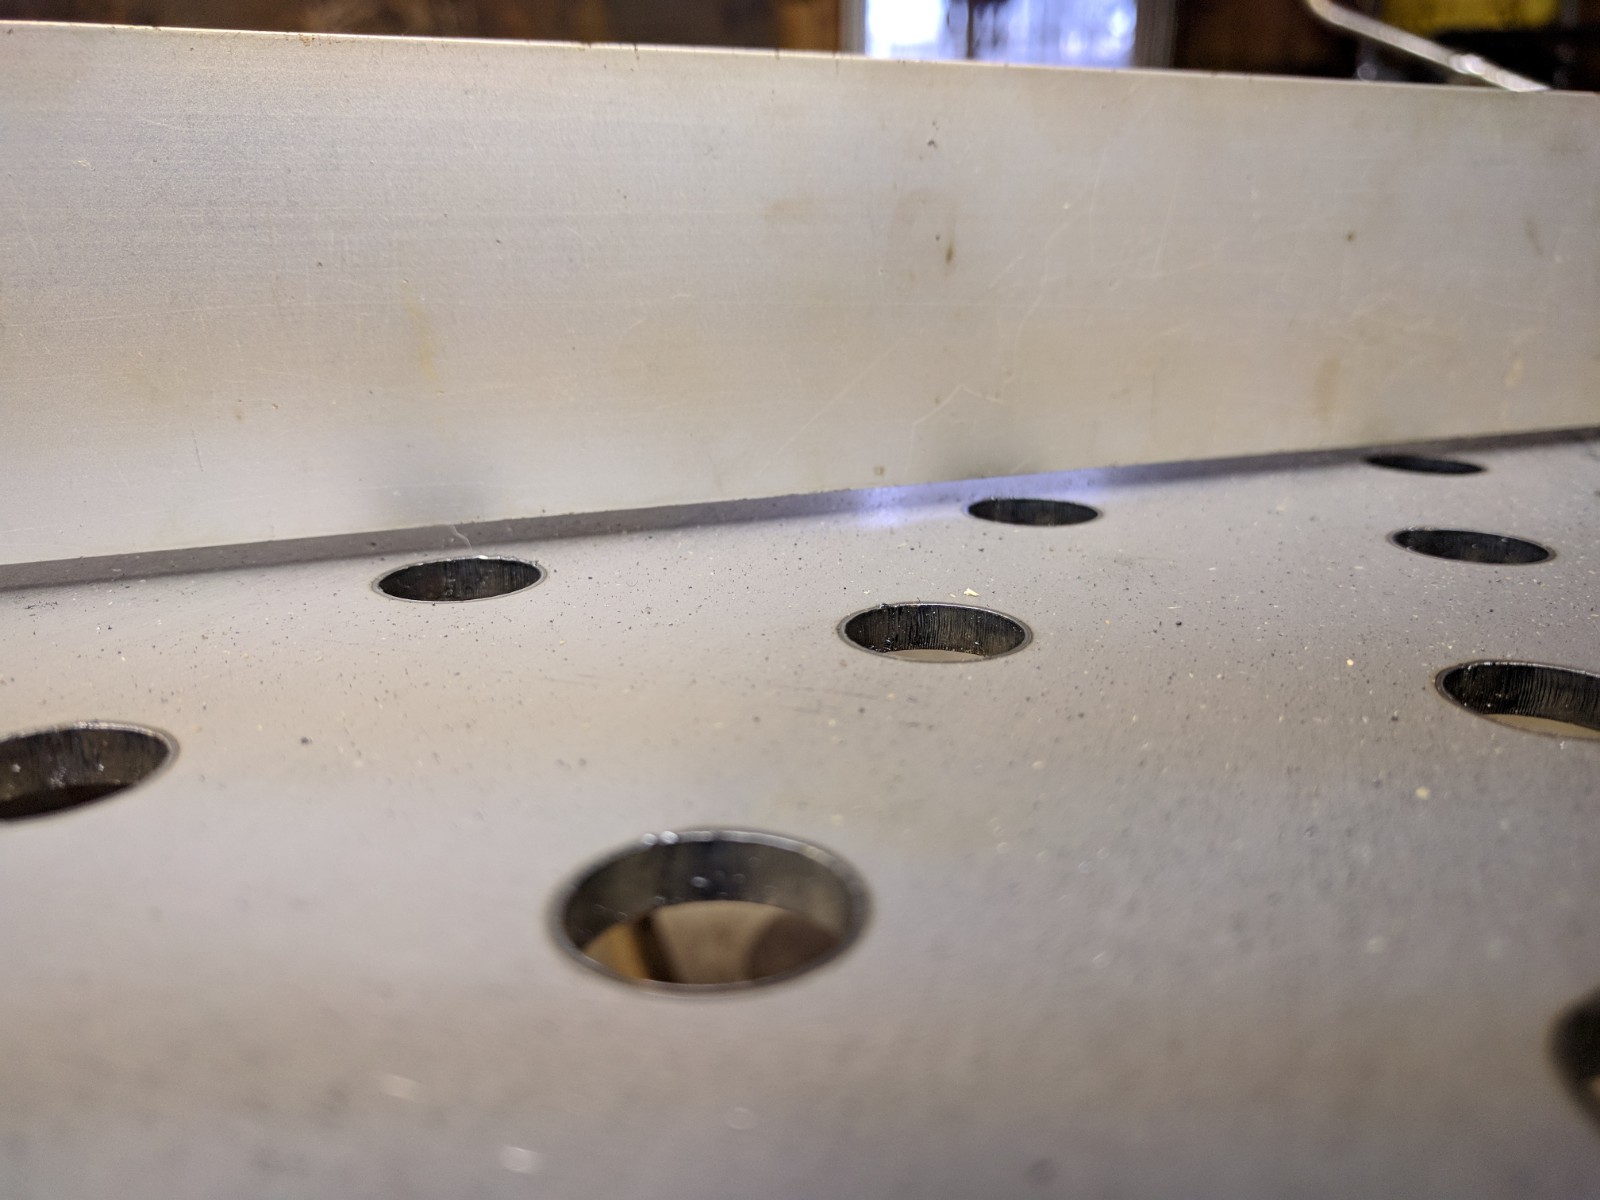
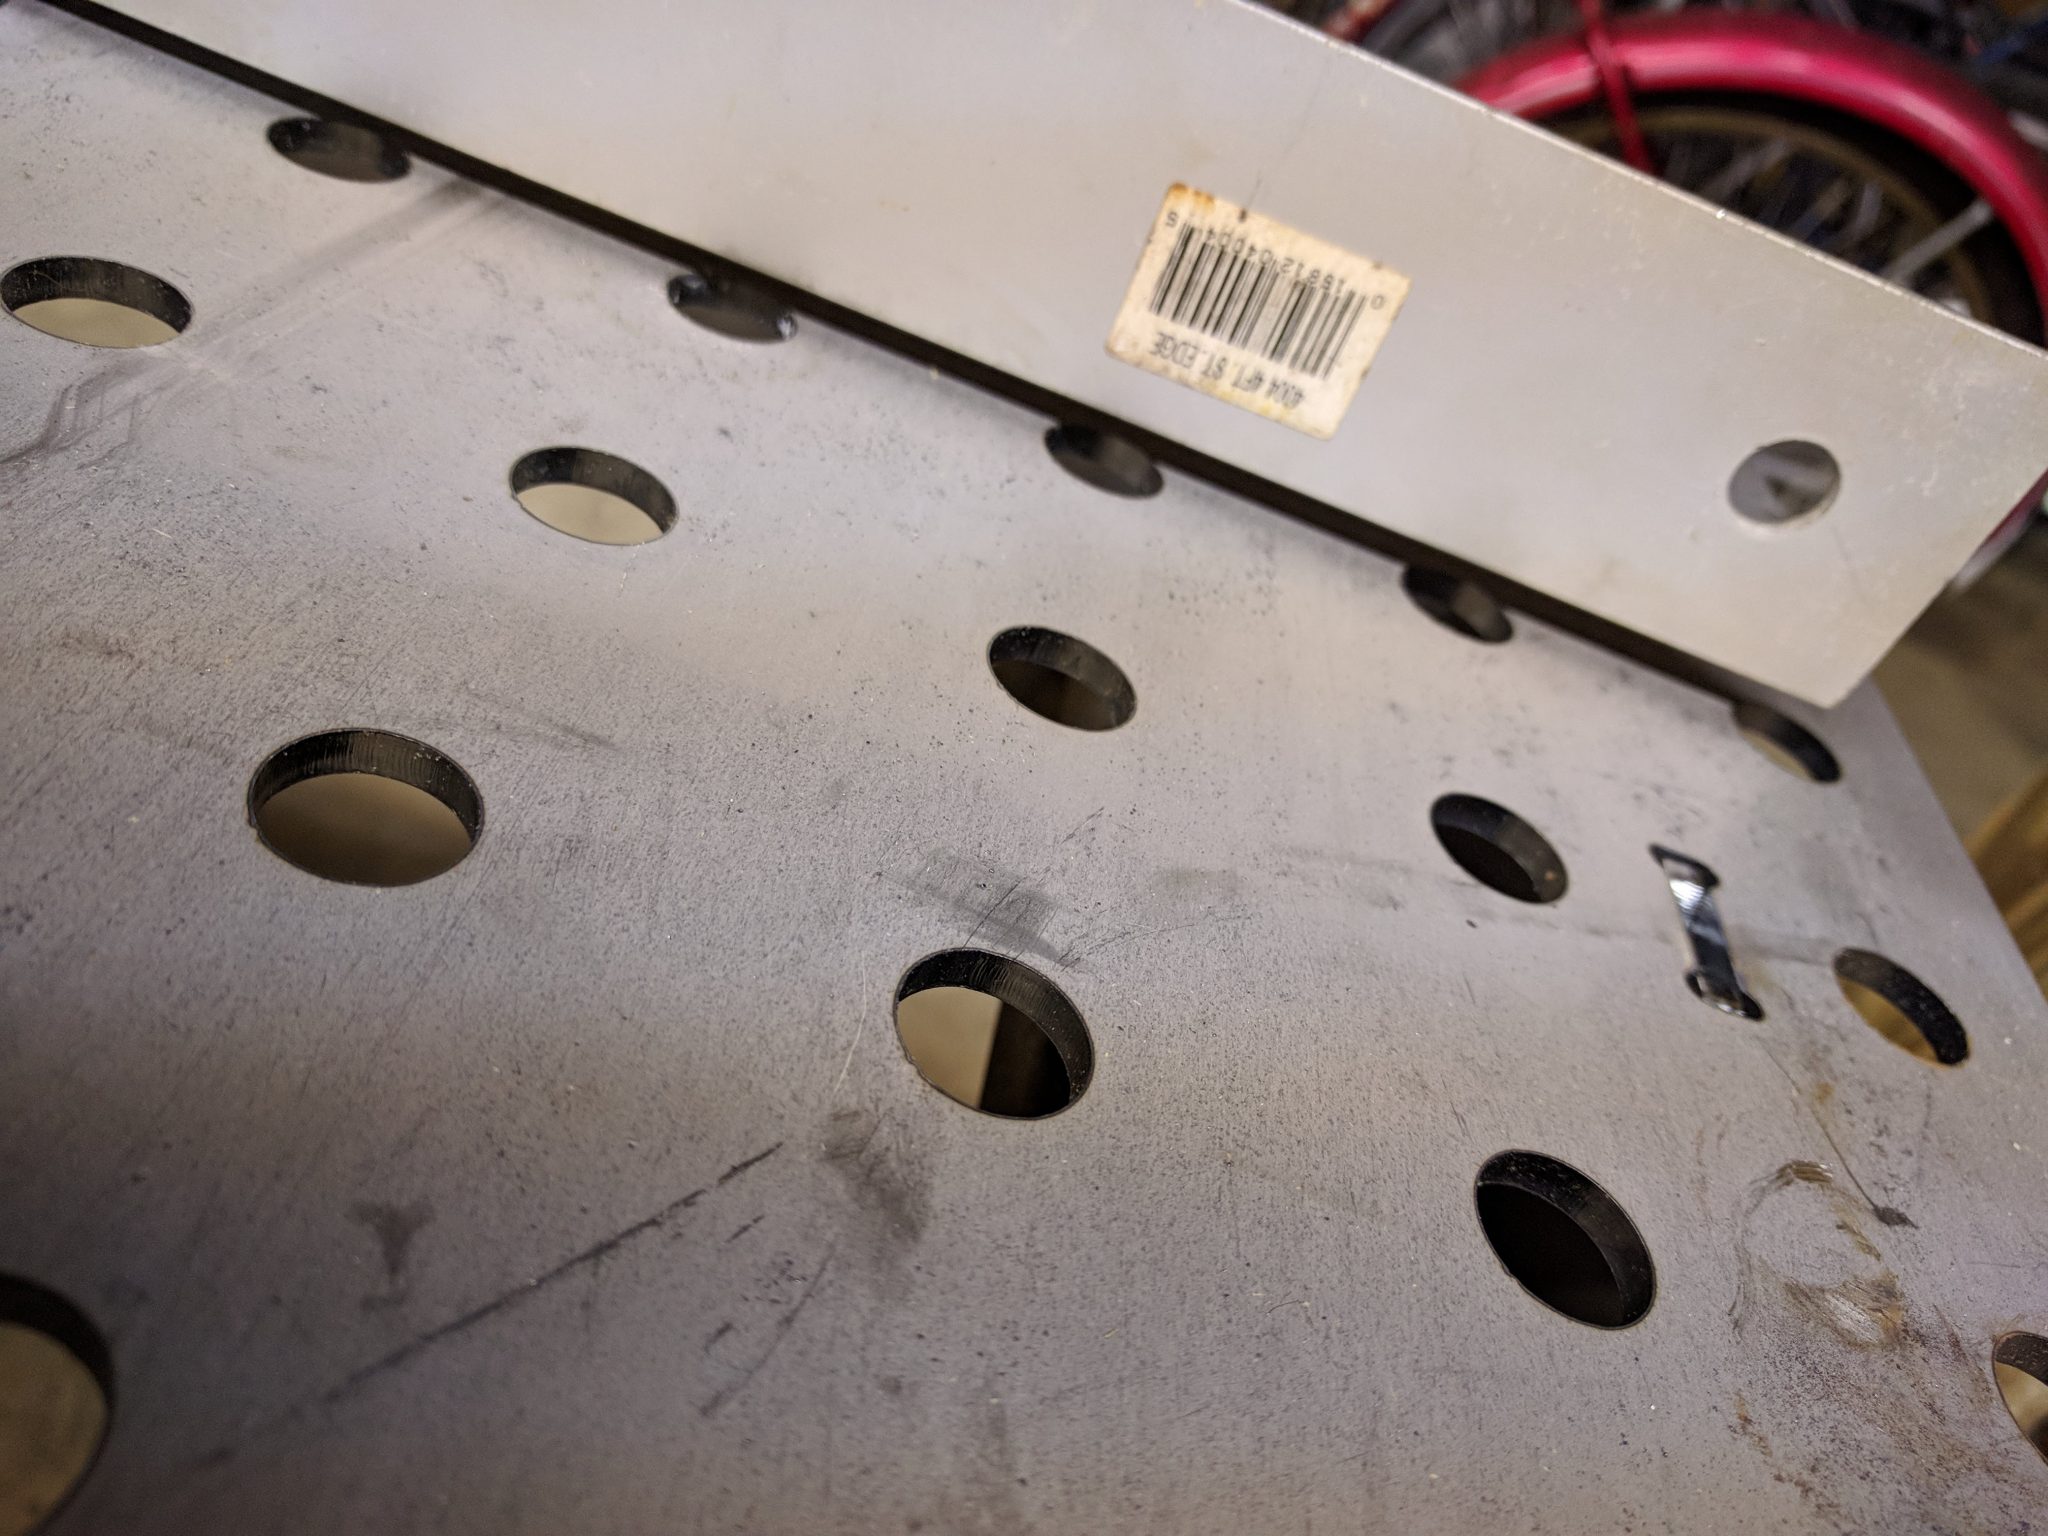
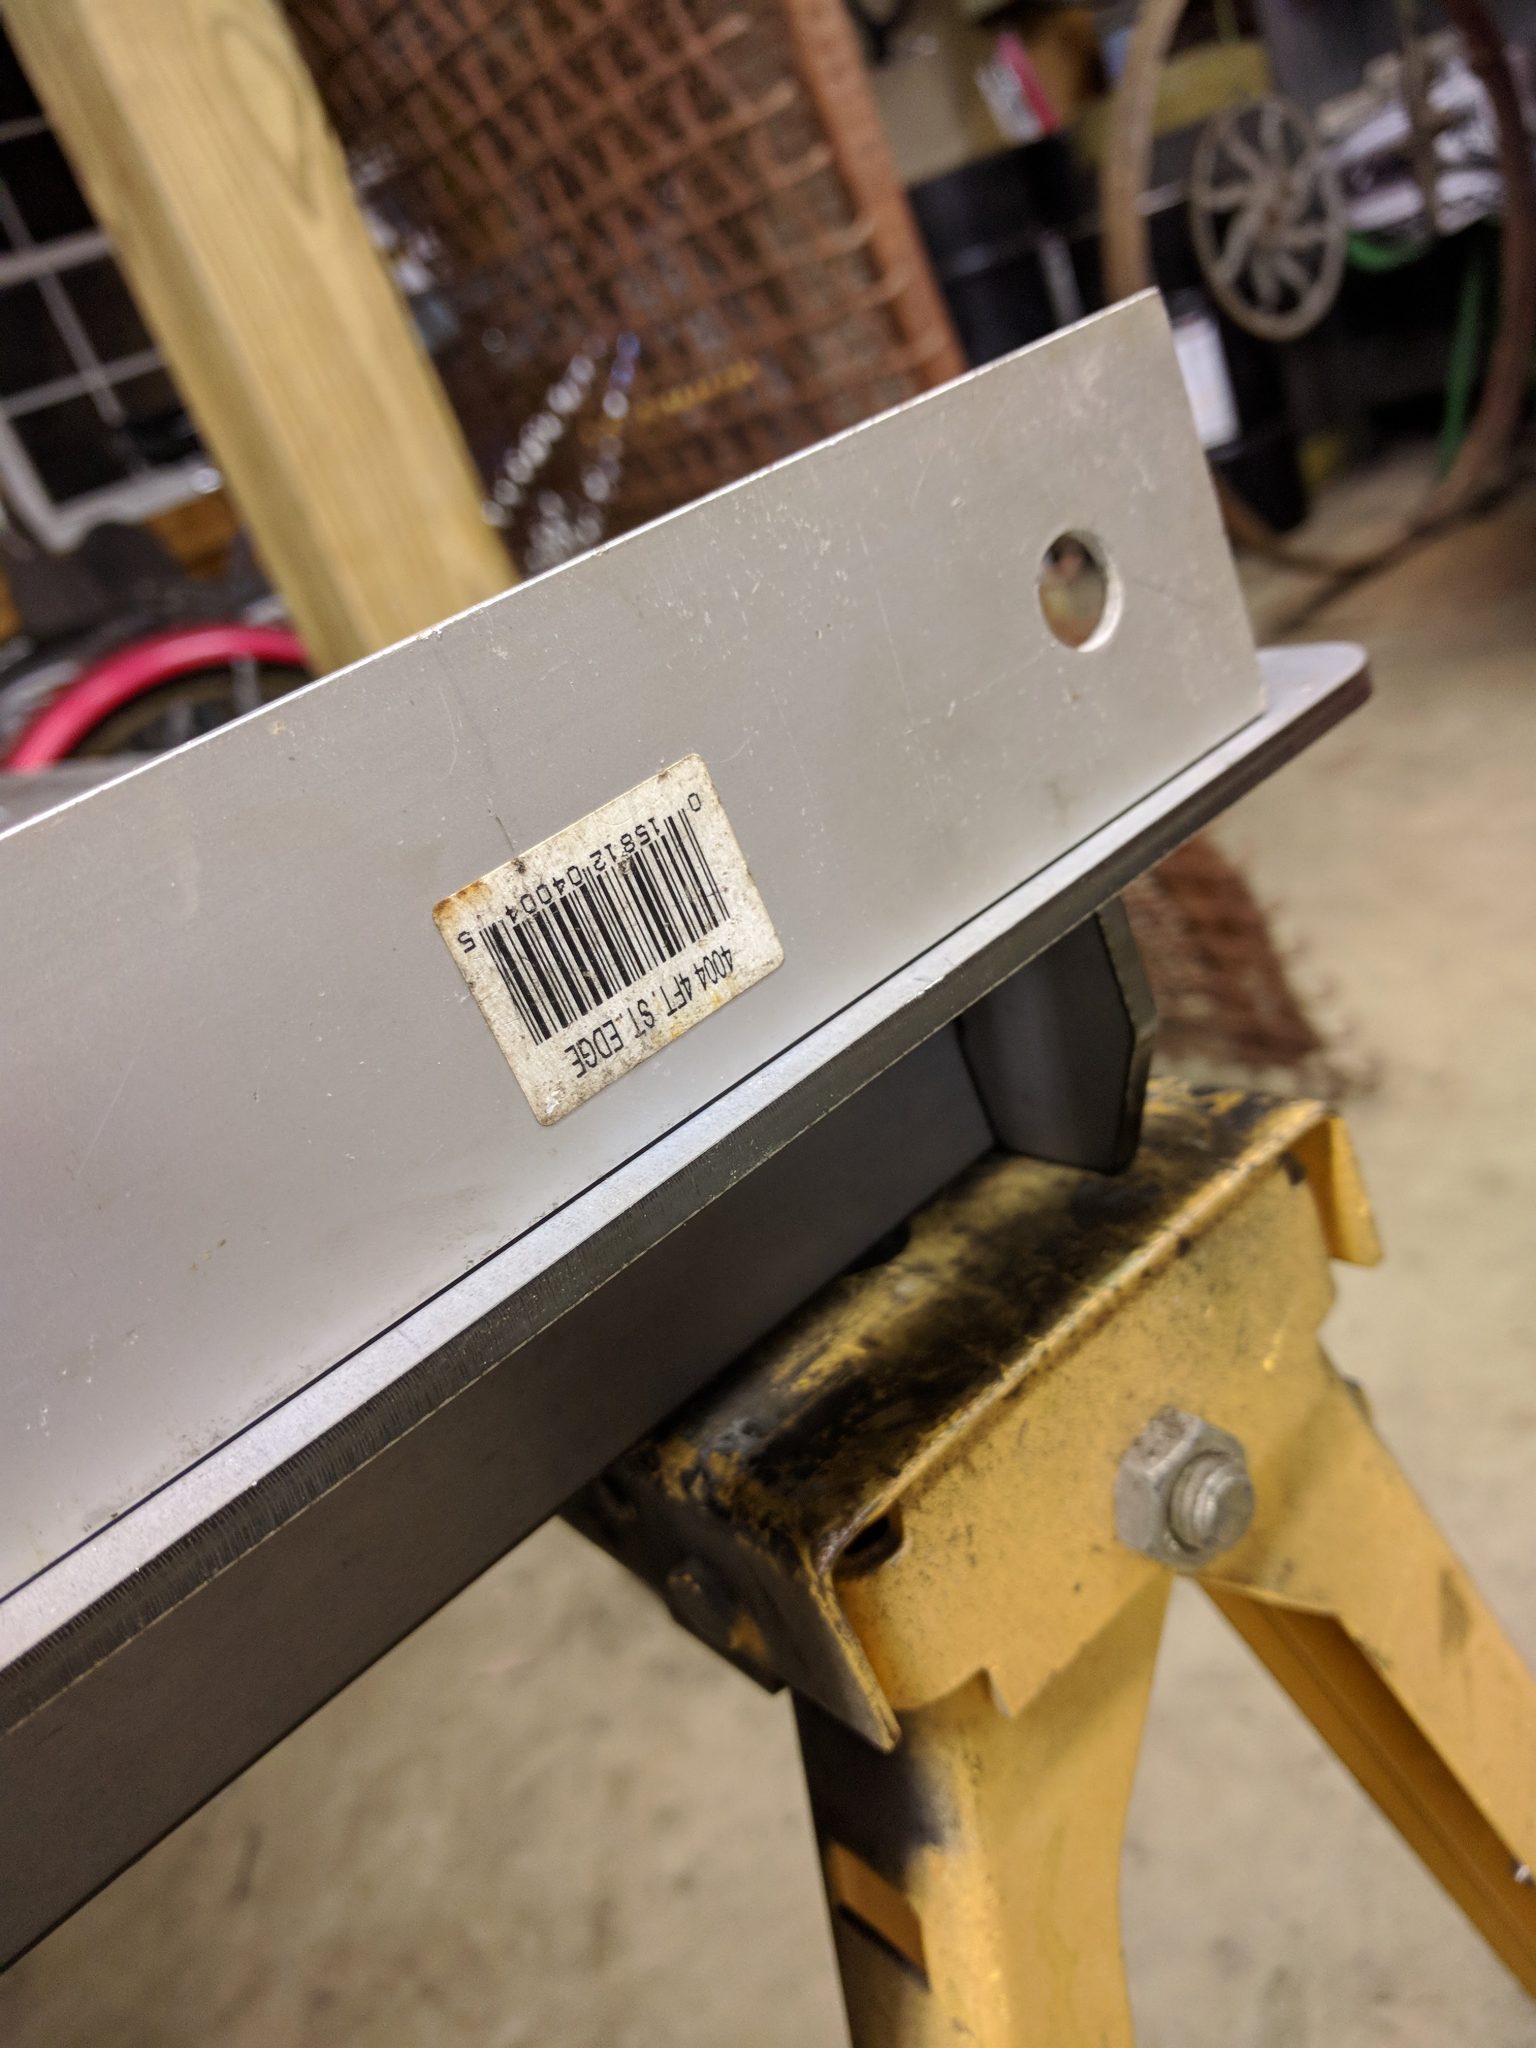
Things have gone south at this point, sent message to the folks at weldtables.com for some assistance. I have tacked the table after removing all the gaps (no light between table and ribs) and then flipped it over to inspect for “flatness”. Straight edge on the short 3′ side was dead on when checked all the way across from one end to the other! Very excited at this point. Checking the long 4′ length is a different story. On the good end (the very edge) was real good although actually not as solid as the 3′ inspections. When checked in the middle of the table the gap was about 3/16″ and on the opposite end it was 1/4″ off — EEEK! There are not gaps against the table and ribs so I have not way to pull any bow out at this point as the table top is completely flush with the ribs. Gap pics below to give an idea what I am seeing. Hopefully the folks at weldtables let me know I did something goofy and I can fix it easily. Maybe this turns into a “don’t do it this way” tutorial.
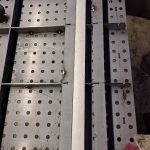
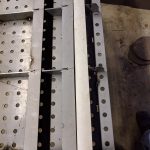
Found what I think is the issue. I cut most of the tacks out – rookie mistake I did put a few tacks in spots that I could not easily cut. One of the longer ribs is way out of wack. Pics below. It has a bow in it and appears to be wonky with respect to width.
I assumed the ribs (as advertised) where accurate but the ones I got appear not to be so. So clamping to the ribs and removing the daylight between them and the top is no guarantee that the table is flat.
Going to request a set of rails/ribs from weldtables and go from there.
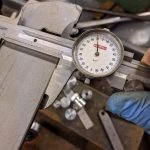
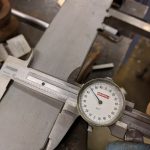
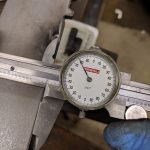
FWIW – I measured the other “good” rib in a similar fashion and they where within .003 – not off .021.
Will keep posted on weldtable response:
FLAT!
So after exchanging a few email with the folks at weldtables.com I learned the error of my ways. While I still need to look at the ribs again to understand how they work exactly I did get the table flat despite discrepancies in the ribs as pictured above. Basically clamping the untacked ribs and turning the table upright was the first step. With use of an oak board and some “heavy persuasion” I knocked out the high spots. Which basically seemed to just really tighten up the slot and tabs and maybe bring back the memory of the top. Took some moving around the table with the straightedge and some fine tuning taps but all is good and flat with the table now! More pics to follow and leg installation coming soon…