With the bottom bracket / seat tube down I can pull the down tube length from the drawing. Carefully aligning the frame over the drawing with the help of a machinist square and v-blocks I can now scribe the lines where the down tube intersects the bottom bracket. Also note, only the lug is only attached to the head tube at this point.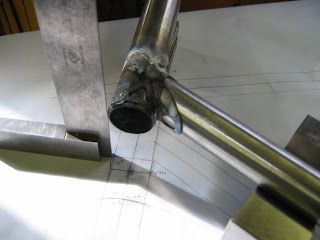
With the frame aligned about the drawing I can scribe the lines where the bottom bracket and down tube intersect. Notch out the lines and the down tube length is done.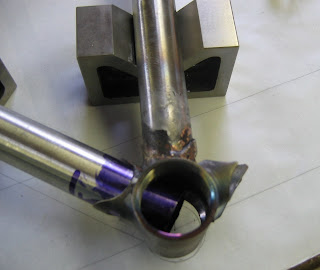
Lincoln Smithy LLC - Unique Metal Sculpture - Artist: John Raymond
read more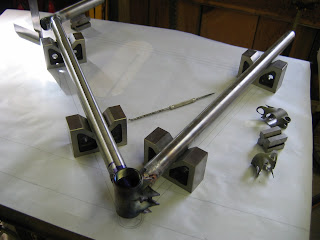 The brazing is not cleaned up yet. Will work on that soon. Also, it is a pretty messy joint but seems to be solid which is what I am most worried about for now.
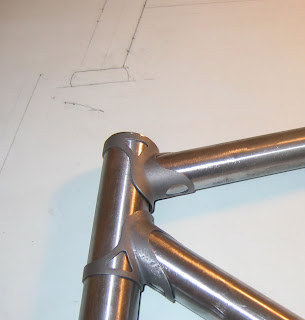 Head tube - small frame so lugs are pretty close to one another.
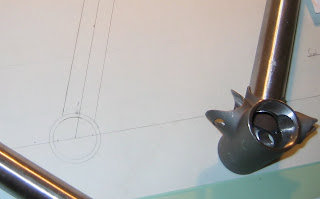 Bottom bracket shell will dictate the angle of the down tube. I am struggling with final alignment of lugs/tubing but I think a lot of cold setting and lug prep will do the trick.
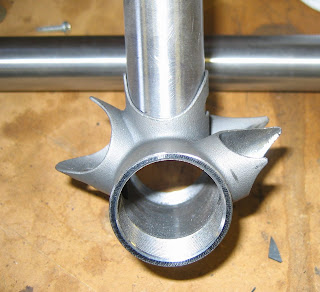 Good notch will allow BB to fit without a problem.
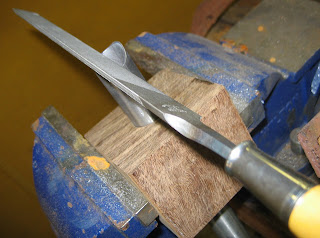 File the finishing touches on the tube. This is the most tedious part of all but the snugger the fit the less chance of frame distortion.
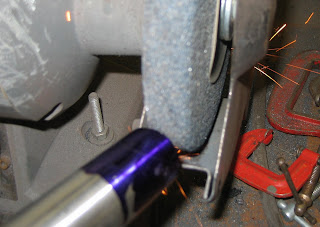 Carefully grind as close as you can to the scribe line.
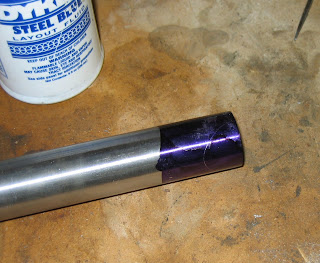 Hard to see the scribe line in the picture but it is there. Grinding/Filing to the line is the next step.
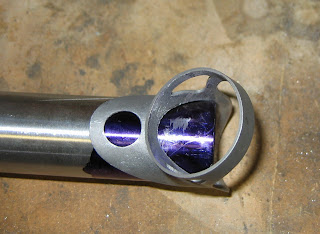 Blue the tubing and scribe the notch via the lug. Pictured here is the top tube and top head tube lug.
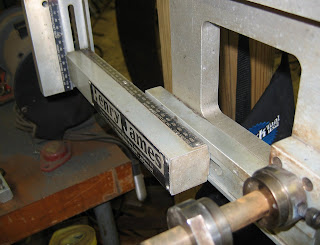 Setting up Henry James Jig for chain stay length and BB drop.