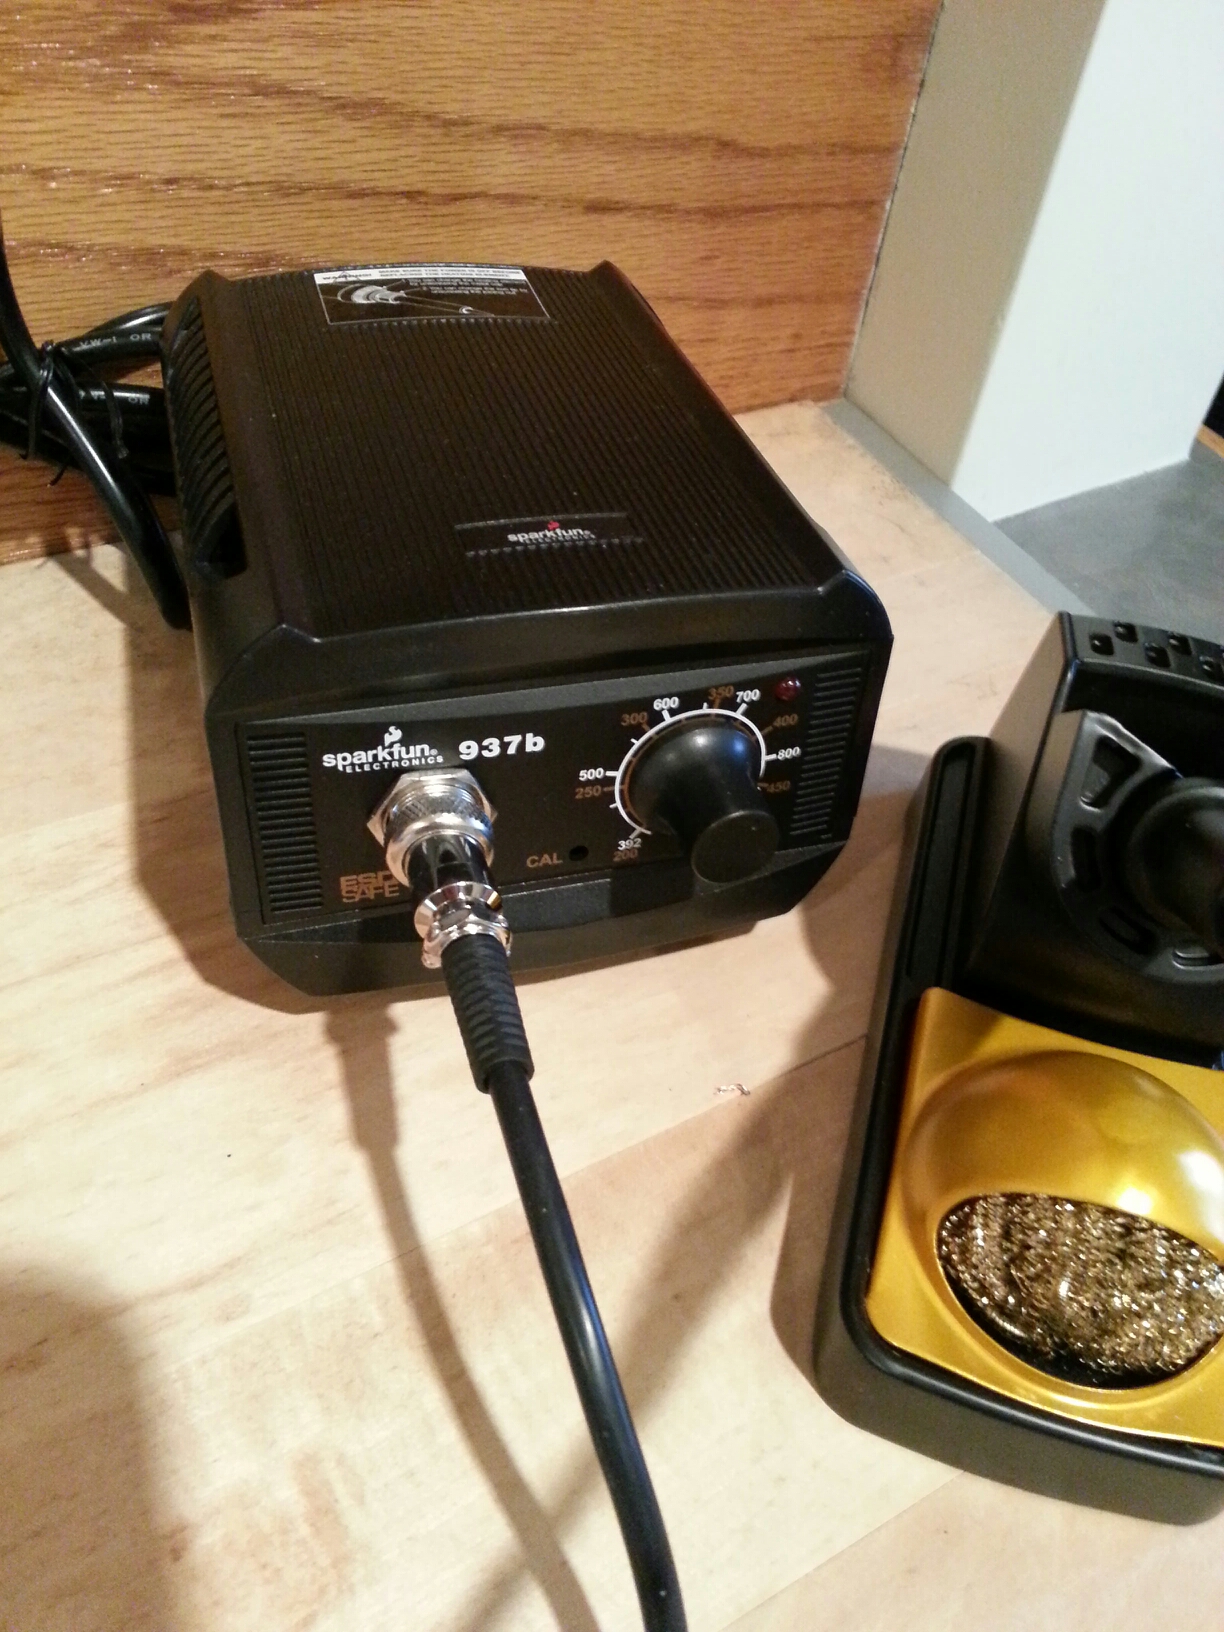
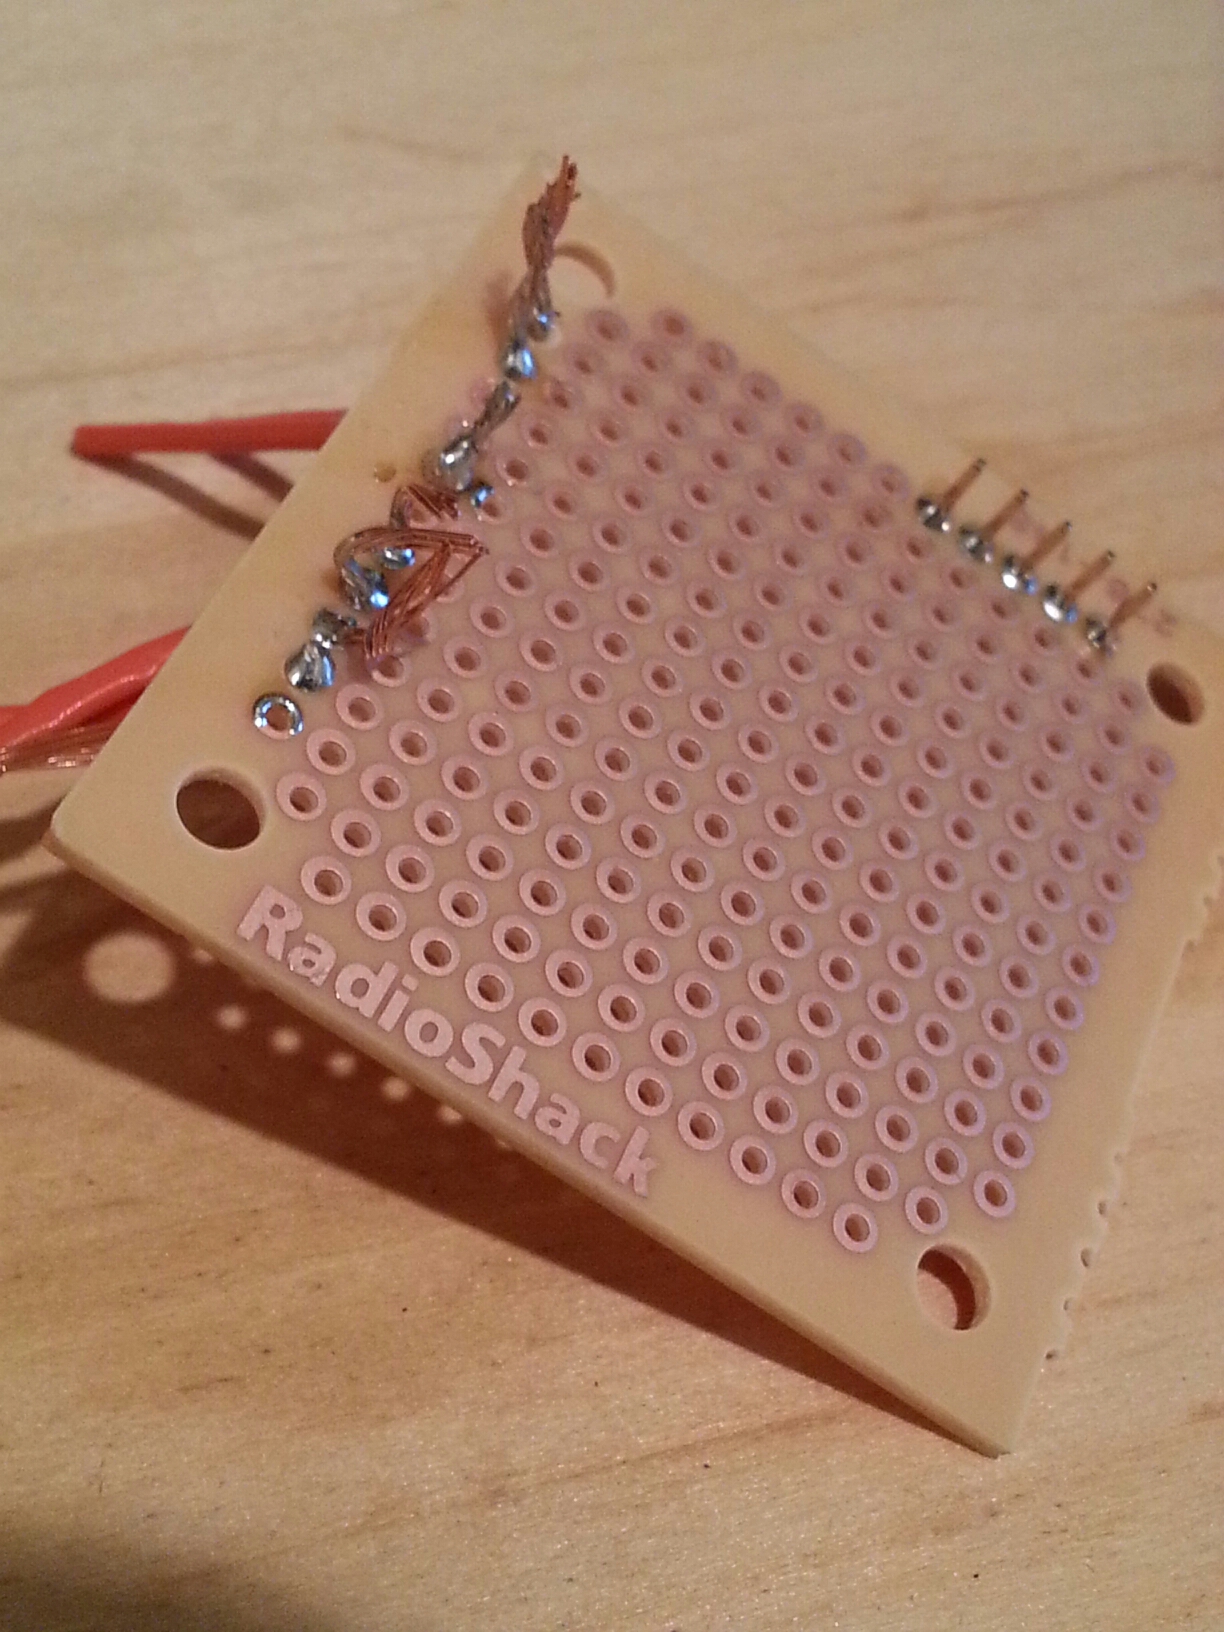
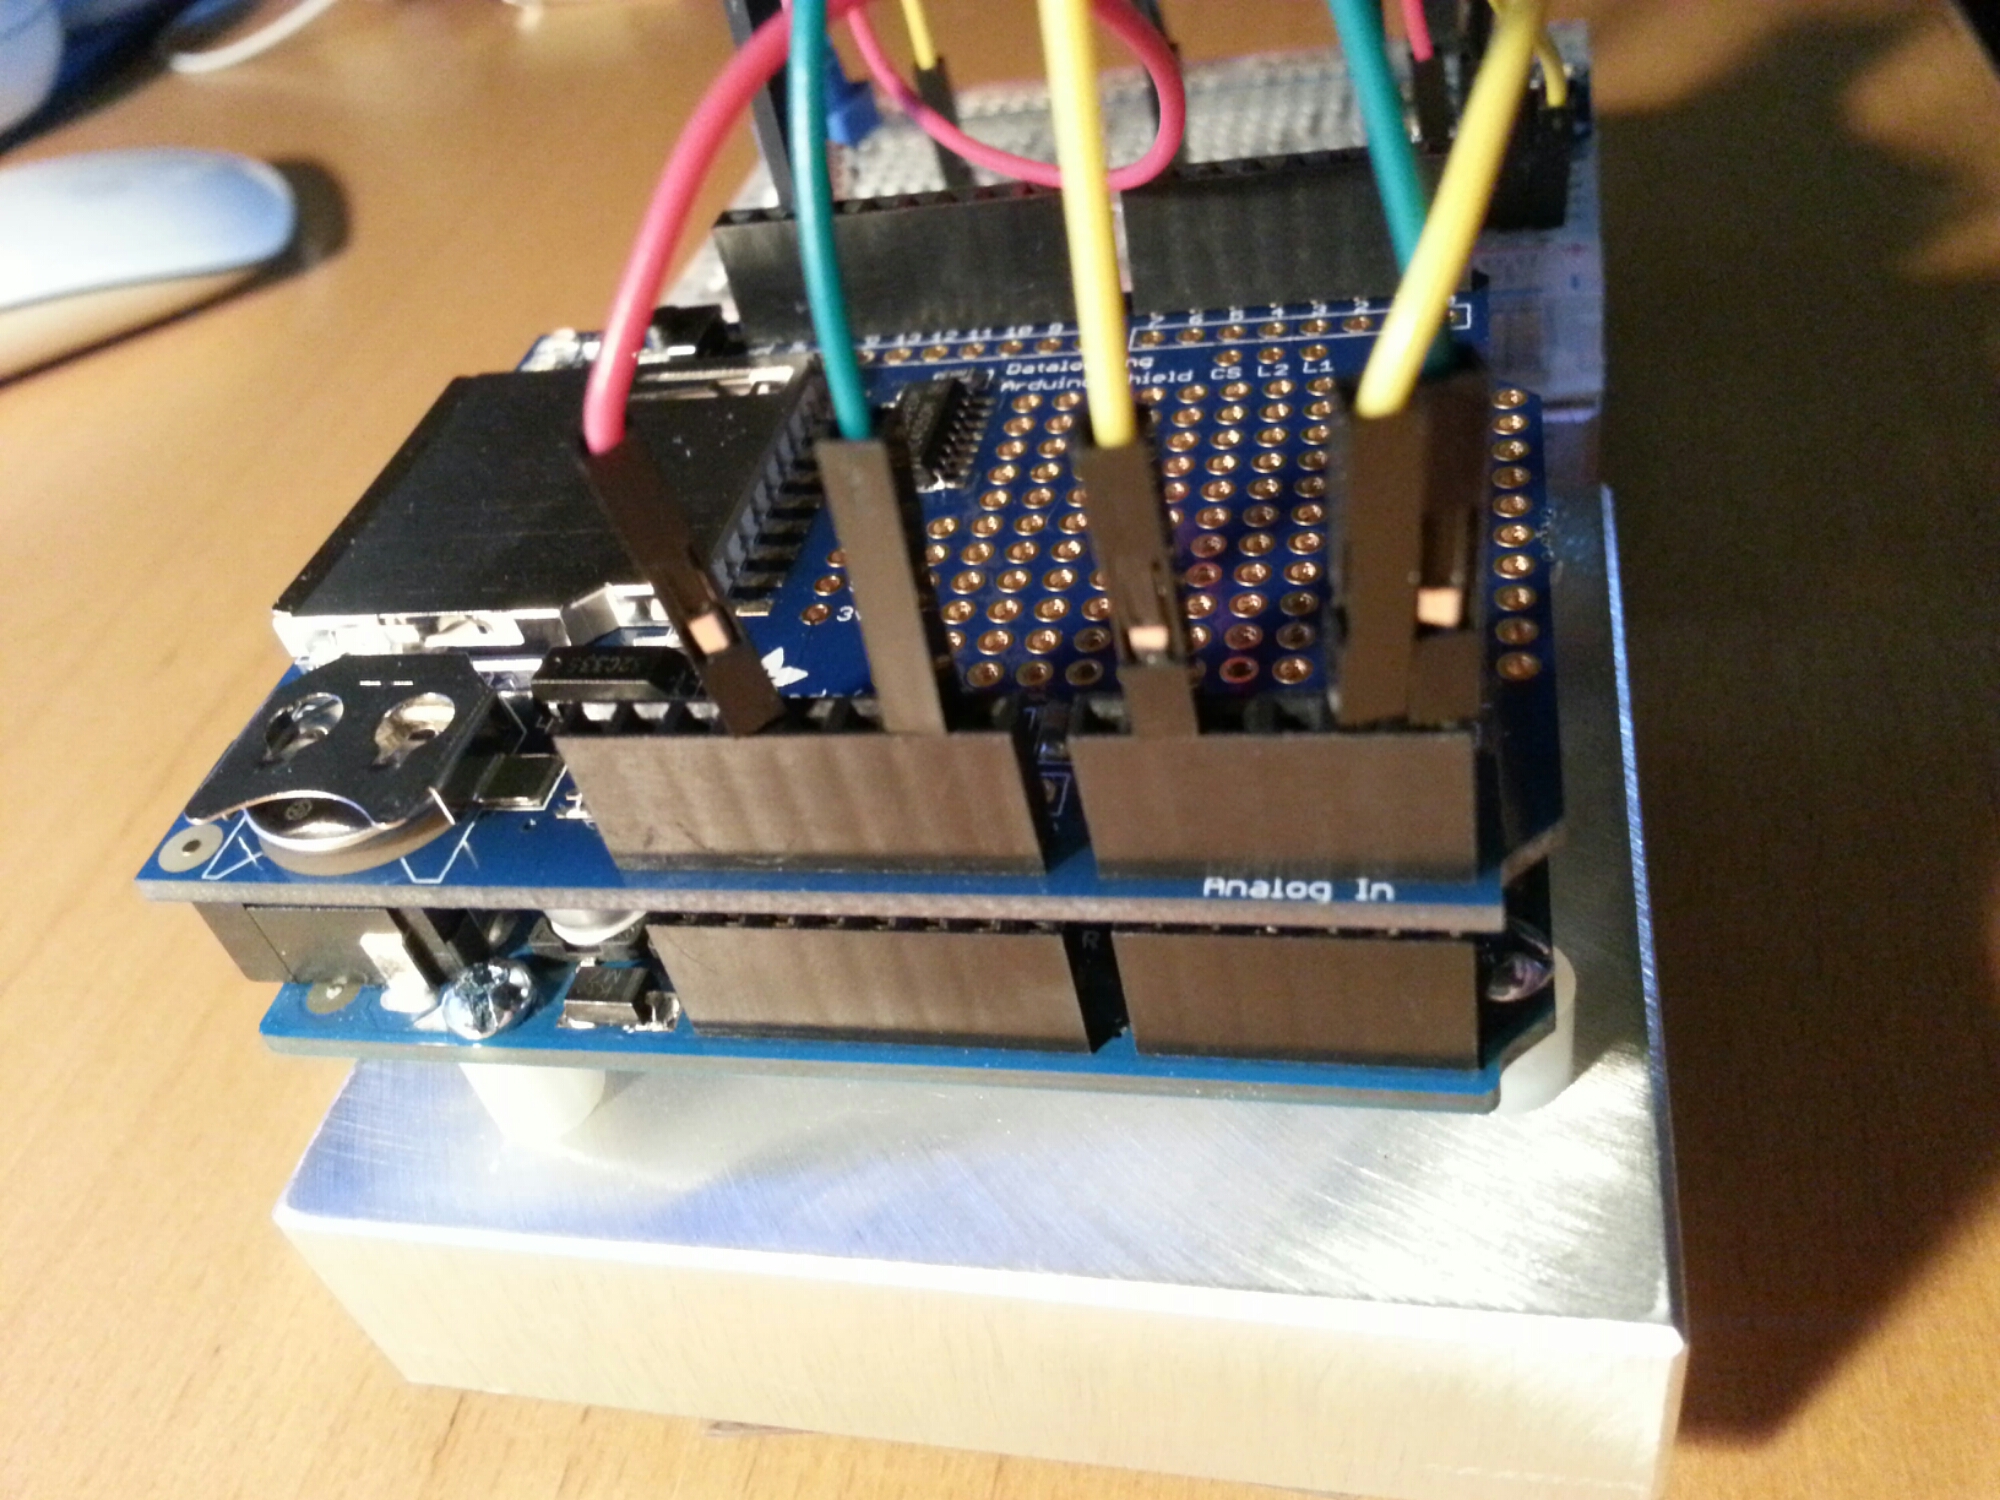
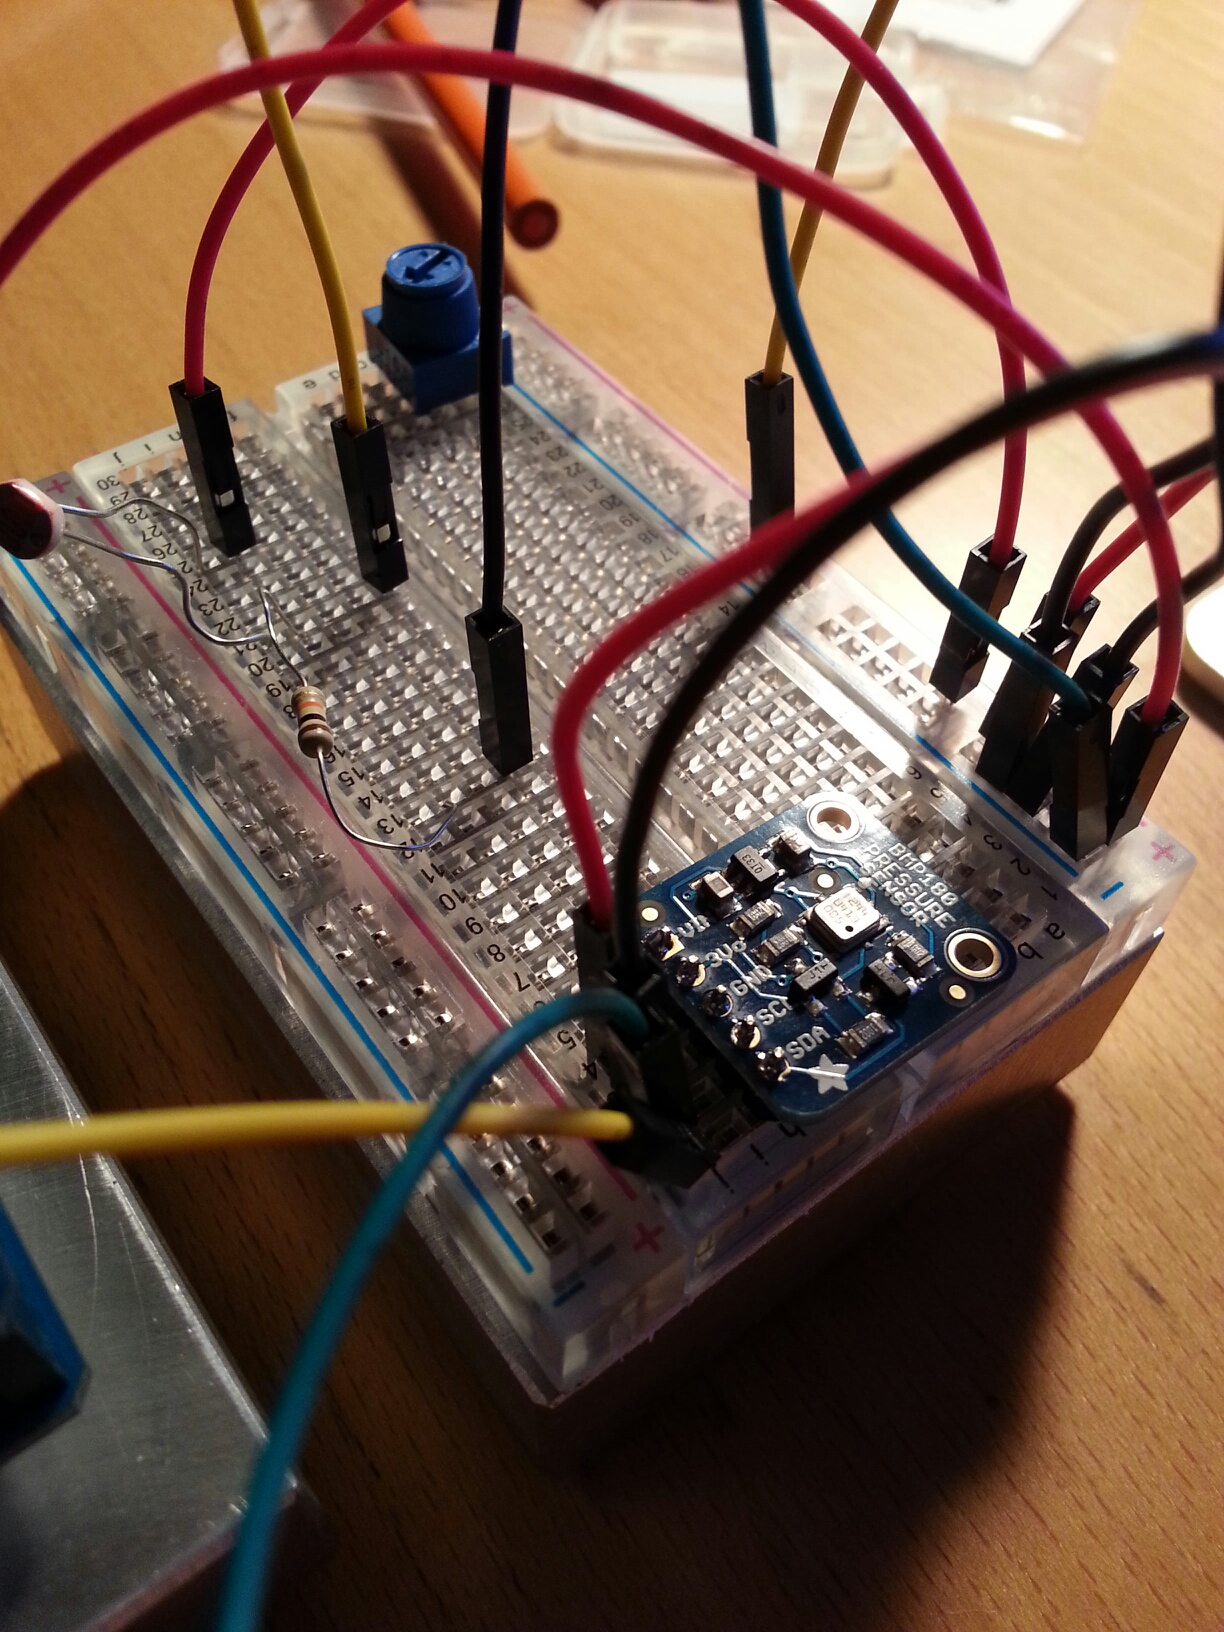
New soldering station "Sparkfun 937b"..a cheap RadioShack board to practice my old soldering skills..an Adafruit datalogger and BMP pressure sensor...tah dah.
Adafruit:
Local MicroCenter had the Spackfun 937B so I grabbed it from there. Works really well, agree with most reviews on the holder (it sucks) but had not problem soldering the headers for the Data Logging shield and the BMP180.
Next steps...use plotly to show results from the logger.
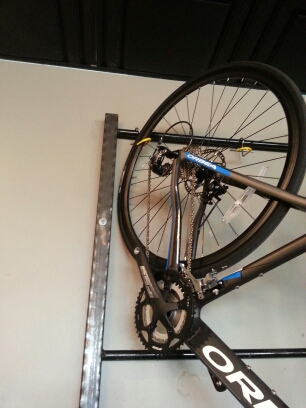
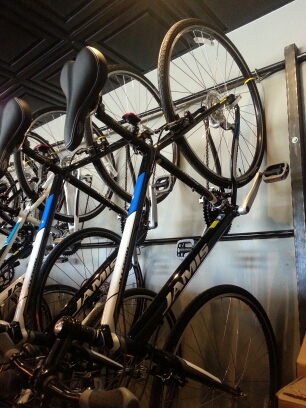
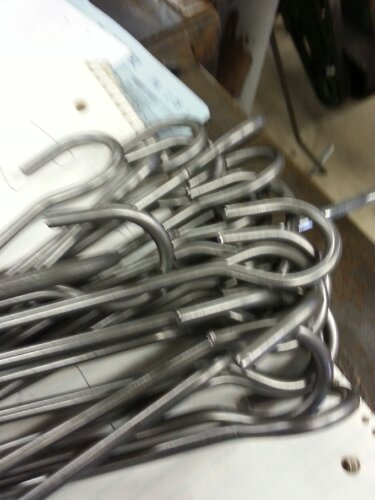
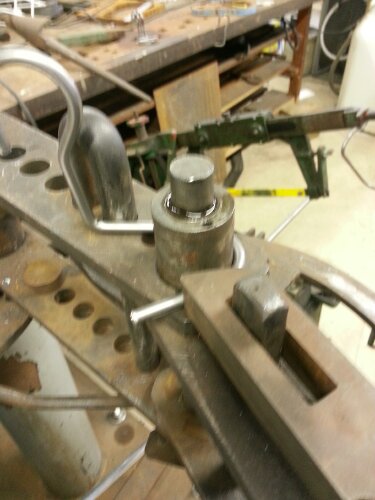
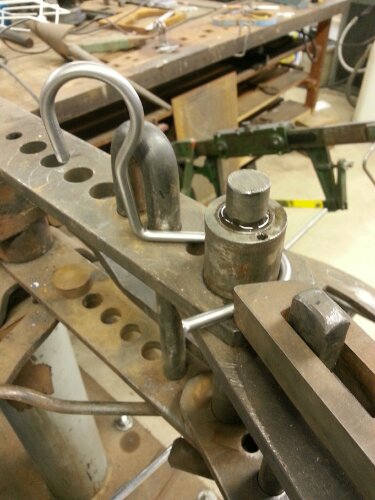
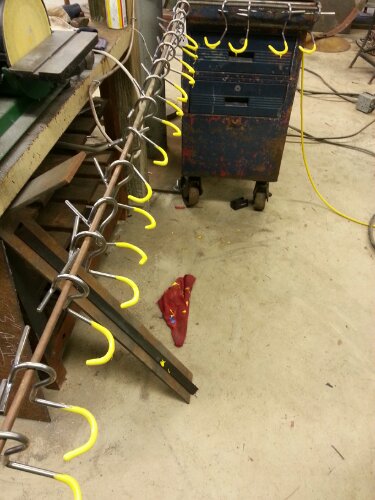
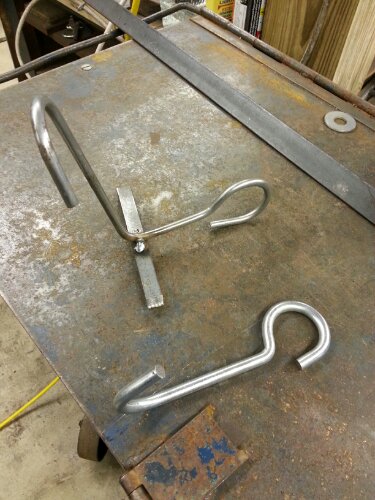
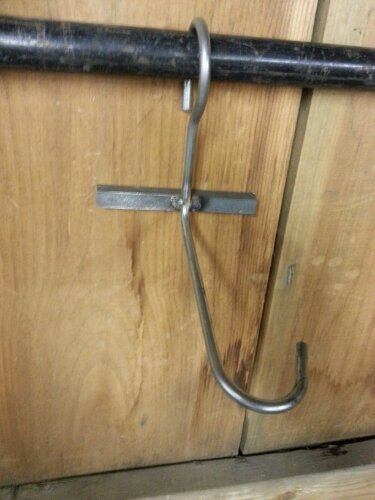
More hooks to make but rack is all in place. The rack is for service and inventory..not for display. Boxes are lined up where the second level of bikes will hang.
After messing around with node.js implementation I found some other services that help collect sensor data from devices. They make it pretty easy to embed charts as well:
This is a simple light meeter in my living room - connected to ThingSpeak channel. Still getting used to the Charts on ThingSpeak but pretty cool so far. Also will look into there are apps soon enough.
https://thingspeak.com/channels/10735#
ThingSpeak makes it easy: create and account on ThingSpeak and a simple sketch later you have a collector!
Sketch:
[code language="cpp"]
/*
Arduino --> ThingSpeak Channel via Ethernet
The ThingSpeak Client sketch is designed for the Arduino and Ethernet.
This sketch updates a channel feed with an analog input reading via the
ThingSpeak API (http://community.thingspeak.com/documentation/)
using HTTP POST. The Arduino uses DHCP and DNS for a simpler network setup.
The sketch also includes a Watchdog / Reset function to make sure the
Arduino stays connected and/or regains connectivity after a network outage.
Use the Serial Monitor on the Arduino IDE to see verbose network feedback
and ThingSpeak connectivity status.
Getting Started with ThingSpeak:
* Sign Up for New User Account - https://www.thingspeak.com/users/new
* Register your Arduino by selecting Devices, Add New Device
* Once the Arduino is registered, click Generate Unique MAC Address
* Enter the new MAC Address in this sketch under "Local Network Settings"
* Create a new Channel by selecting Channels and then Create New Channel
* Enter the Write API Key in this sketch under "ThingSpeak Settings"
Arduino Requirements:
* Arduino with Ethernet Shield or Arduino Ethernet
* Arduino 1.0 IDE
Network Requirements:
* Ethernet port on Router
* DHCP enabled on Router
* Unique MAC Address for Arduino
Created: October 17, 2011 by Hans Scharler (http://www.iamshadowlord.com)
Additional Credits:
Example sketches from Arduino team, Ethernet by Adrian McEwen
*/
#include <SPI.h>
#include <Ethernet.h>
// Local Network Settings
byte mac[] = { 0xD4, 0x28, 0xB2, 0xFF, 0xA0, 0xA1 }; // Must be unique on local network
// ThingSpeak Settings
char thingSpeakAddress[] = "api.thingspeak.com";
String writeAPIKey = "YOURWRITEAPIKEYHERE"; // YOUR writeAPIKey here
const int updateThingSpeakInterval = 16 * 1000; // Time interval in milliseconds to update ThingSpeak (number of seconds * 1000 = interval)
// Variable Setup
long lastConnectionTime = 0;
boolean lastConnected = false;
int failedCounter = 0;
if (client.connected())
{
Serial.println("Connecting to ThingSpeak...");
Serial.println();
failedCounter = 0;
}
else
{
failedCounter++;
Serial.println("Connection to ThingSpeak failed ("+String(failedCounter, DEC)+")");
Serial.println();
}
}
else
{
failedCounter++;
Serial.println("Connection to ThingSpeak Failed ("+String(failedCounter, DEC)+")");
Serial.println();
lastConnectionTime = millis();
}
}
void startEthernet()
{
client.stop();
Serial.println("Connecting Arduino to network...");
Serial.println();
delay(1000);
// Connect to network amd obtain an IP address using DHCP
if (Ethernet.begin(mac) == 0)
{
Serial.println("DHCP Failed, reset Arduino to try again");
Serial.println();
}
else
{
Serial.println("Arduino connected to network using DHCP");
Serial.println();
}
After going though a lot of the great examples I wanted to dive into connecting the Arduino to the internet and figure out a way to push sensor data to the web for later consumption. Thanks to Remote logging with Arduino and Node.js at FRENKI.NET I was able to get the info I needed to setup a simple data collector application.
[code language="cpp"]
//Sending one Analog Value to a Node.js server
//Used AWS OpsWorks and created basic Stack to deploy a node.js instance
//Stolen from FRENKI.NET
#include
#include
#include
byte arduinoMac[] = { 0xDE, 0xAD, 0xBE, 0xEF, 0xFE, 0xED };
// desired IP for Arduino
IPAddress arduinoIP(192, 168, 1, 100);
// port of Arduino
unsigned int arduinoPort = 8080;
// IP of node.js server setup to recieve the data
IPAddress receiverIP(00, 00, 00, 00);
// Port on node.js server that is listening to UDP traffic
unsigned int receiverPort = 7777;
EthernetUDP Udp;
int sensorPin = A4; // Choose whatever sensor pin you would like to use
int sensorValue;
void setup() {
Ethernet.begin(arduinoMac,arduinoIP); //Initialize Ethernet UDP and Serial port
Udp.begin(arduinoPort);
Serial.begin(9600);
}
void loop() {
sensorValue = analogRead(sensorPin); // Read sensor value and store in sensorValue
byte valueInBytes[2] = {lowByte(sensorValue), highByte(sensorValue)}; //convert it to a byte array for the UDP Transfer
// Debug info for figuring out how byte array works
Serial.print("Low: ");
Serial.println(lowByte(sensorValue));
Serial.print("High: ");
Serial.println(highByte(sensorValue));
// Send UDP Packet to node.js server
Udp.beginPacket(receiverIP, receiverPort); //start udp packet
Udp.write(valueInBytes, 2); //write sensor data to udp packet
Udp.endPacket(); // end packet
// Repeat every 5 seconds
delay(5000);
}
[/code]
node code:
Here is a snippet of node.js code used to receive the Arduino data. I used a simple AWS OpsWorks Deployment of an node.js instance. Add the following code to a file...arduindocollect.js and then run #node arduinocollect.js...
[code]
var dgram = require("dgram");
var server = dgram.createSocket("udp4");
var fs = require('fs');
var crlf = new Buffer(2);
crlf[0] = 0xD; //CR - Carriage return character
crlf[1] = 0xA; //LF - Line feed character
server.on("message", function (msg, rinfo) { //every time new data arrives do this:
console.log("server got: " + msg.readUInt16LE(0) + " from " + rinfo.address + ":" + rinfo.port); // you can comment this line out
fs.appendFile('mydata.txt', msg.readUInt16LE(0) + crlf, encoding='utf8');//write the value to file and add CRLF for line break
});
server.on("listening", function () {
var address = server.address();
console.log("server listening " + address.address + ":" + address.port);
});
server.bind(7777); //listen to udp traffic on port 7777
[/code]
AWS - Make sure you update the Security Group to allow UDP on 7777 or whatever UDP Port you decide to use.
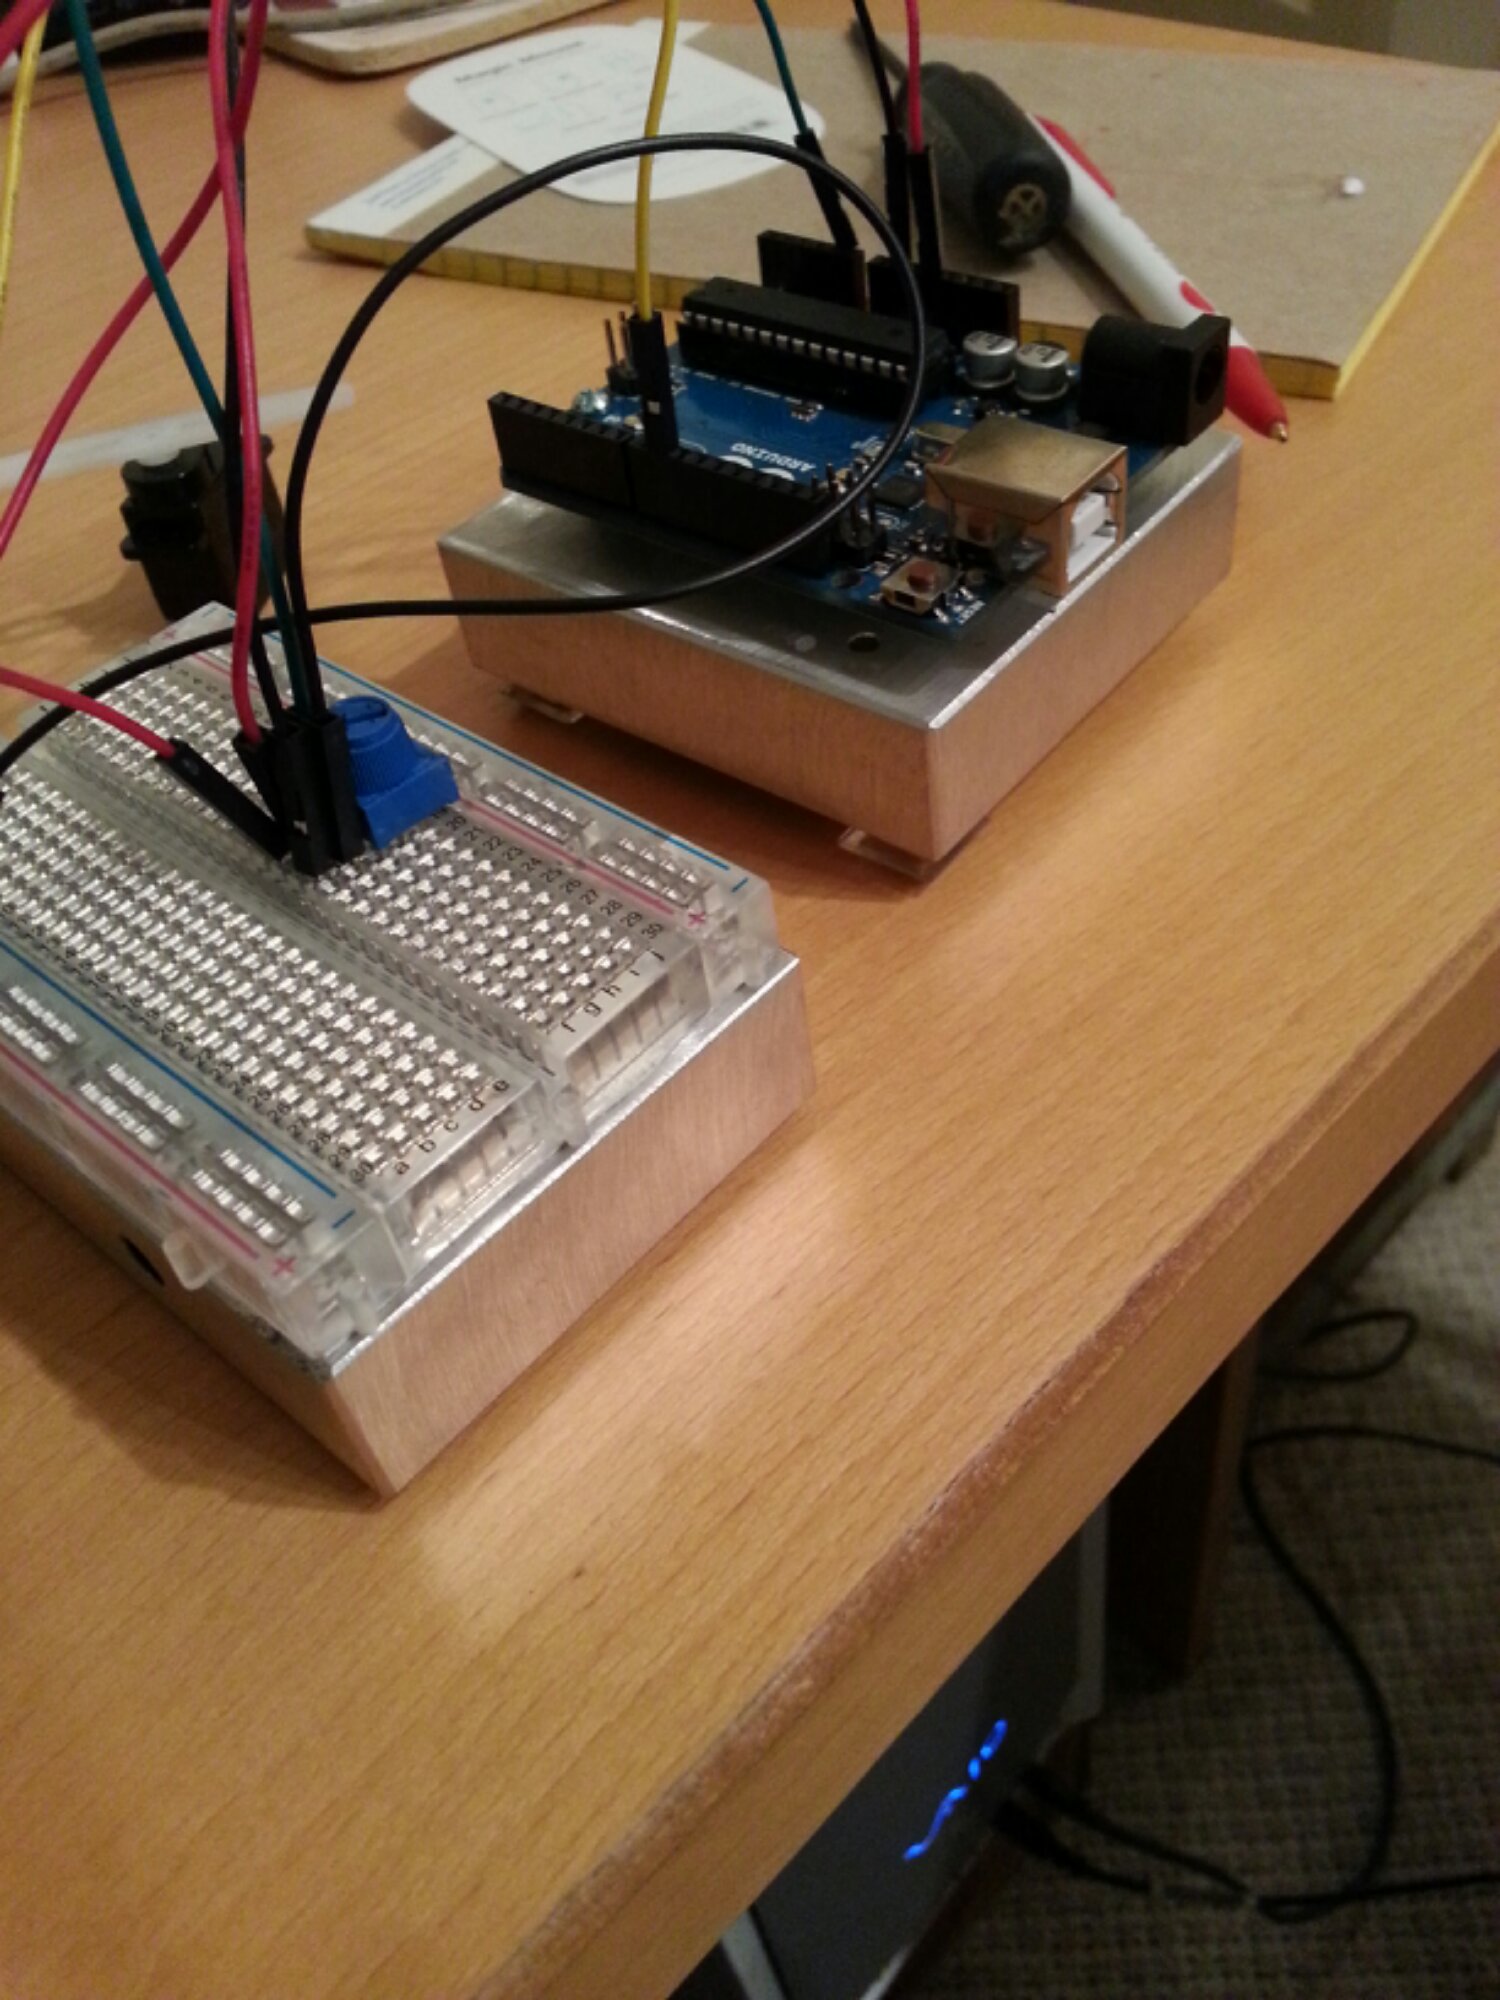
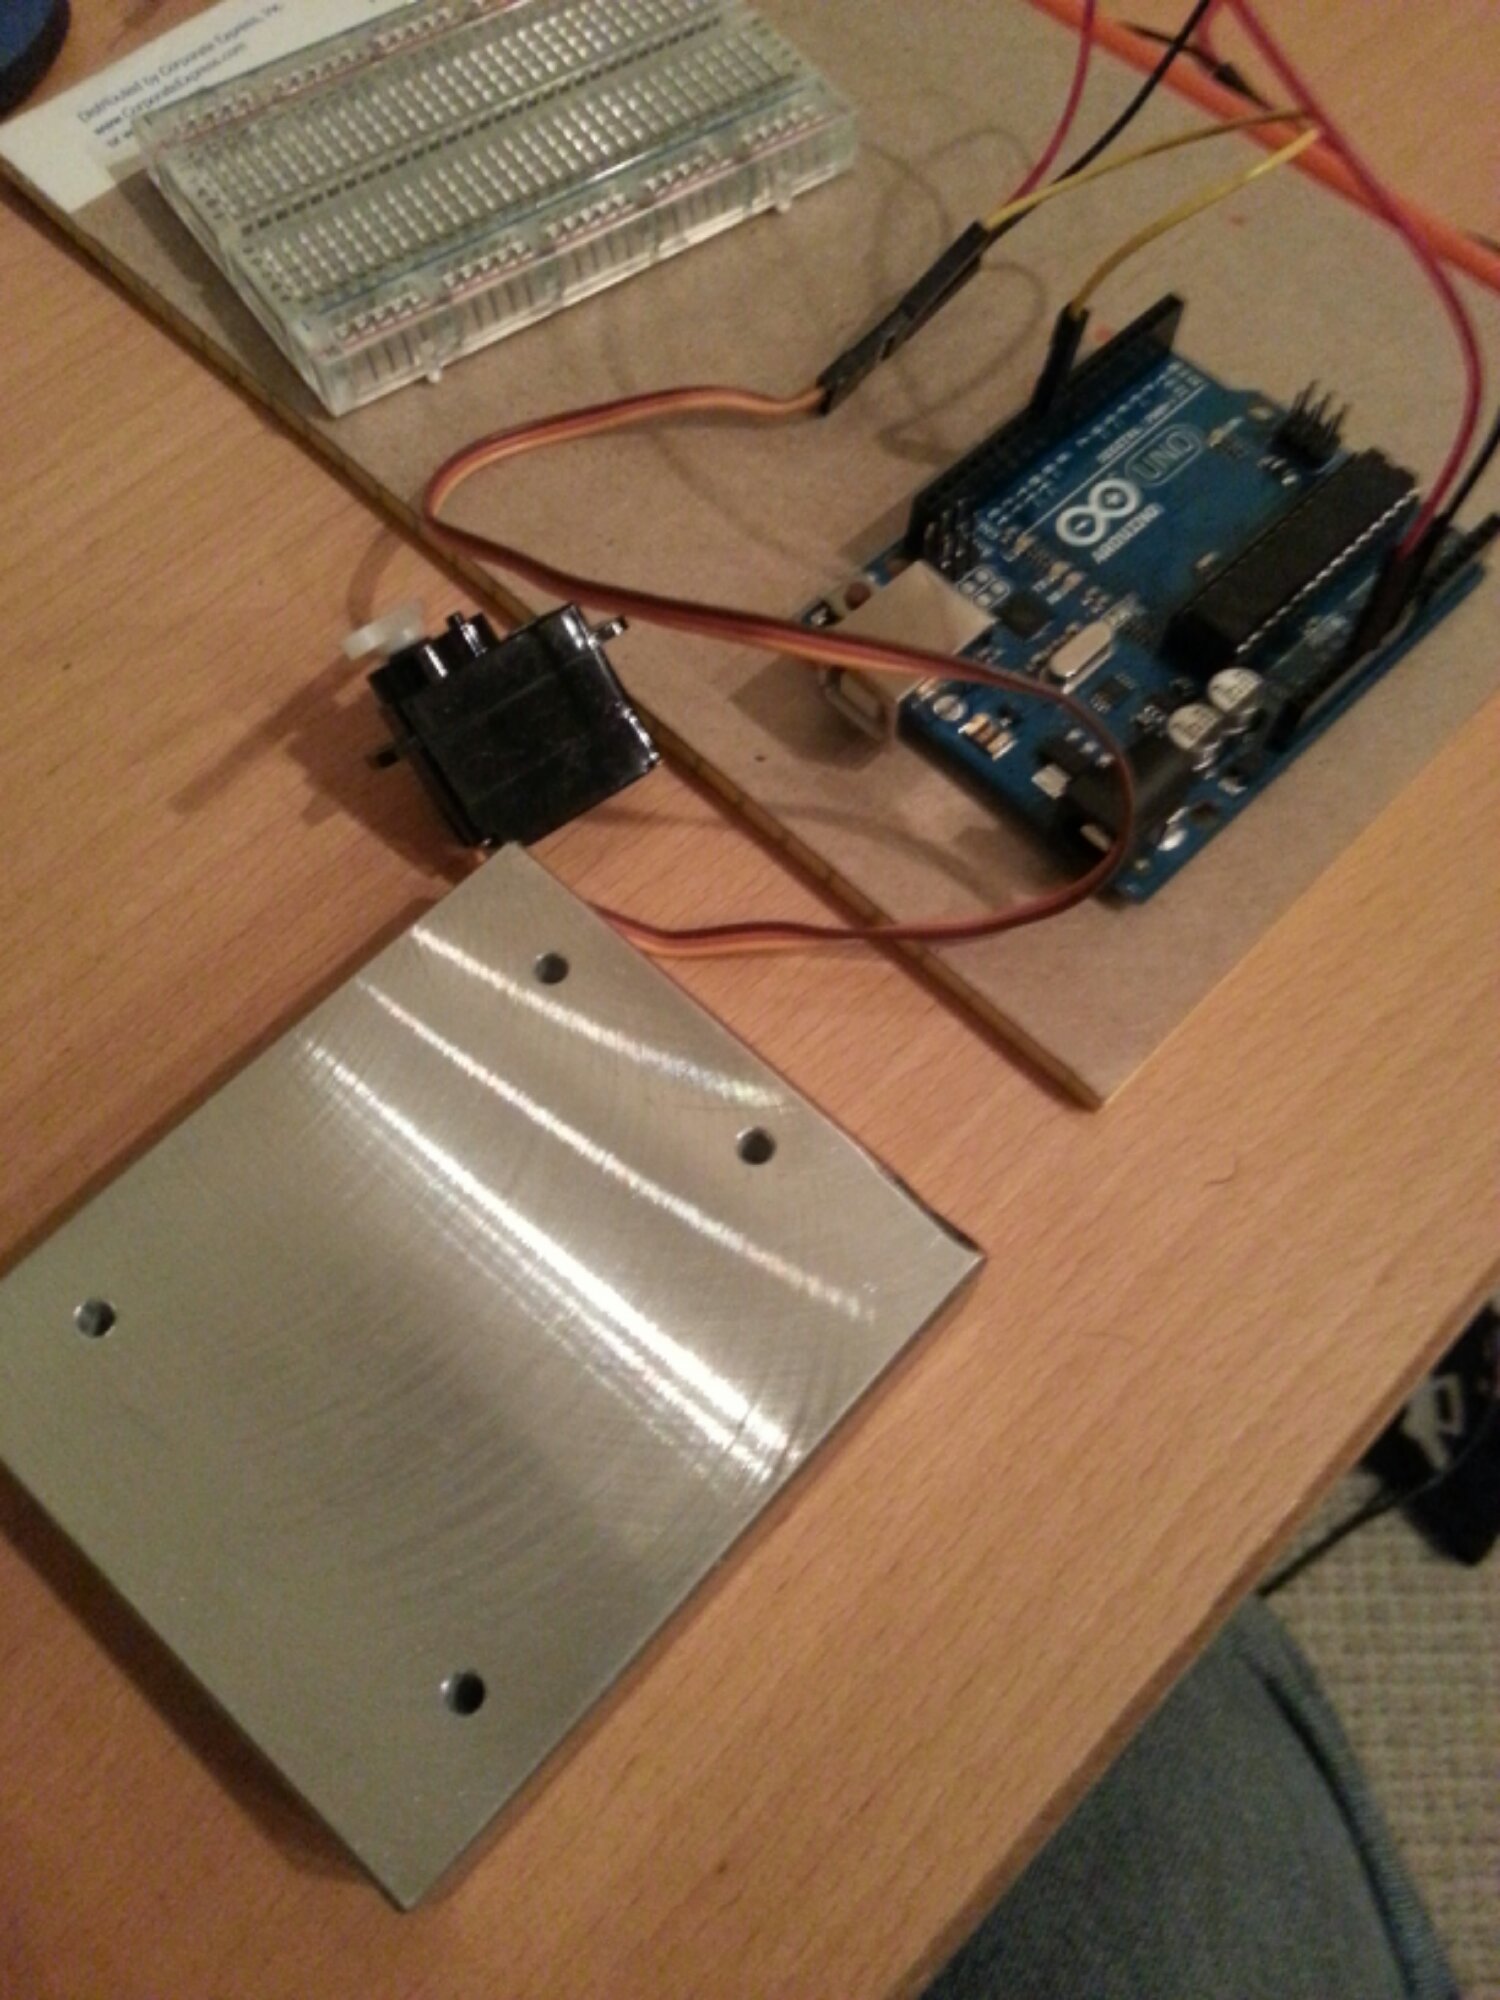
Picked up an Arduino Uno R3 recently at my local RadioShack. Also picked up a RadioShack starter pack to get me going. They are amazing! Was able to get started with it in no time at all thanks to the great "Getting Started with Arduino" guide.
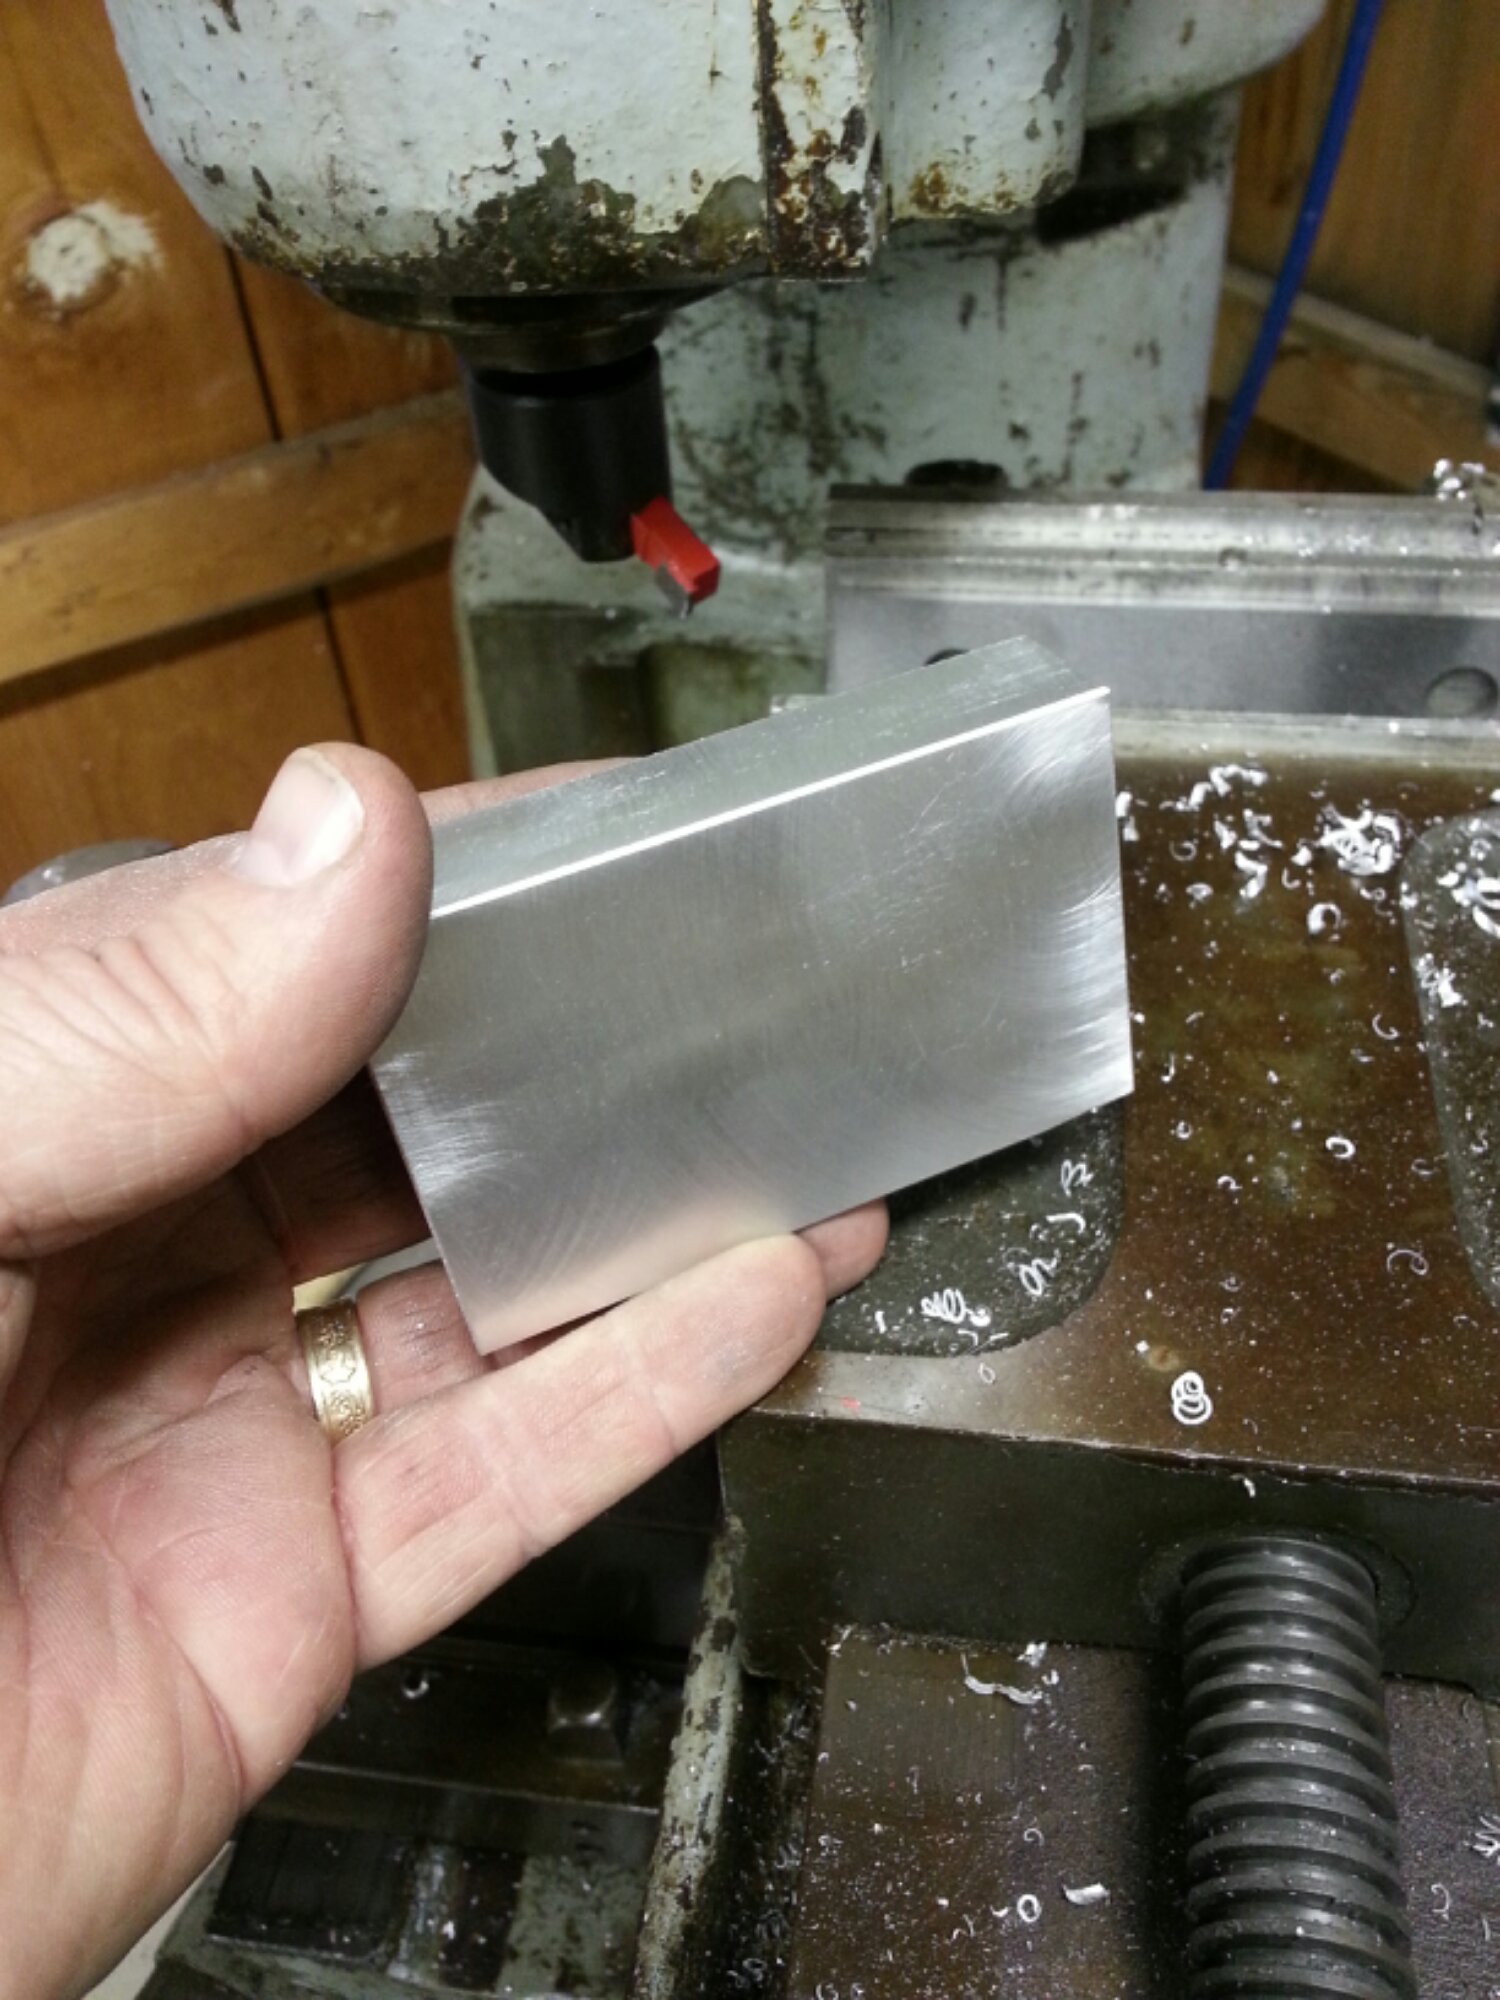
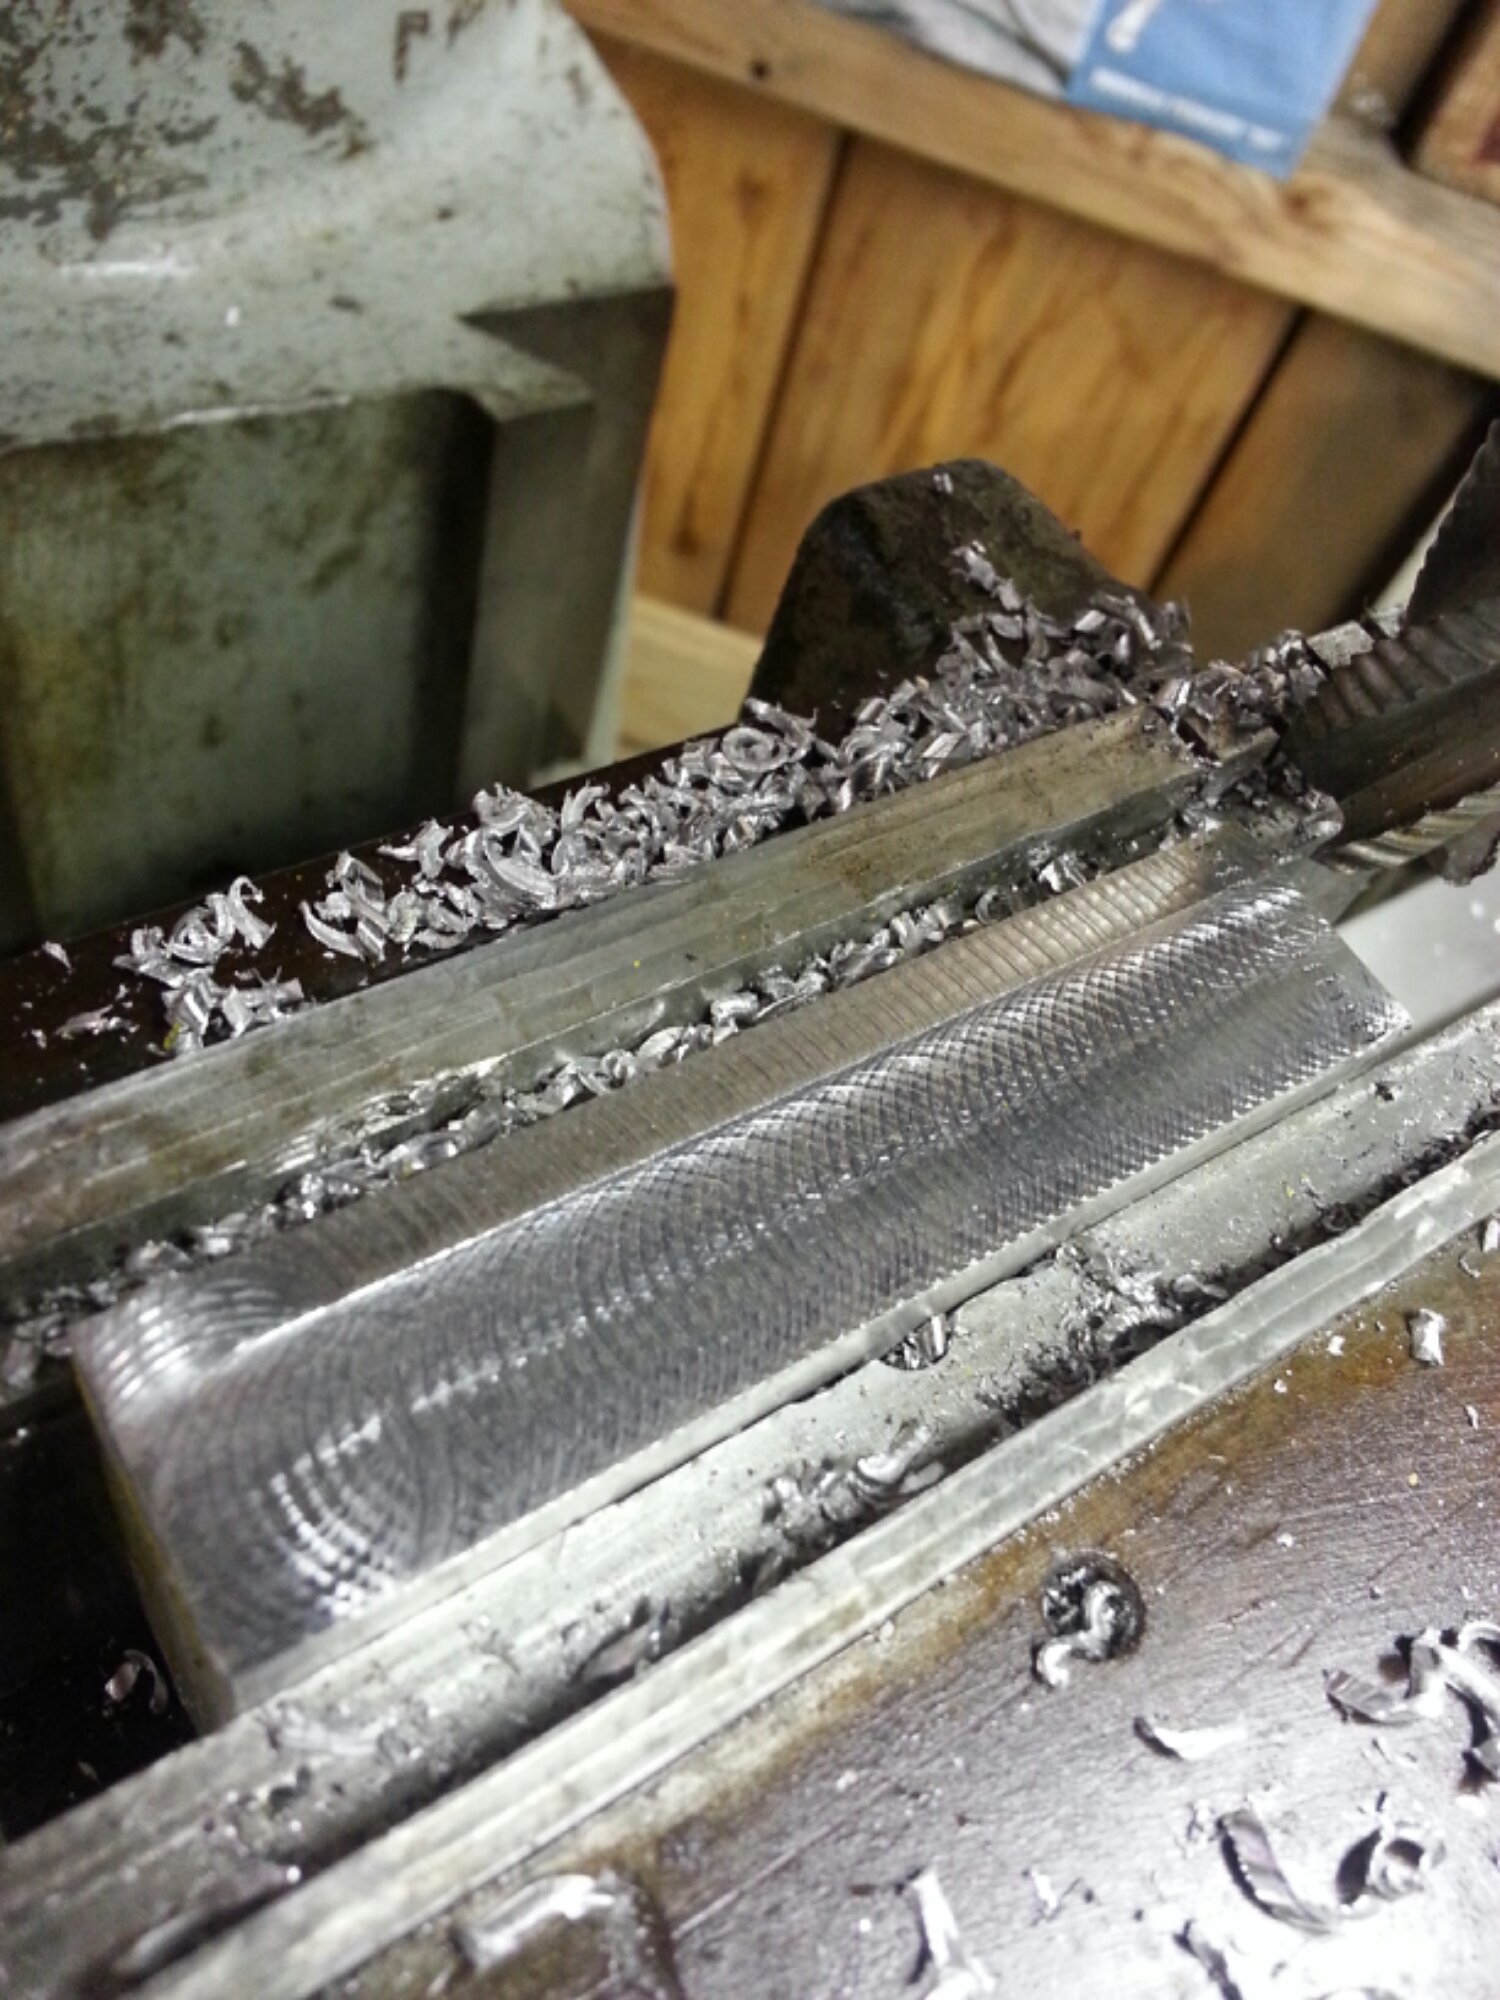
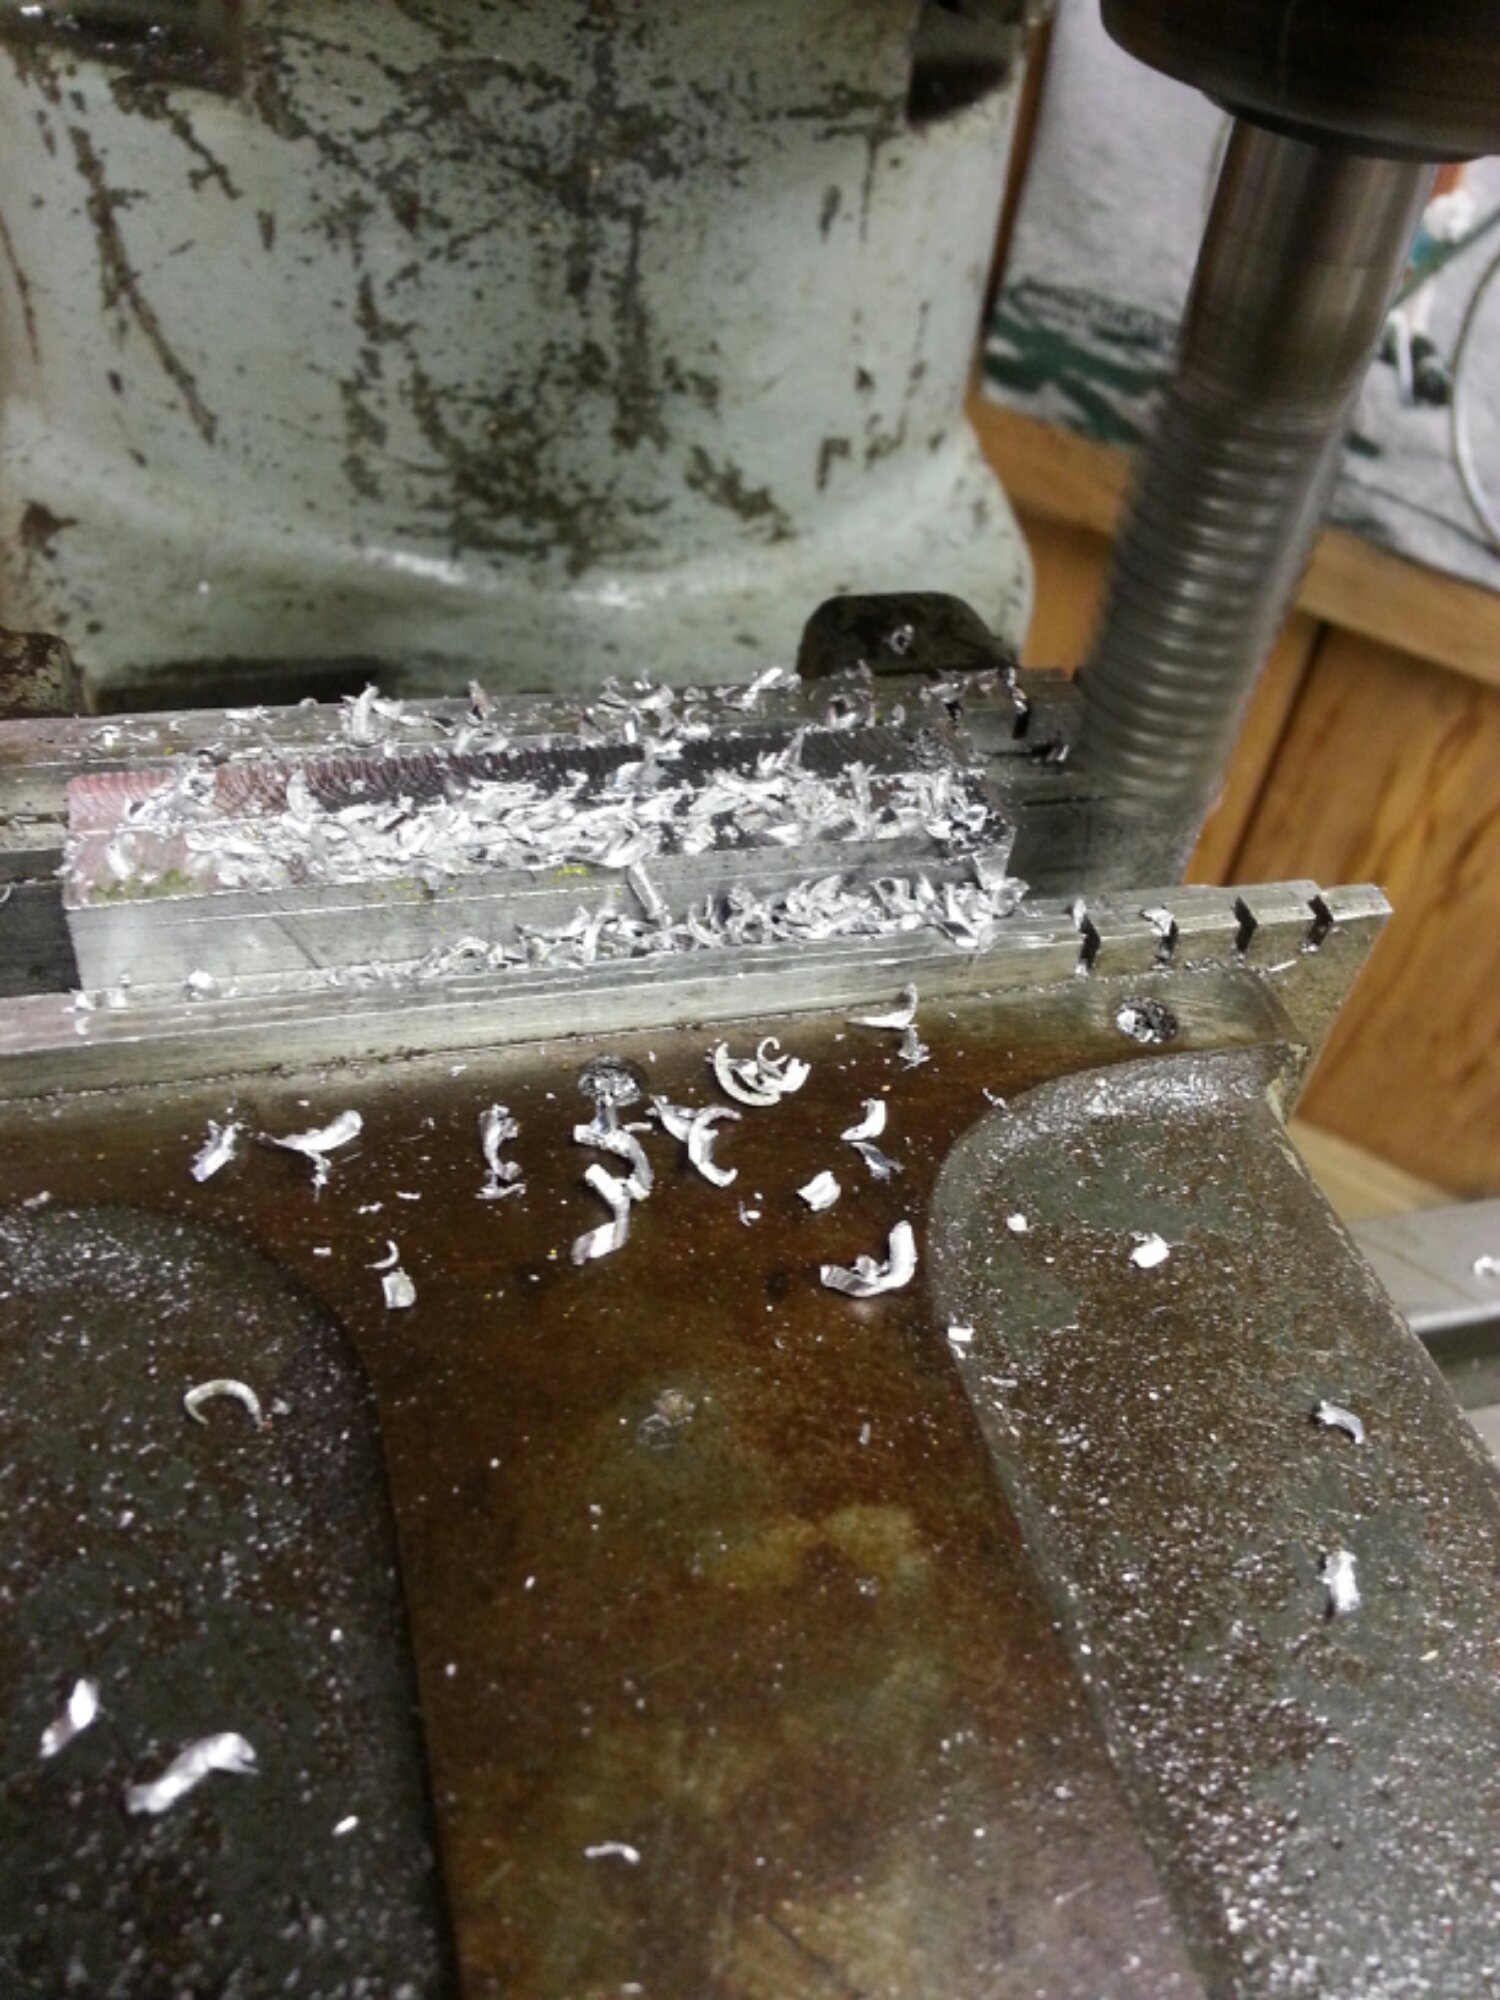
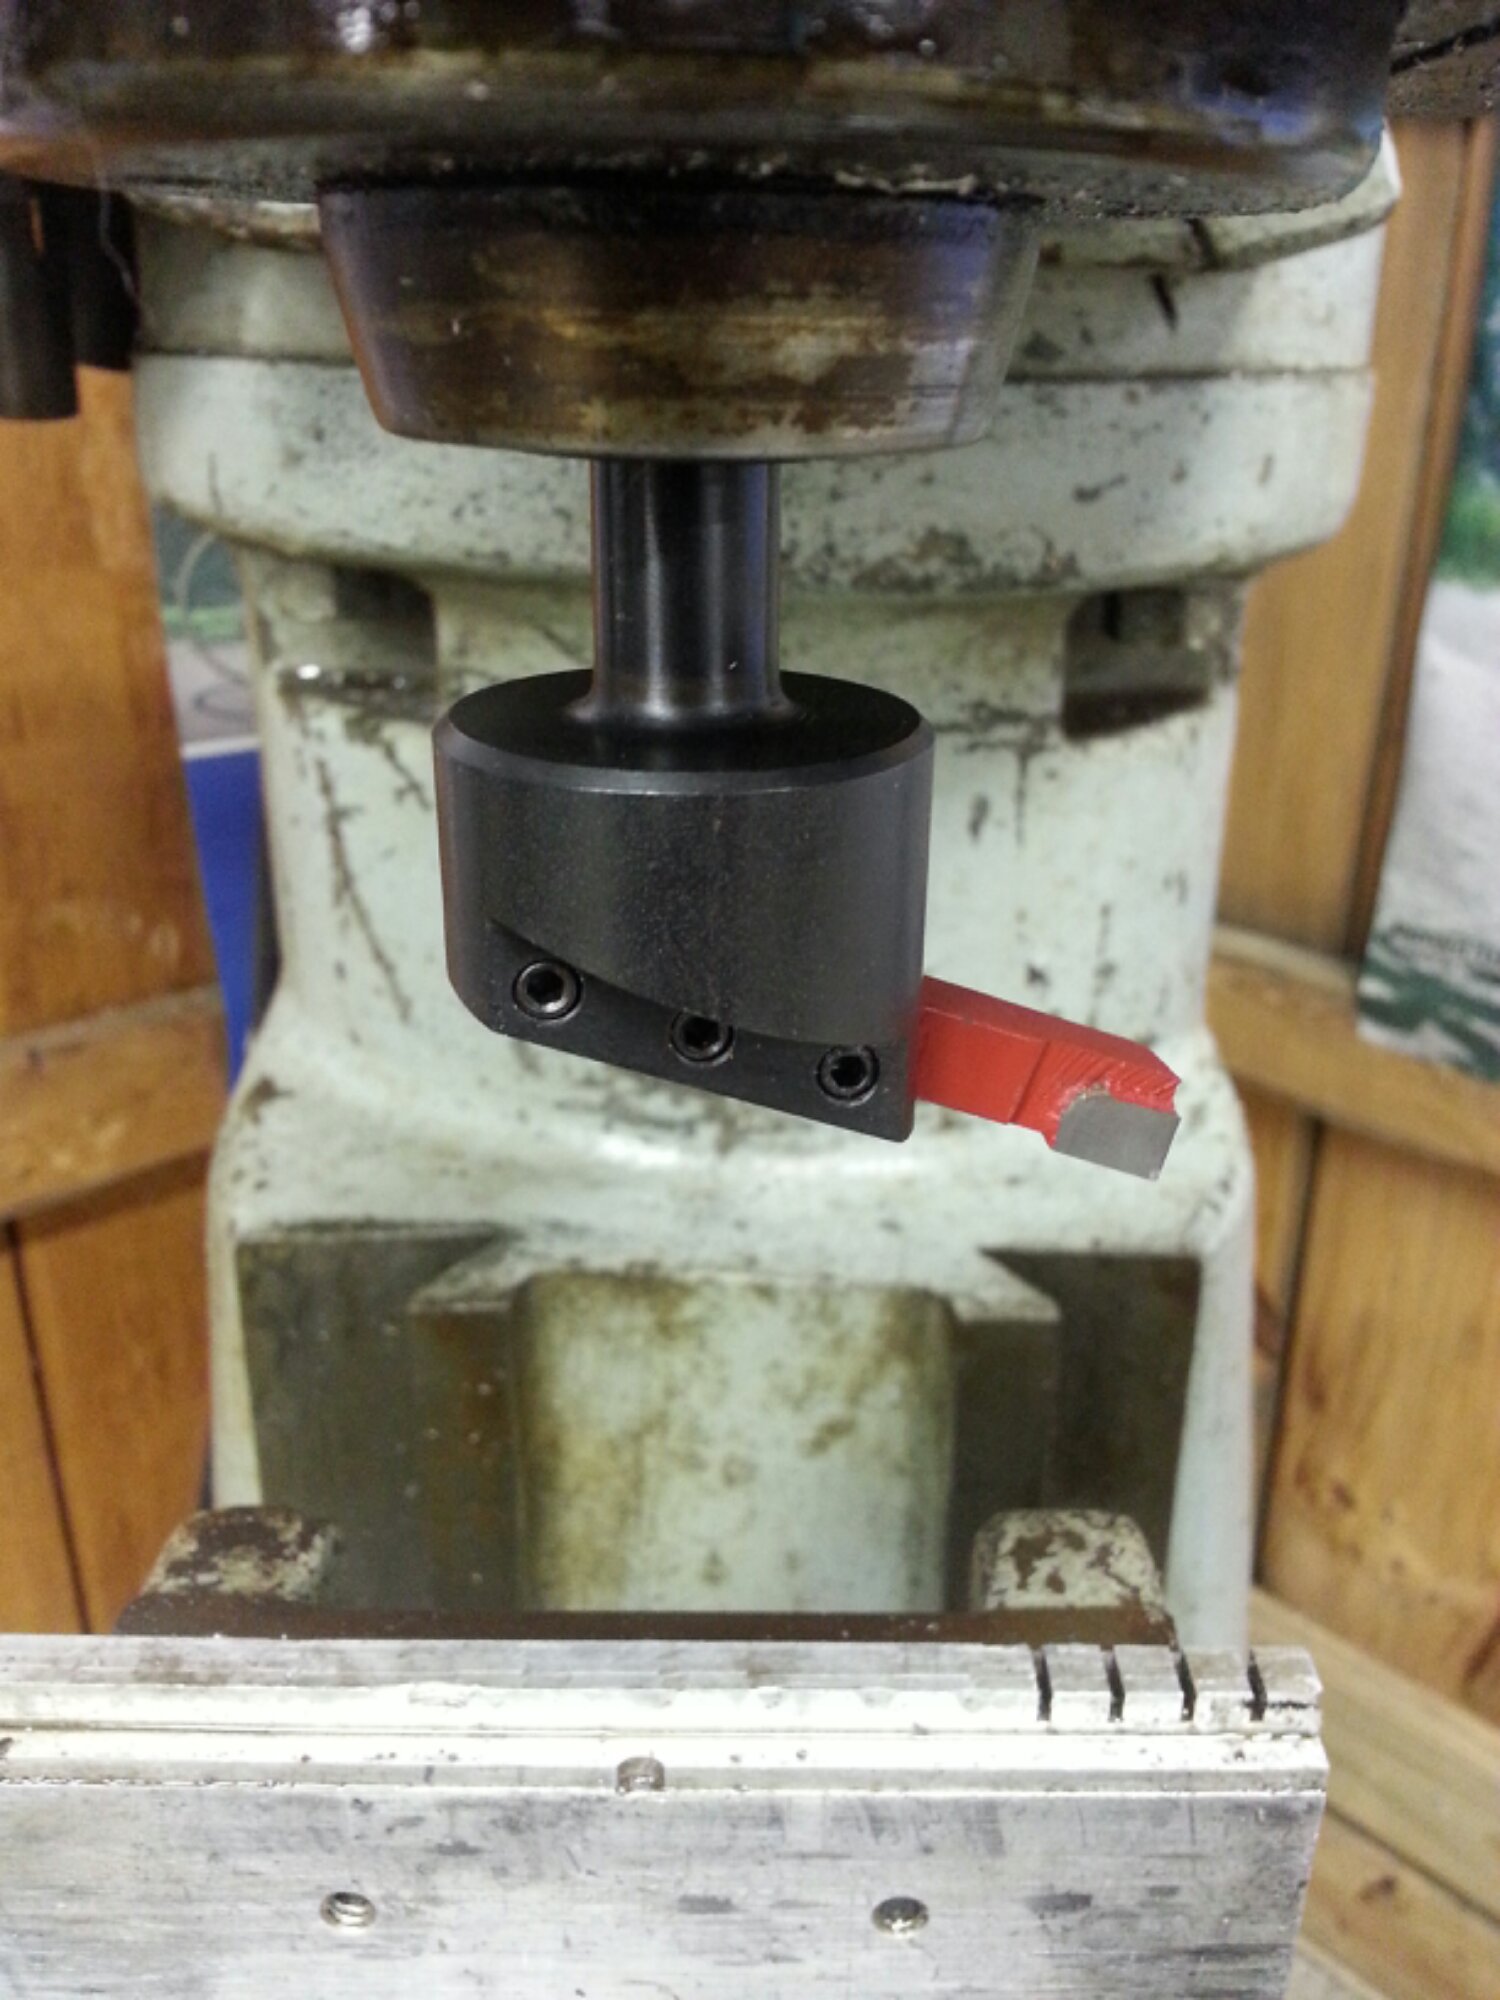
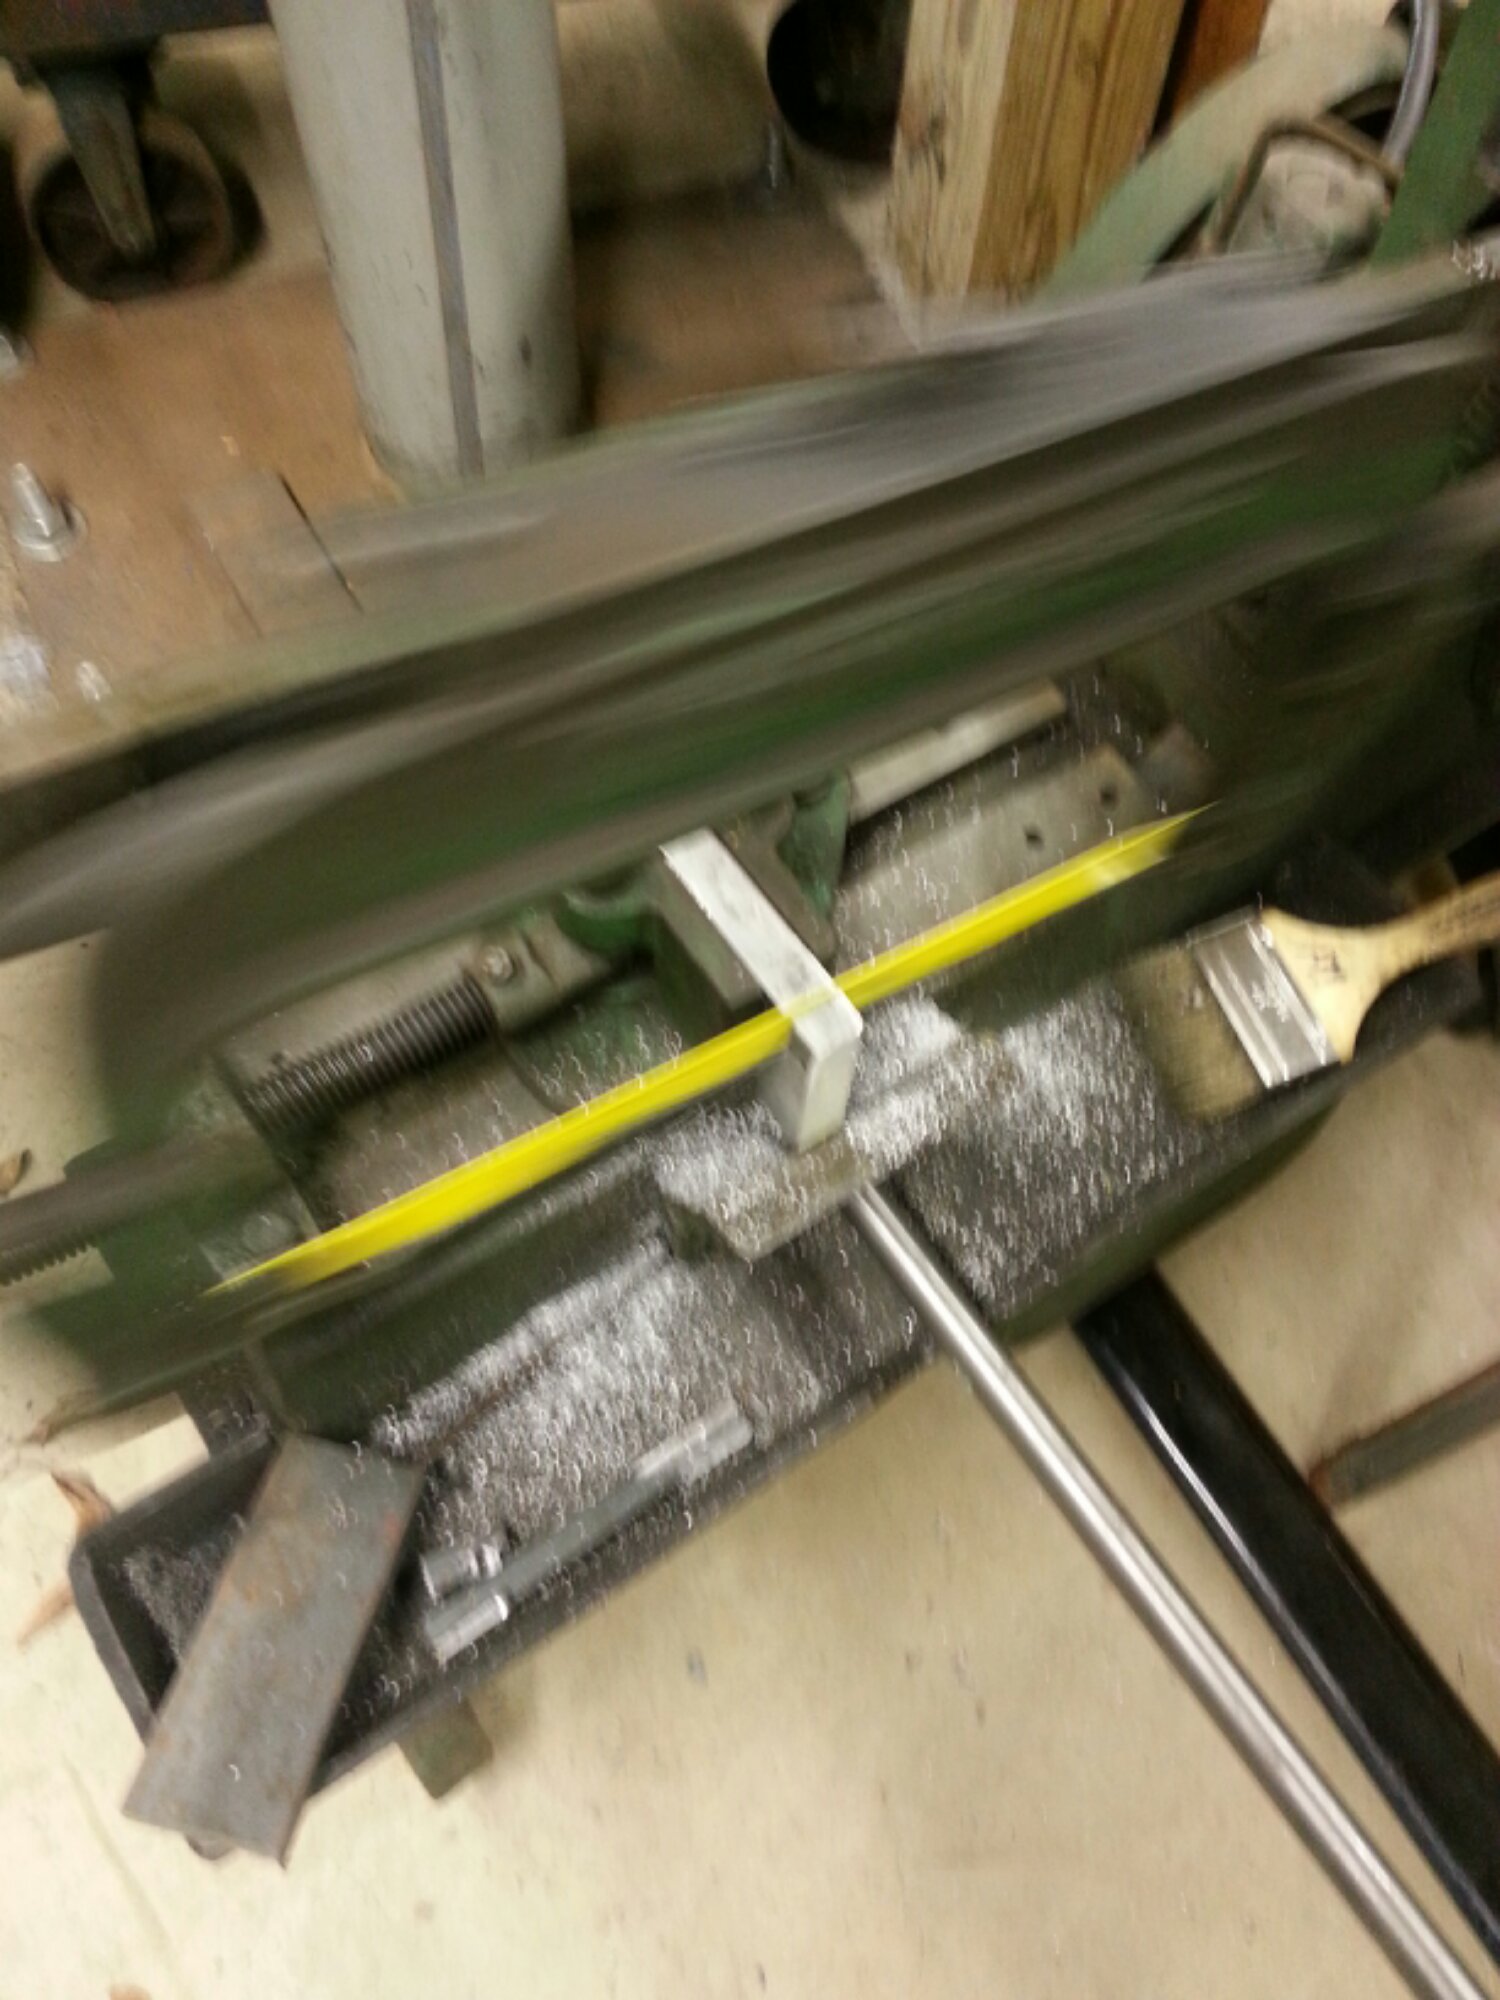
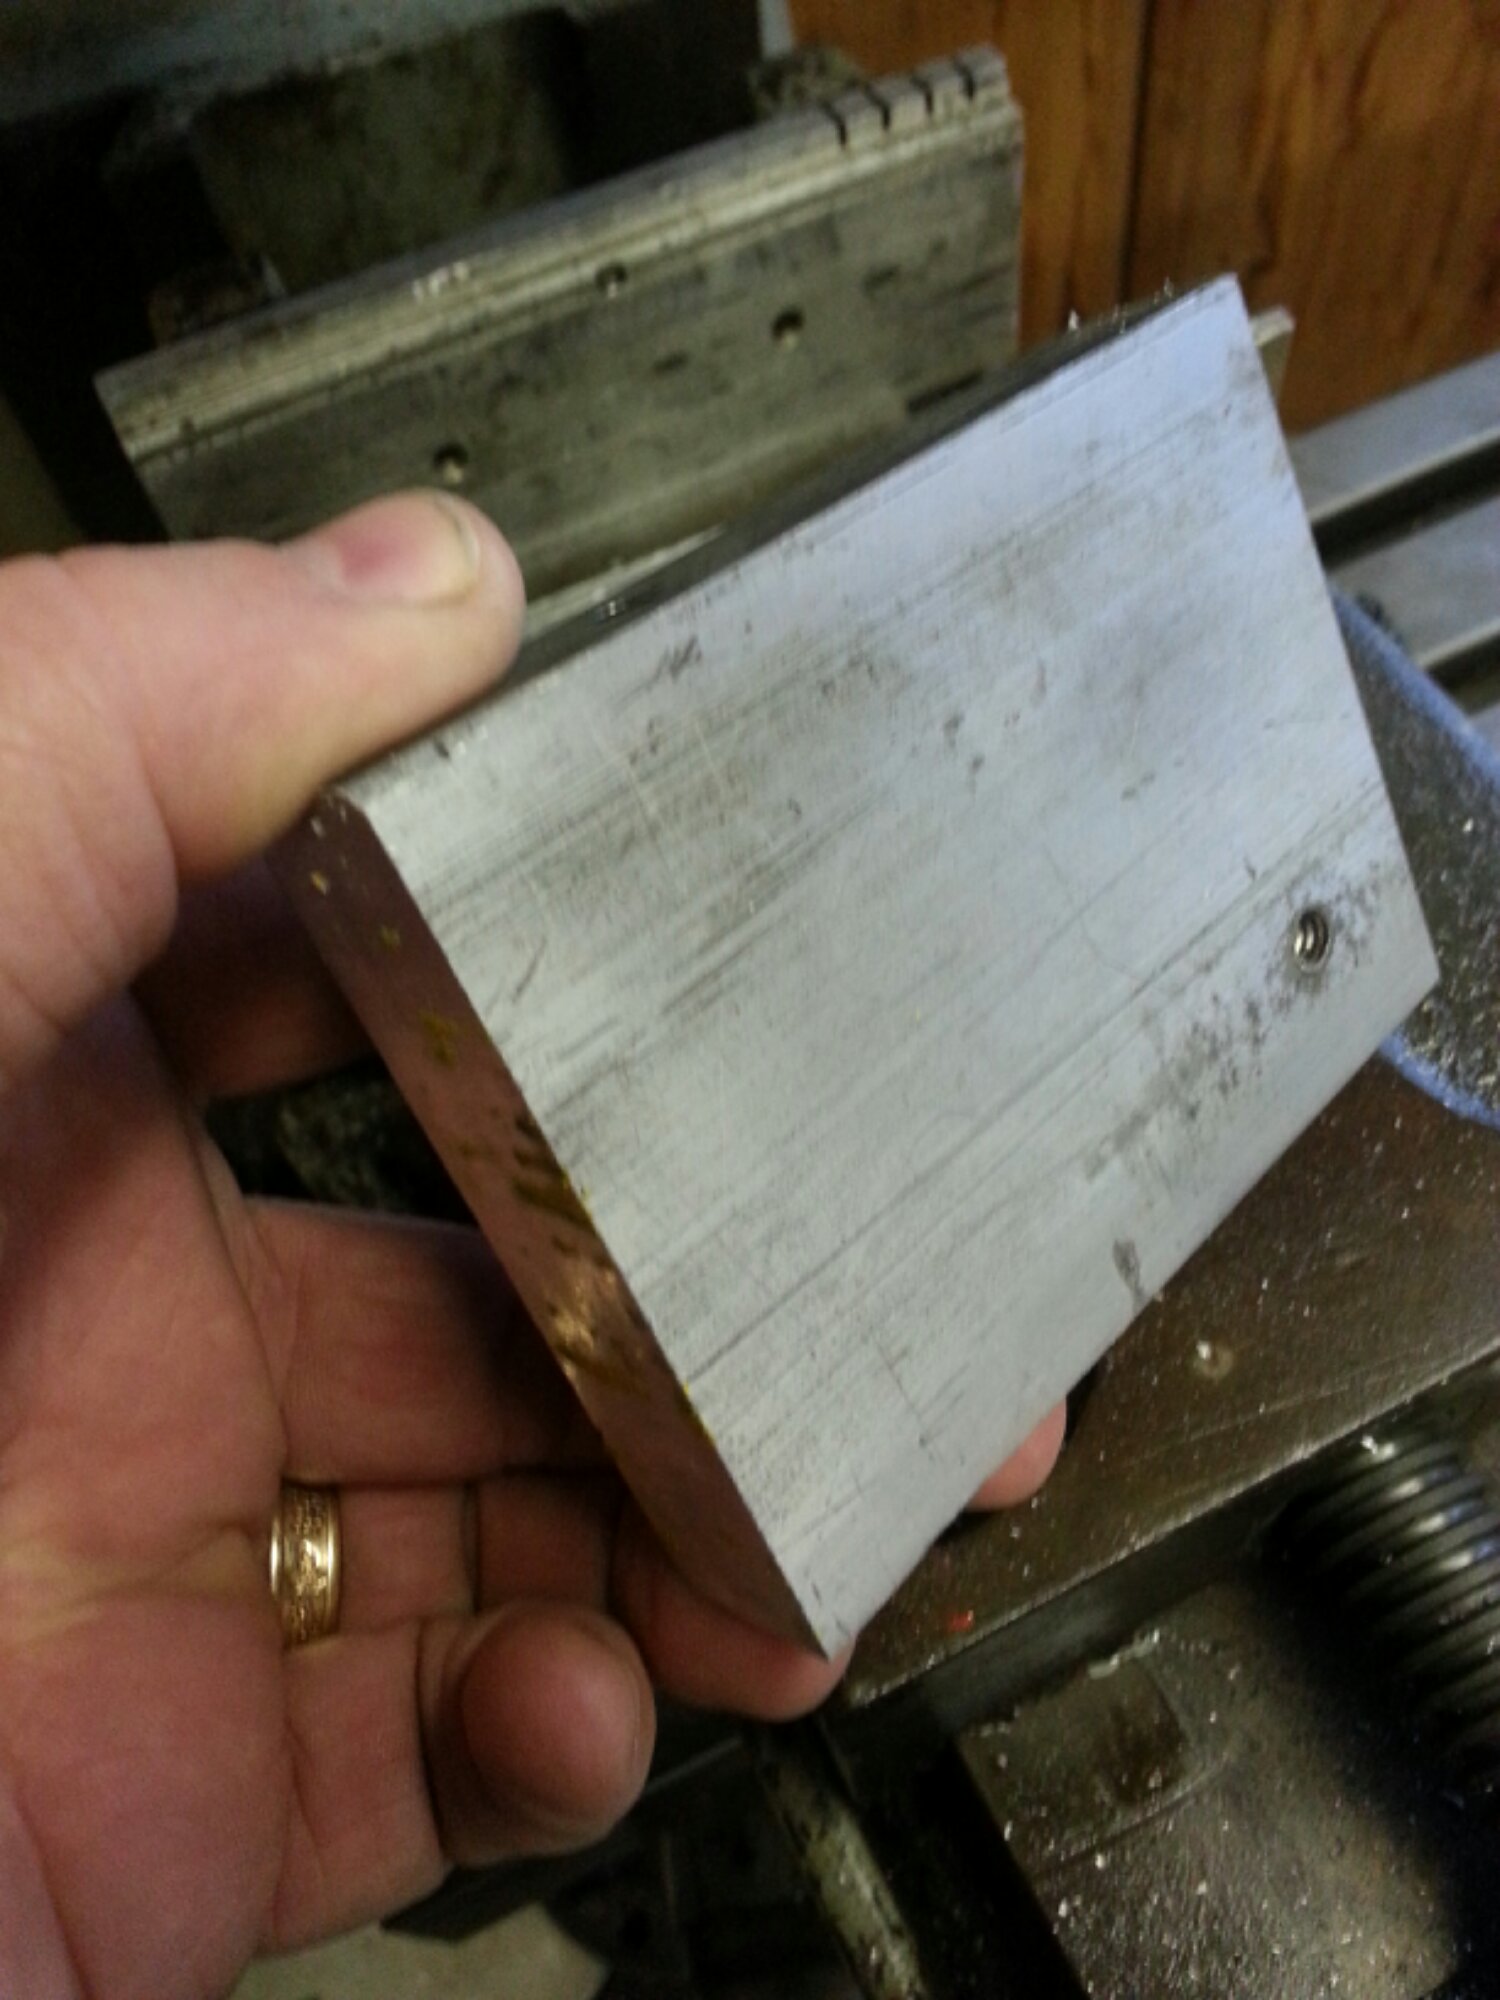
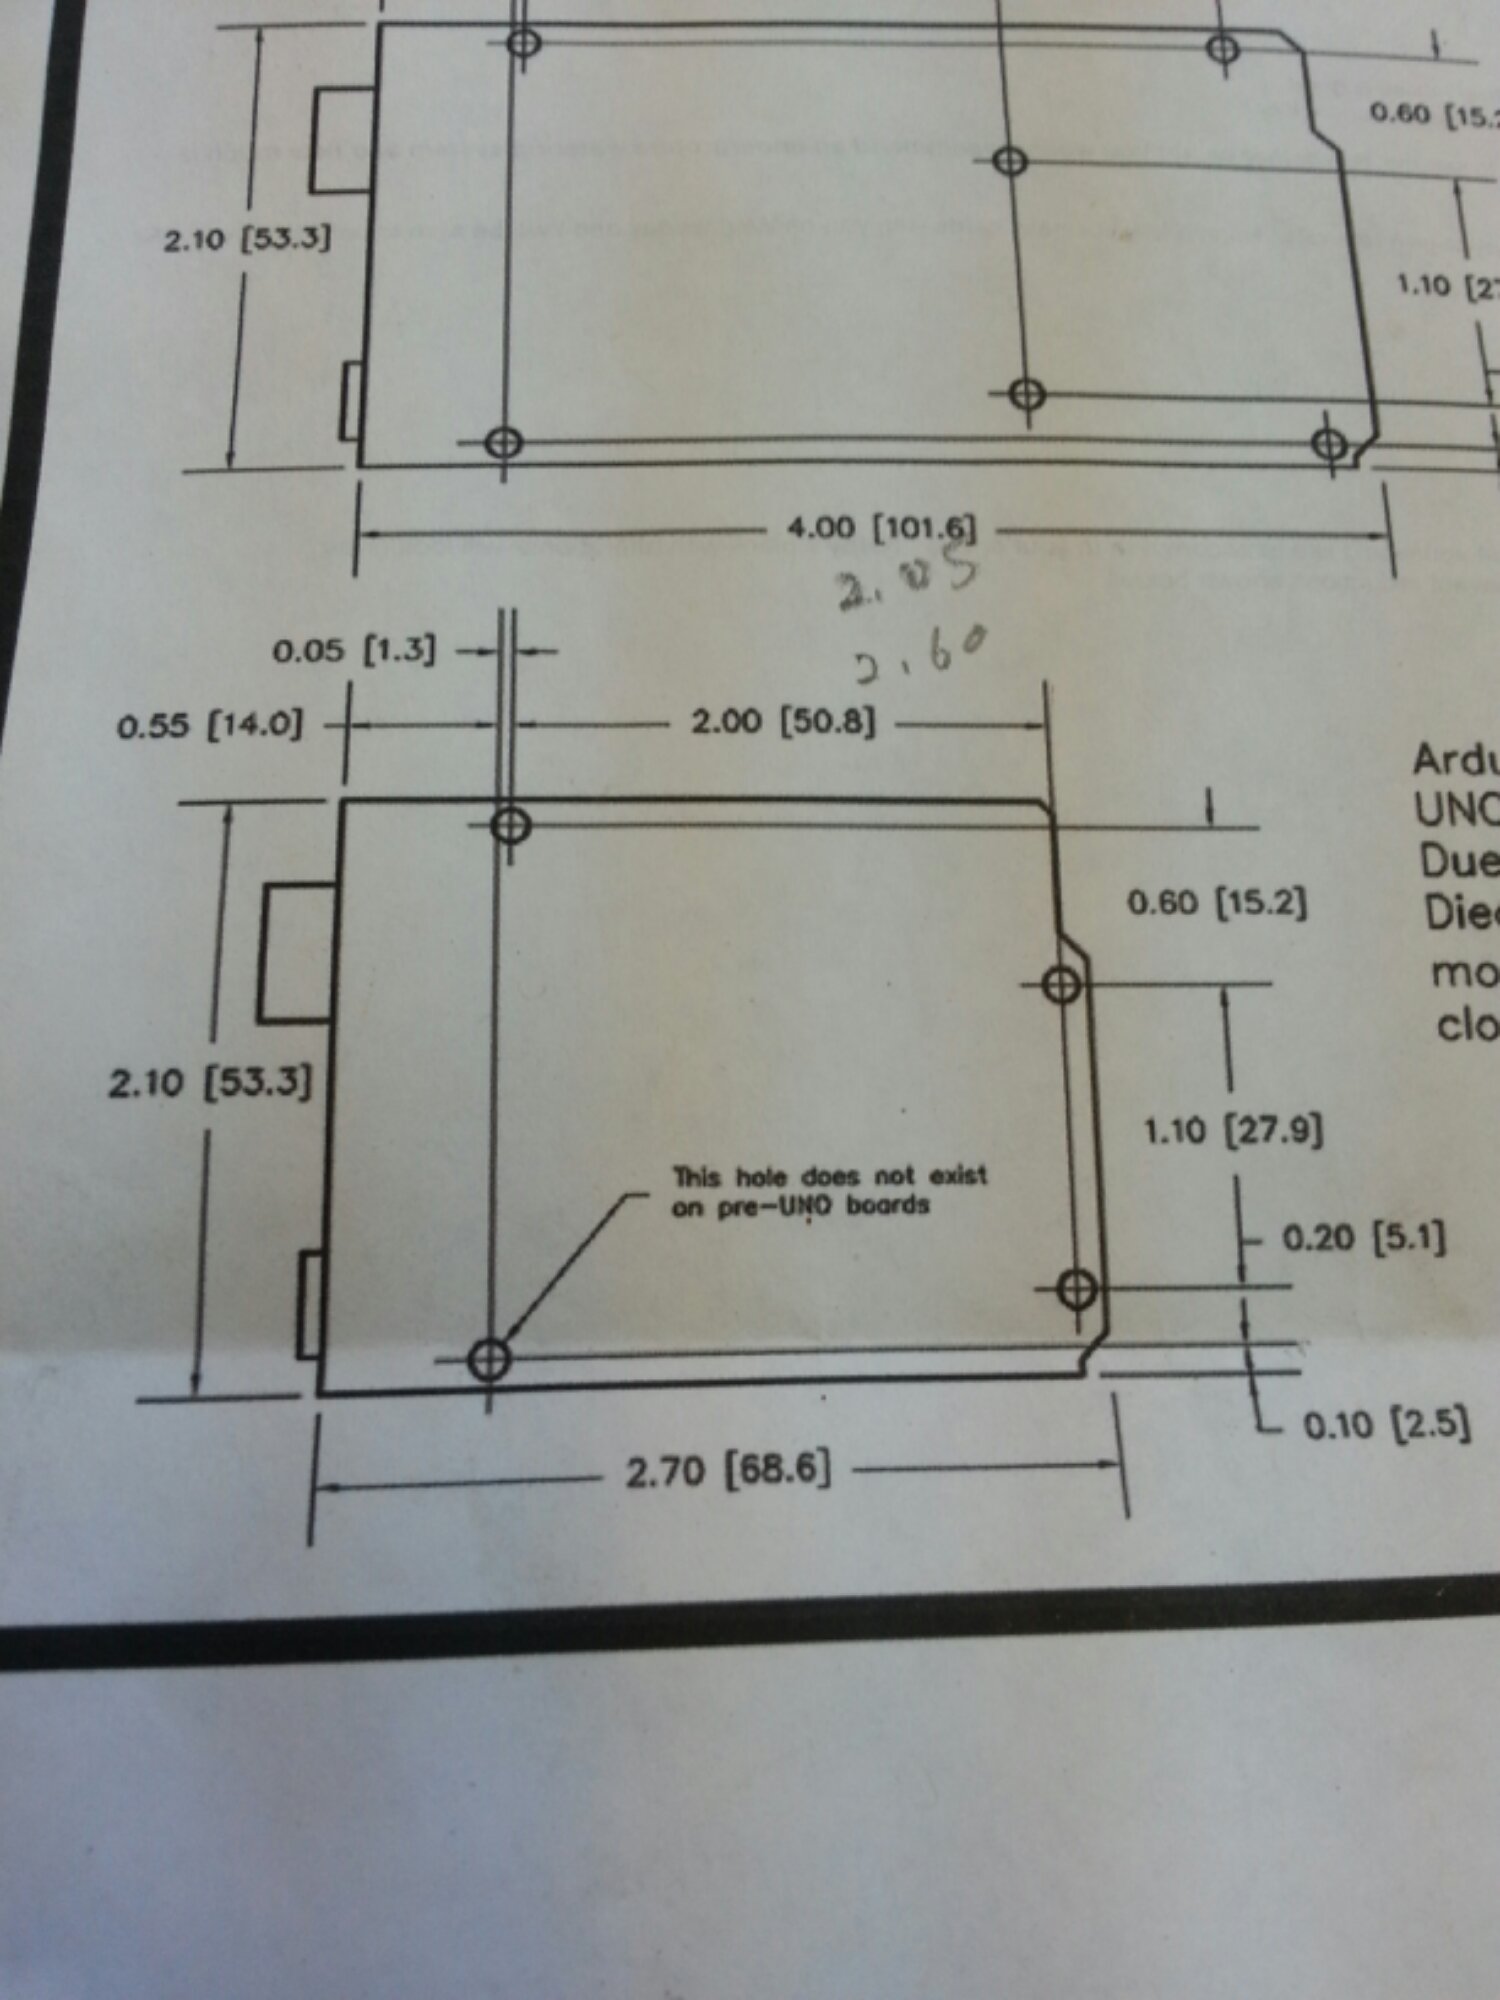
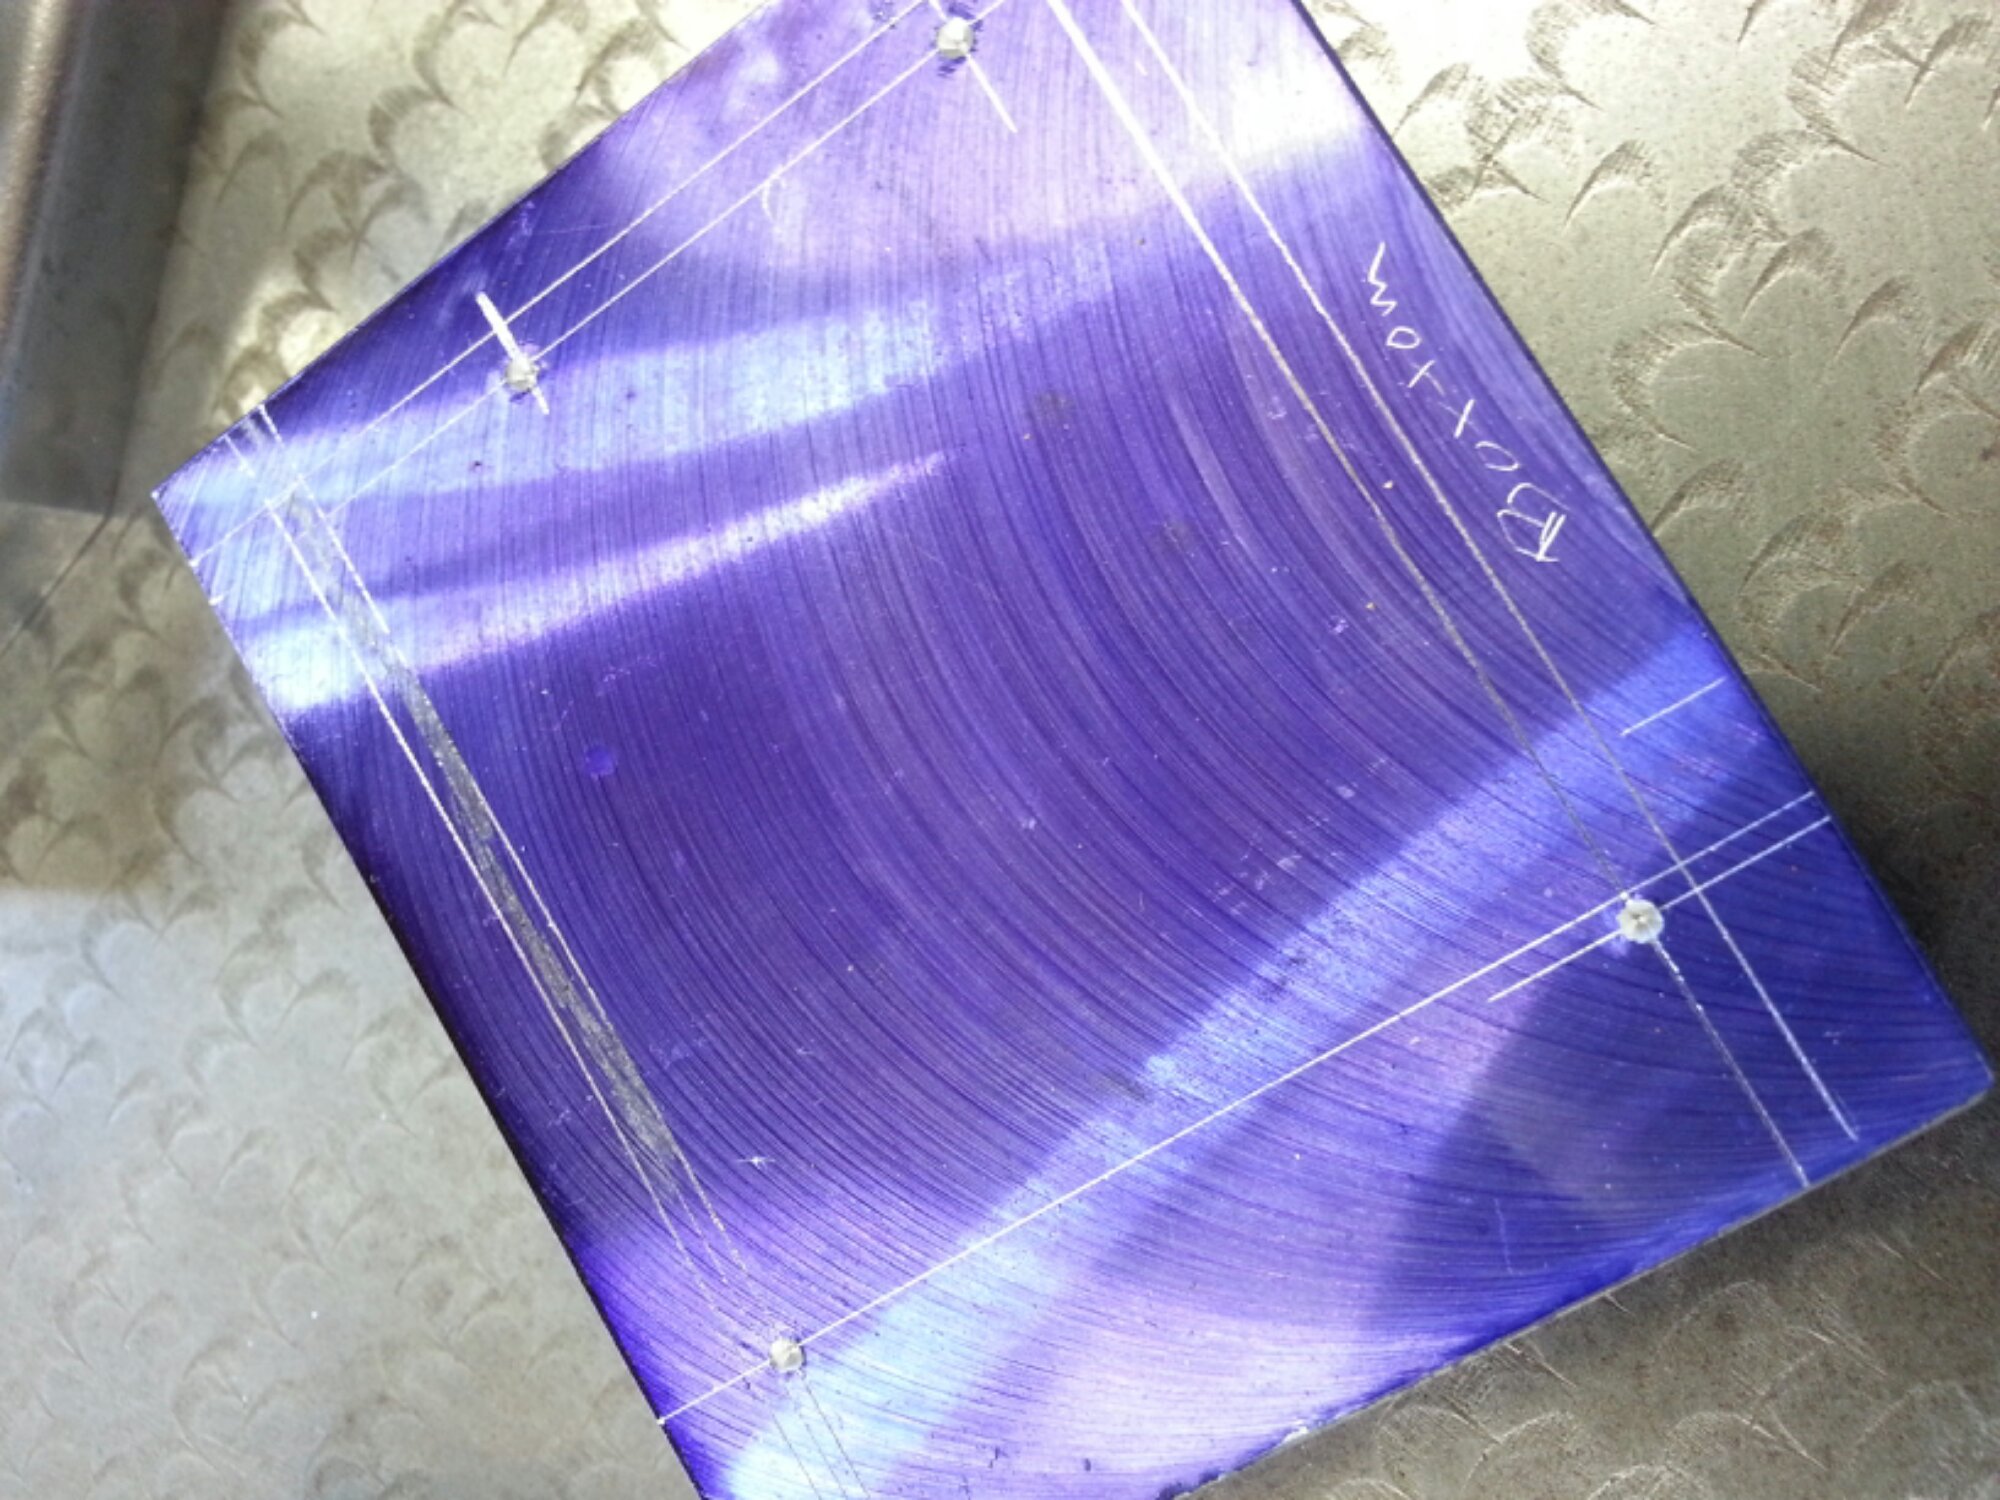
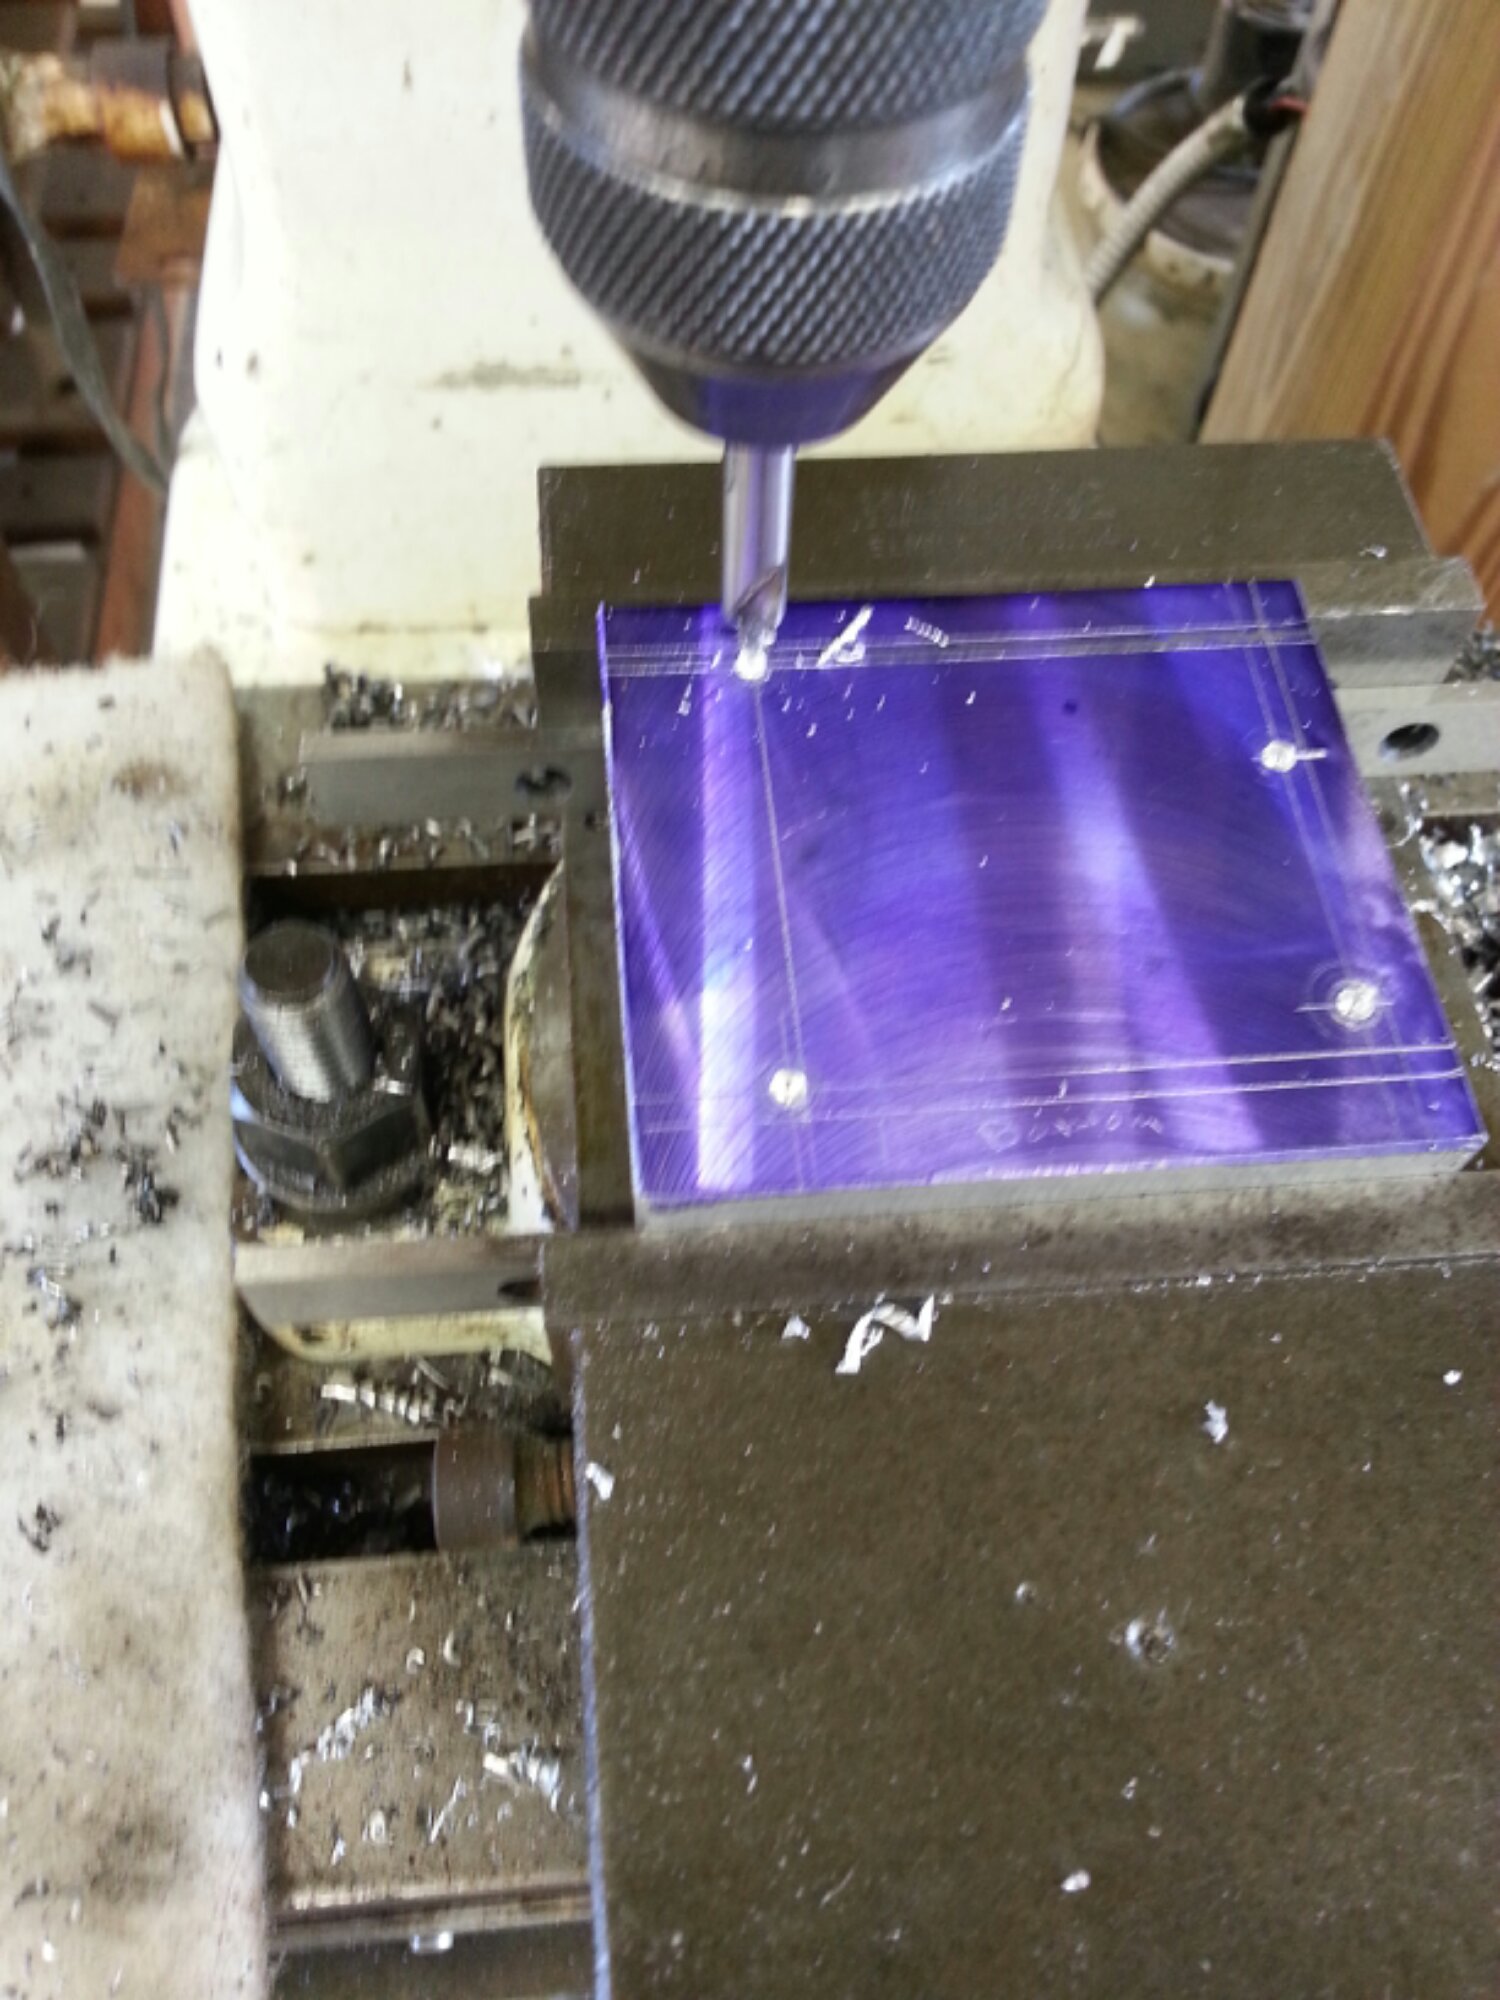
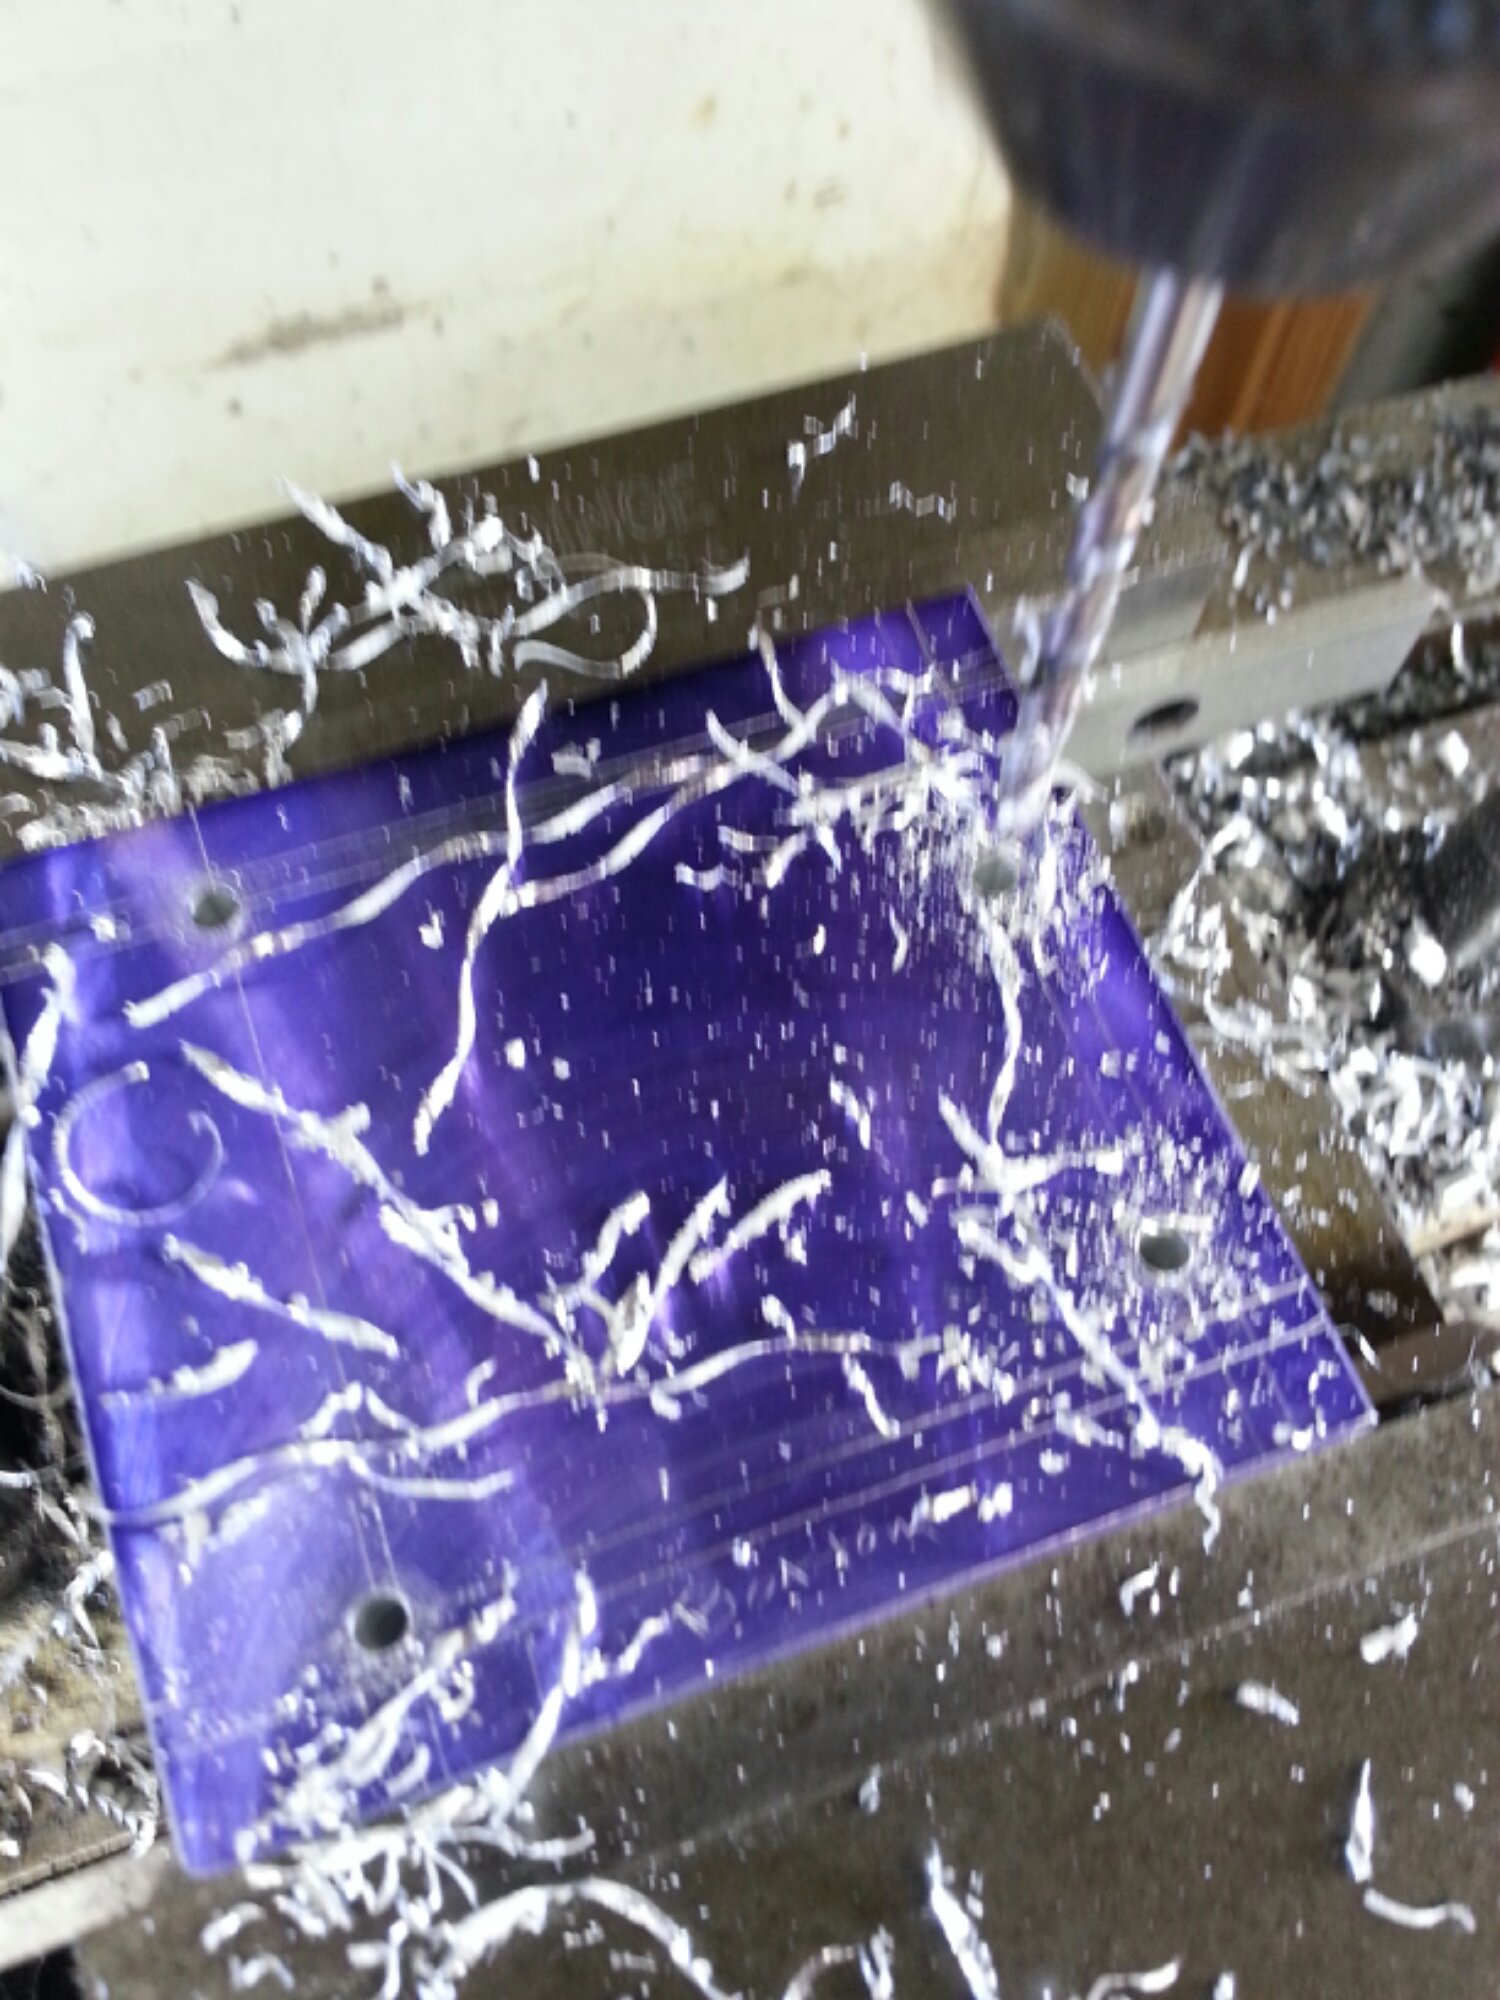
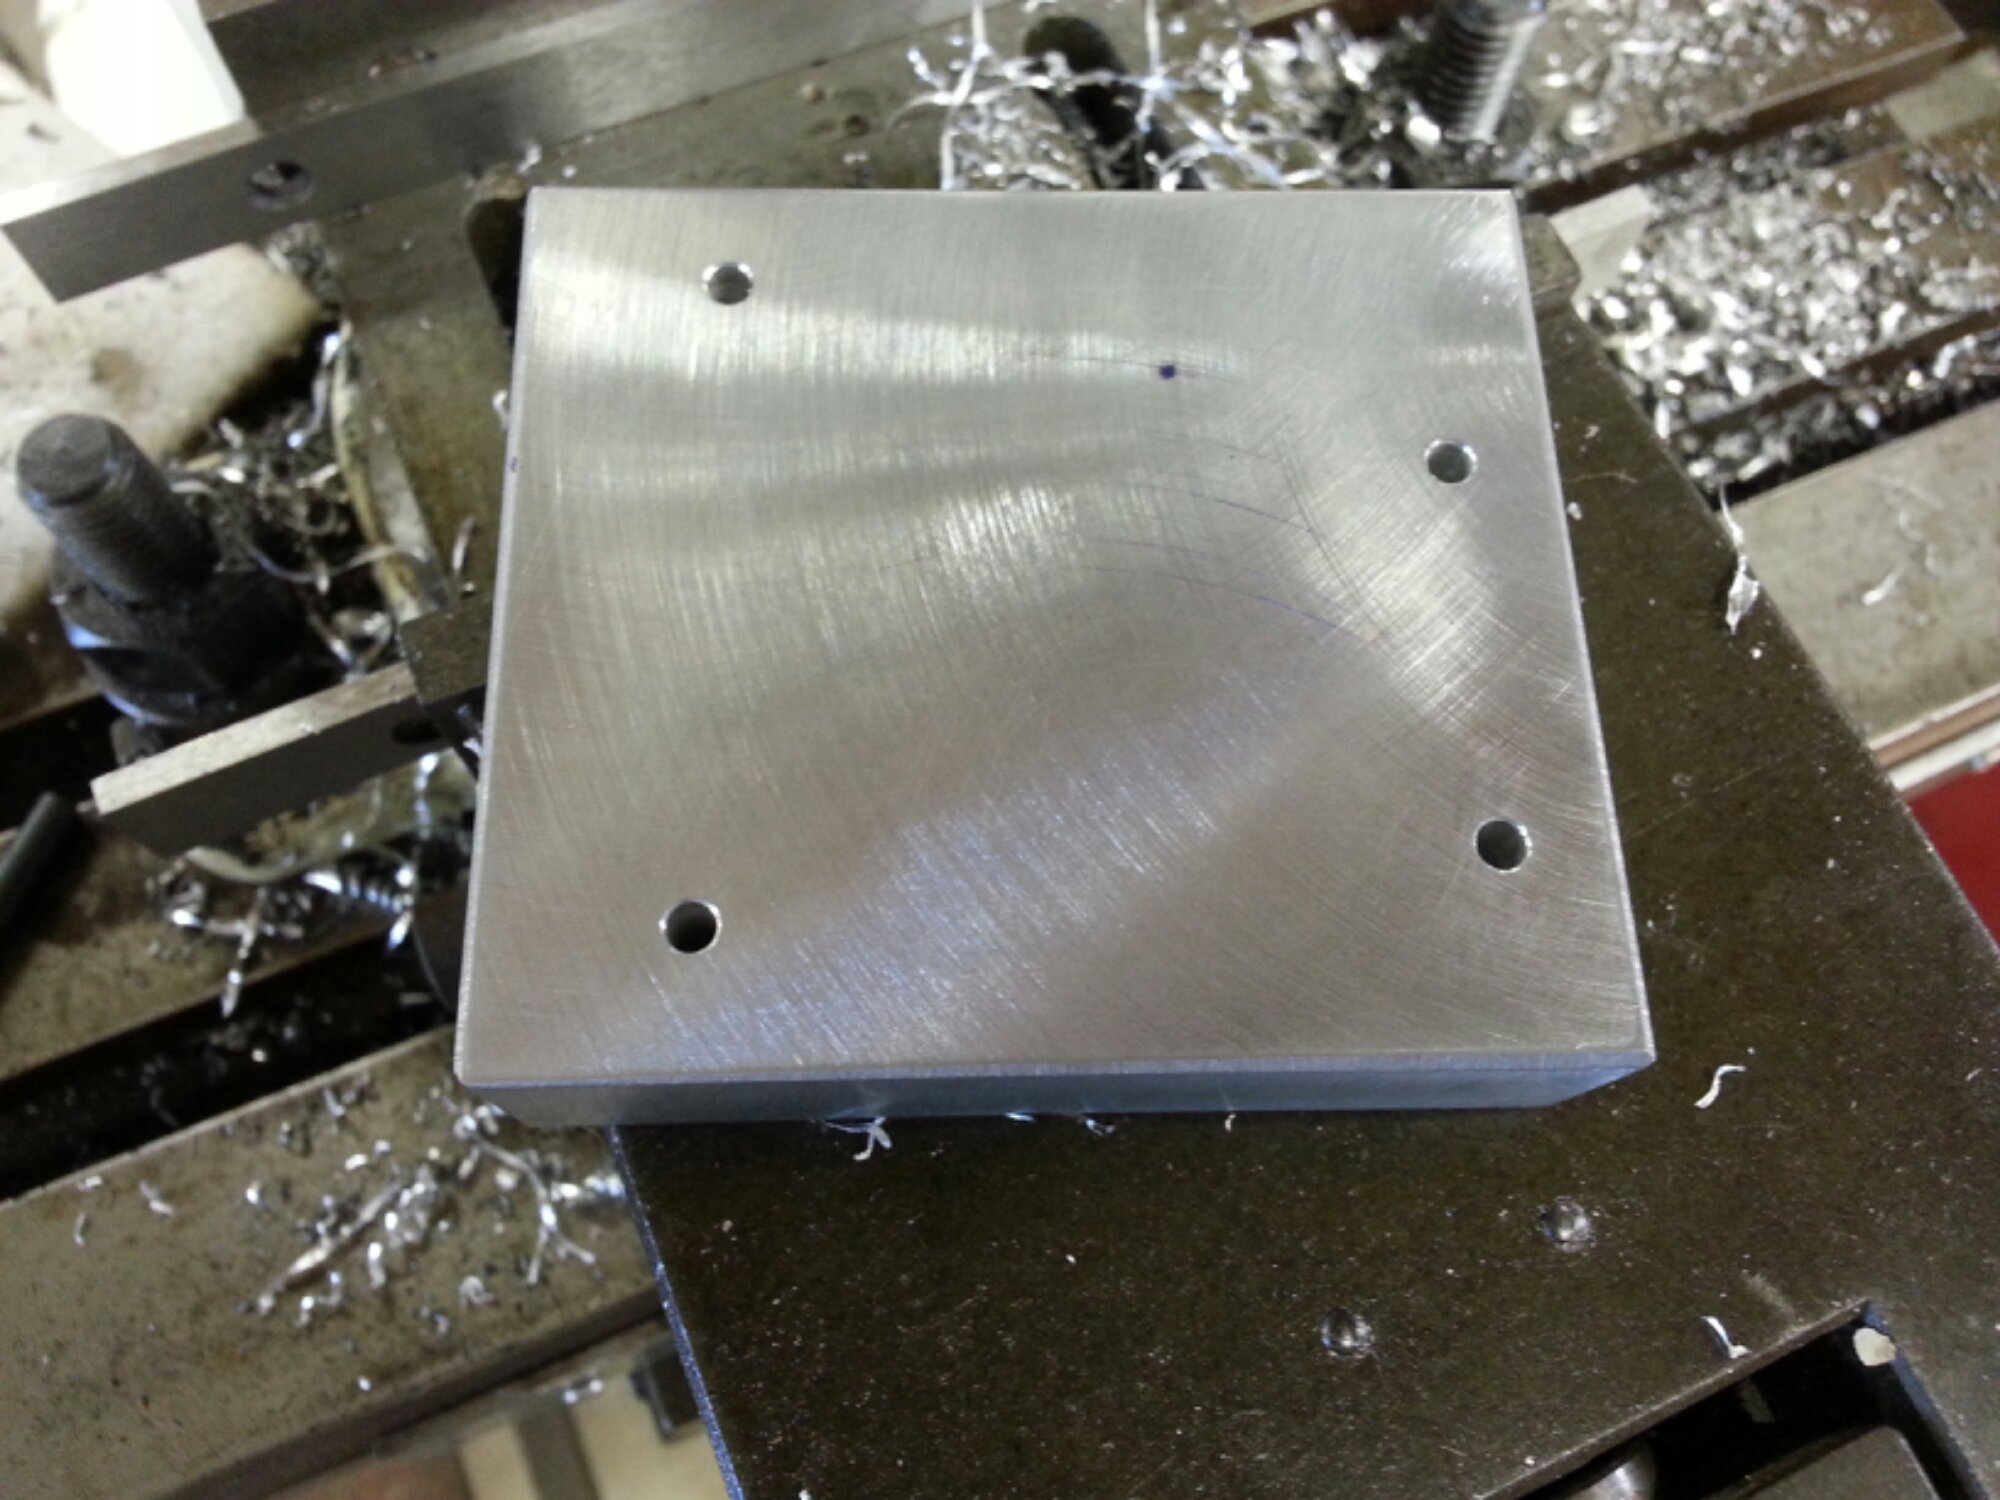
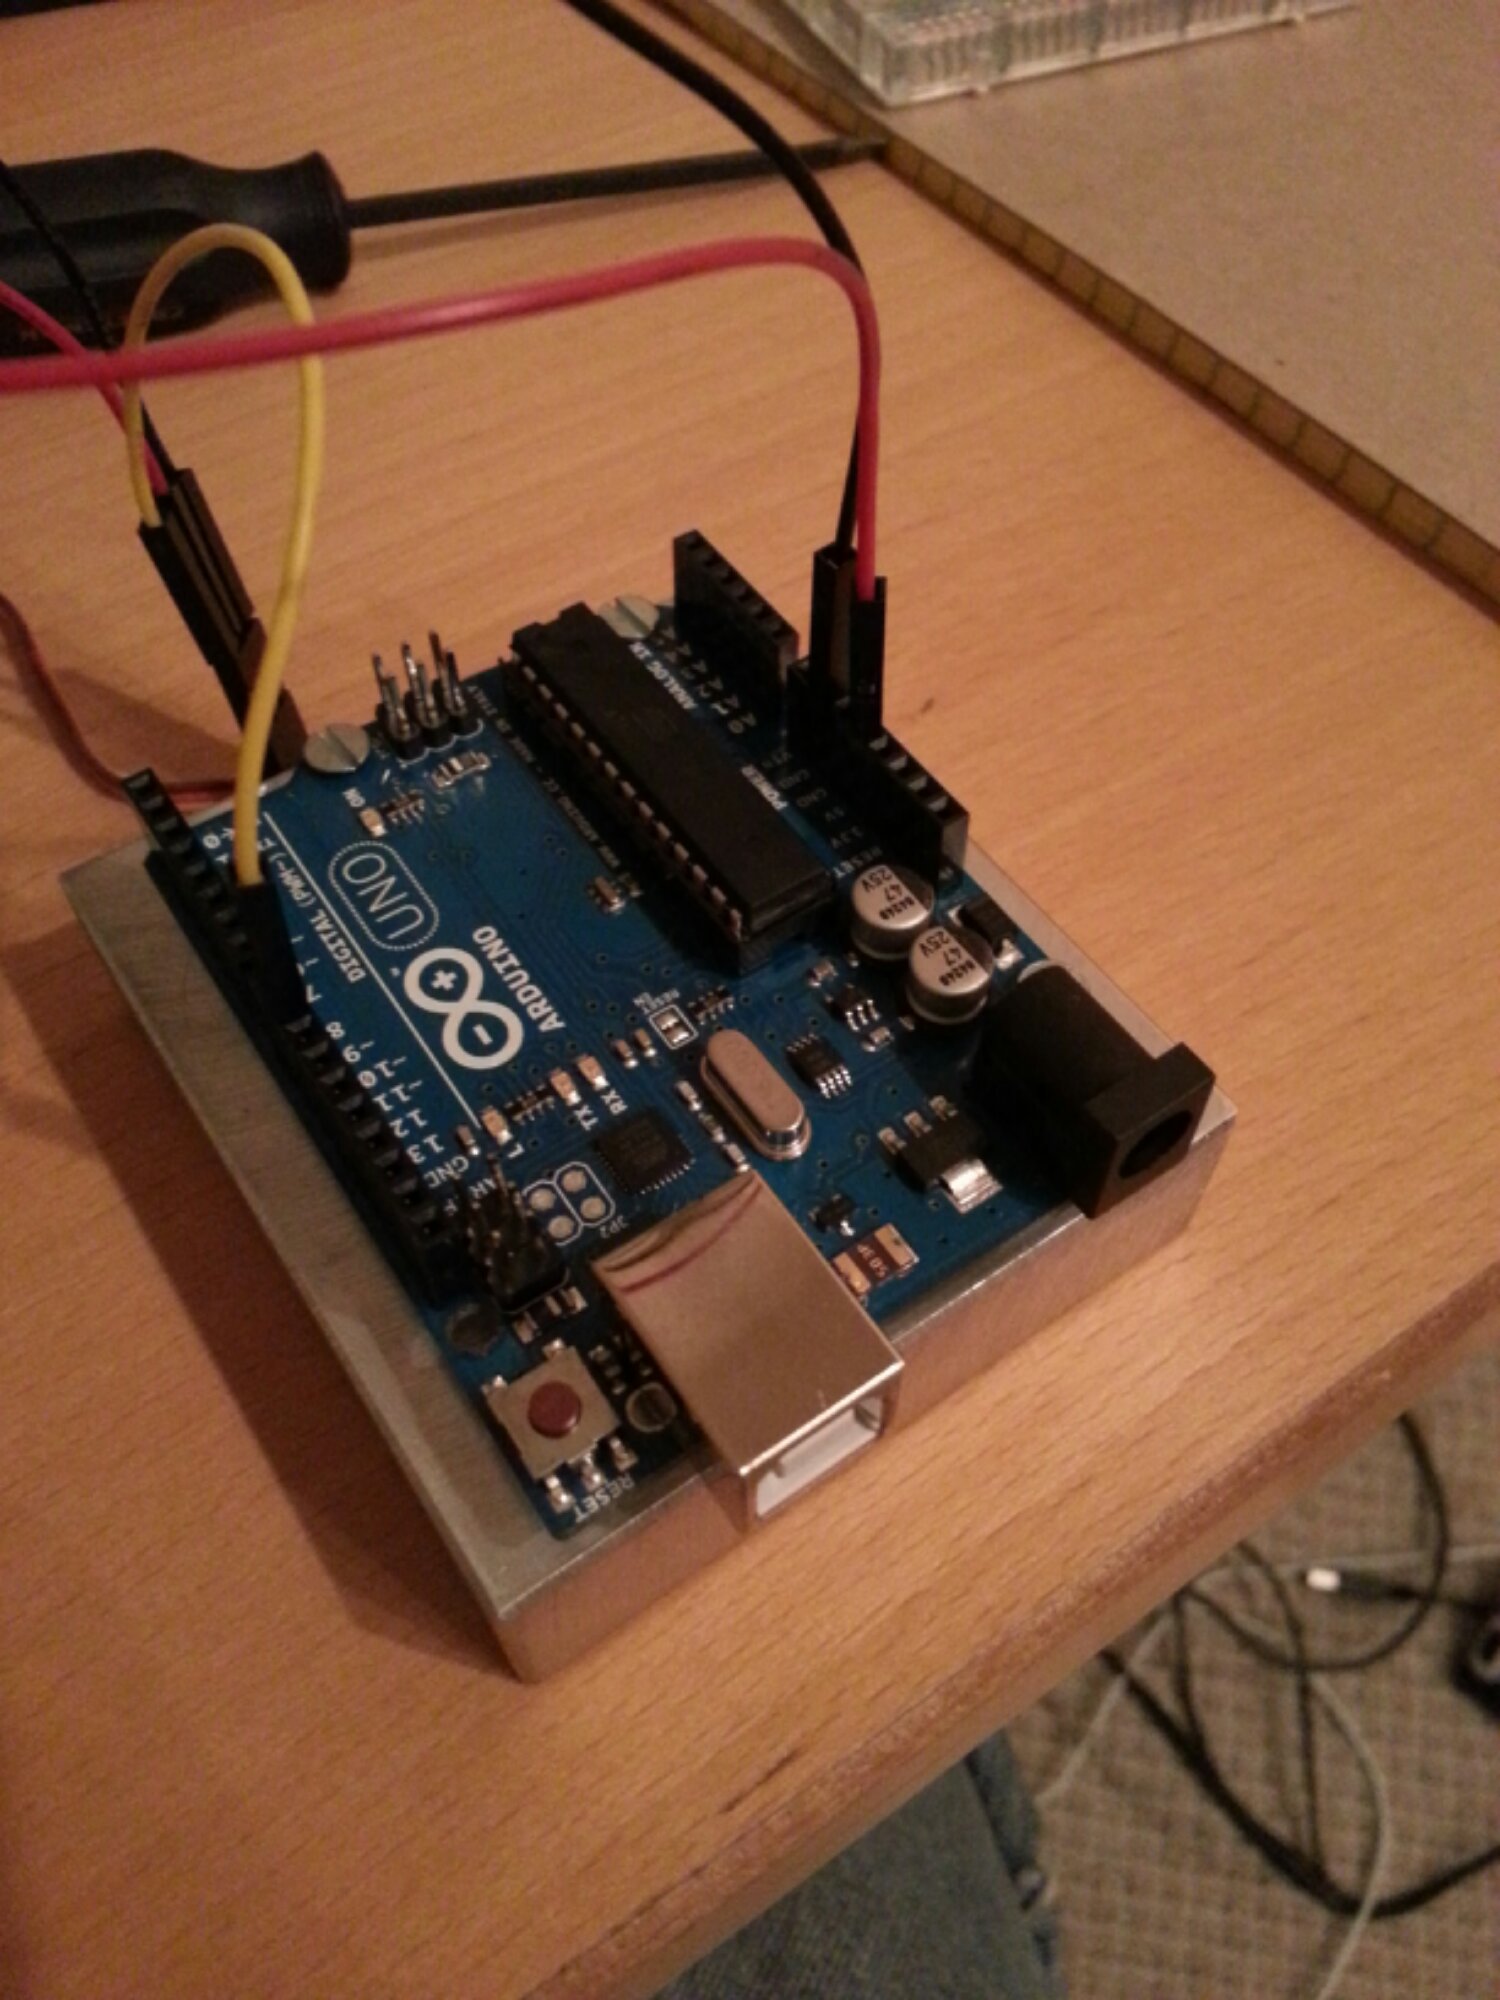
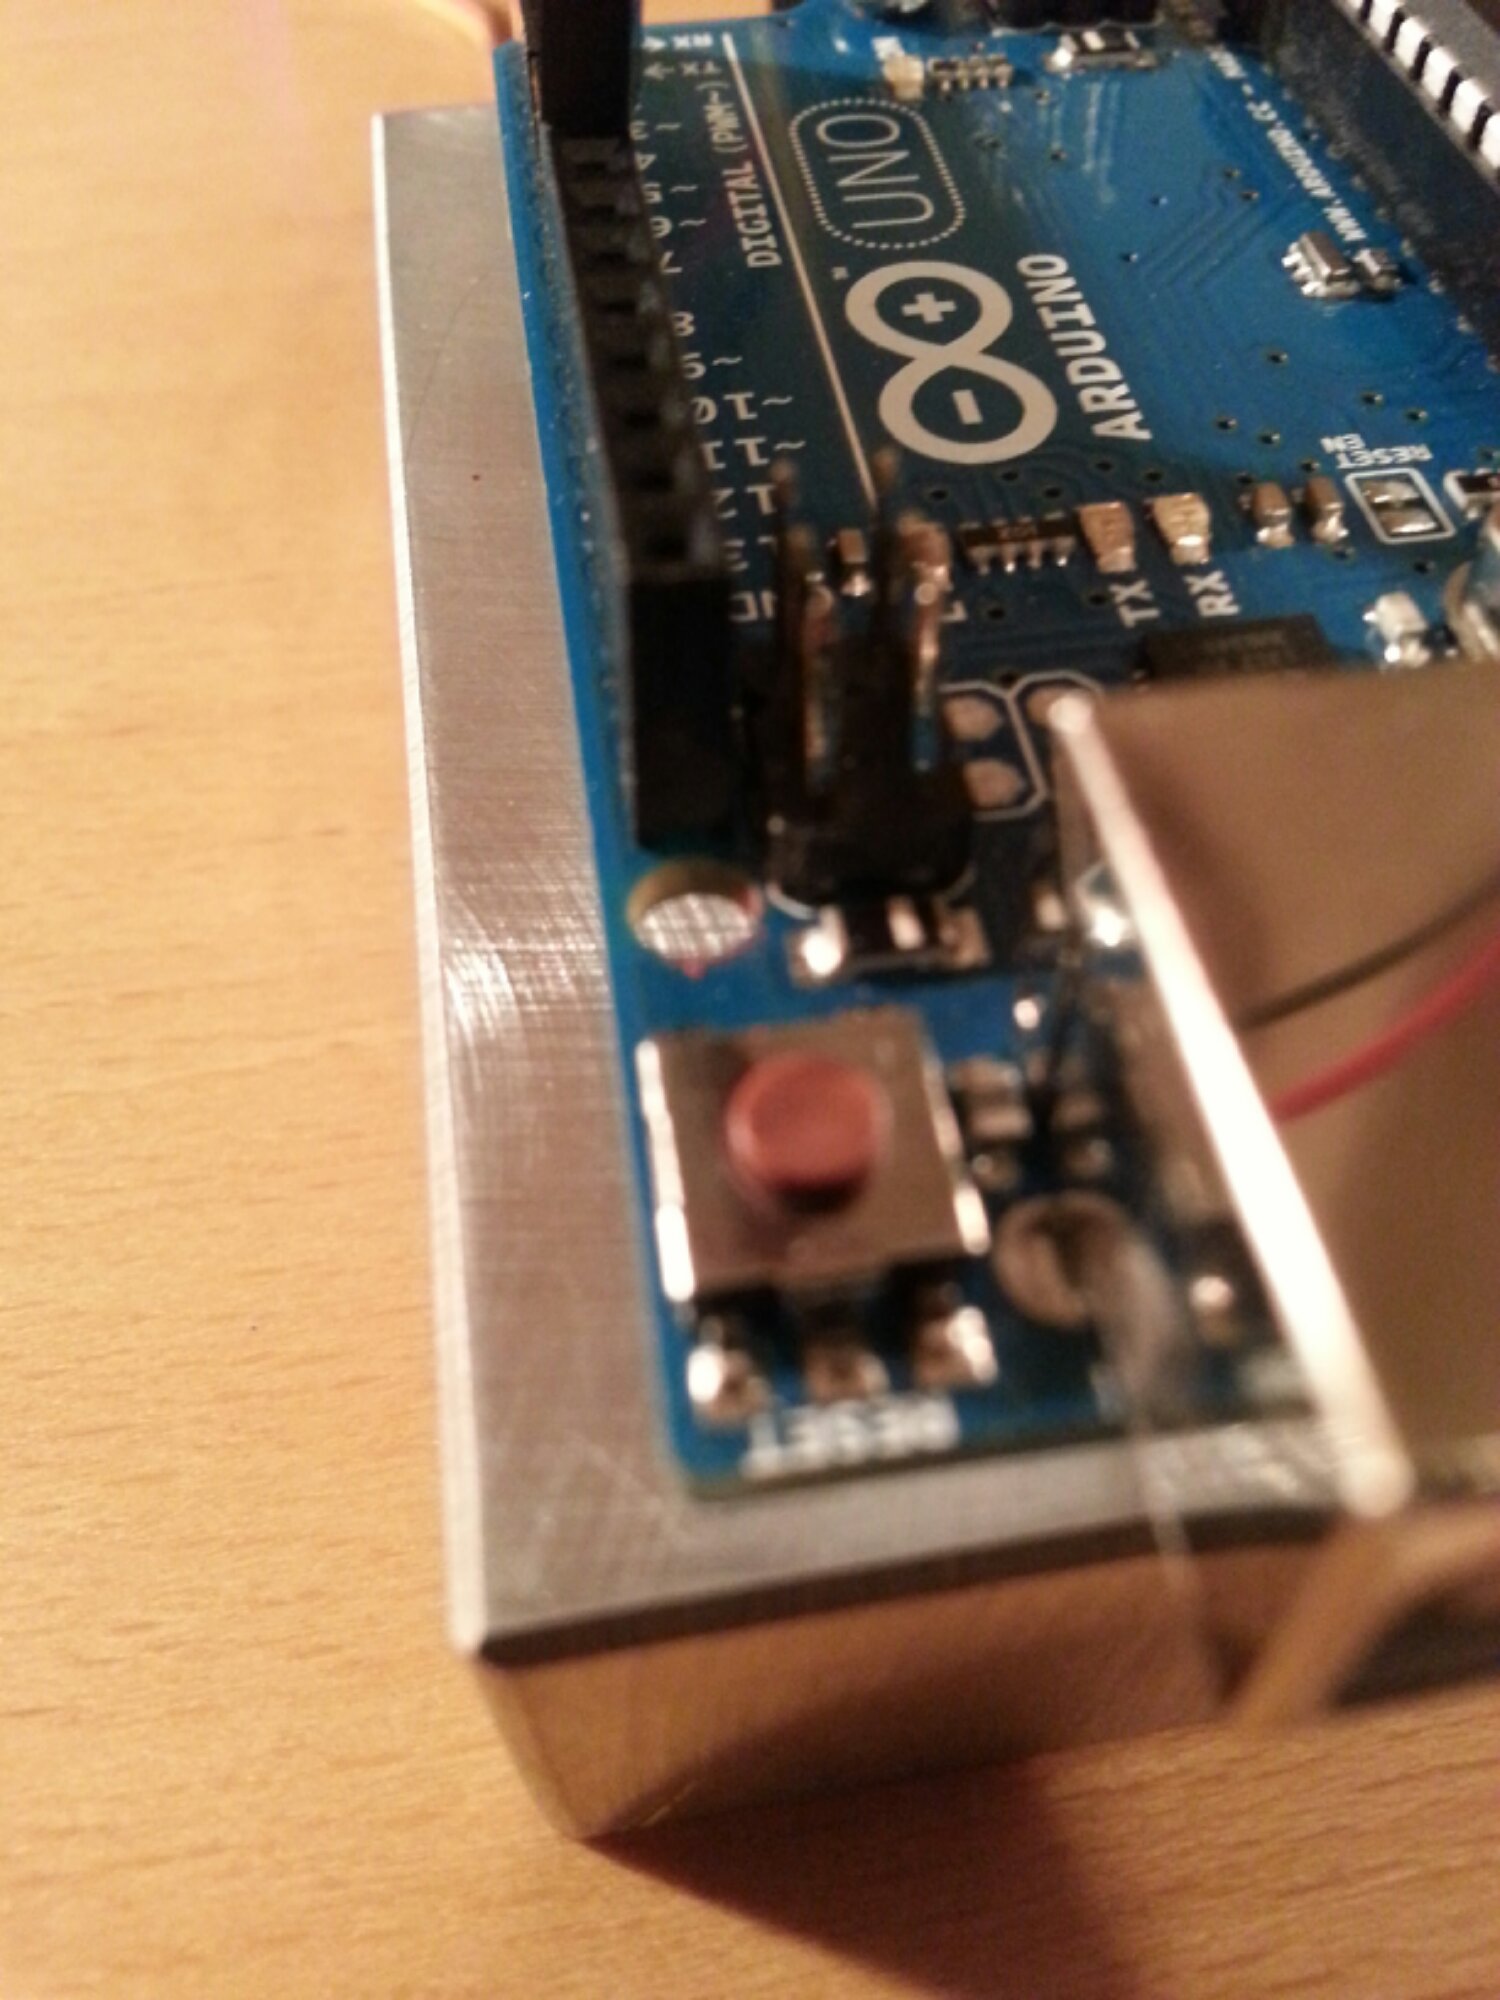
I immediately noticed that a solid case and or mount was in order to prevent it from slipping all over the place while working with it. Pretty sure the USB Cable weighs more than the board. Thanks to adafruit I was able to get the Arduino Hole Dimension Drawwing and build a block out of some scrap aluminum I had laying around.
This was a test/challenge of my machine layout skills but was happy that it worked out well enough on the first attempt. I am going to make a few more so that I can have a template for drilling out other bases and such. Making more of these will also help hone my layout skills.
As you will see in this next photo, the mounting hole that is near the AREF Pins is not very useful as there is not space for the head of a screw to sit.
My only regret with the Arduino Uno is that I did not buy one sooner!