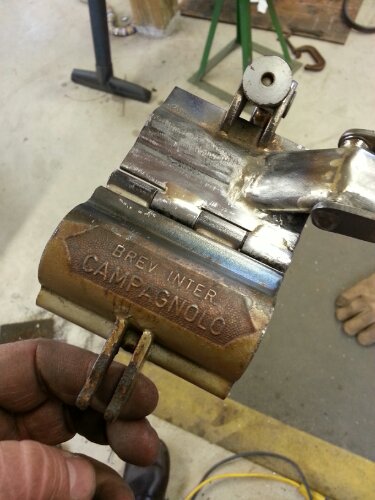
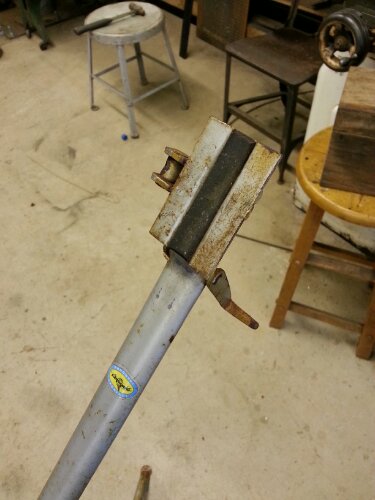
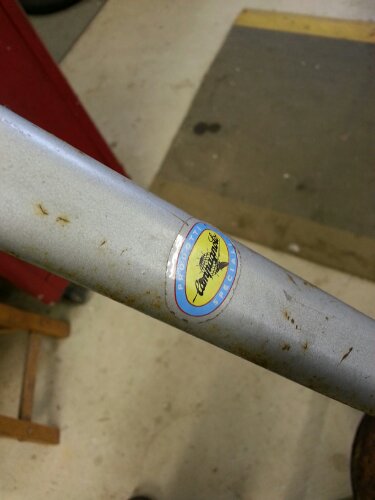
Here you go Wayne. I still think the brass one was cooler. This concludes the obscure Campy parts (see previous post for Campy repair stand) day in the shop.
read more
Here you go Wayne. I still think the brass one was cooler. This concludes the obscure Campy parts (see previous post for Campy repair stand) day in the shop.
read more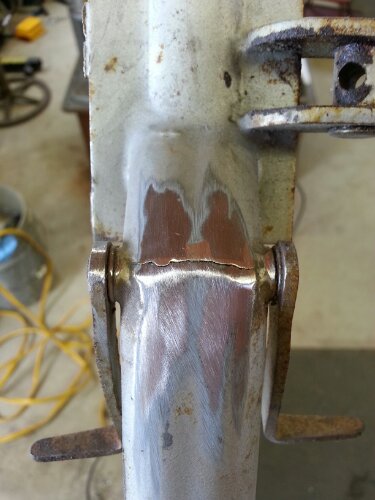
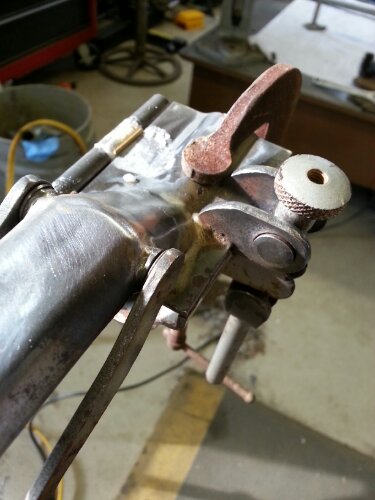
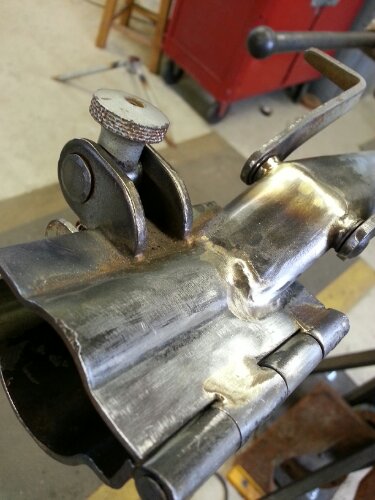
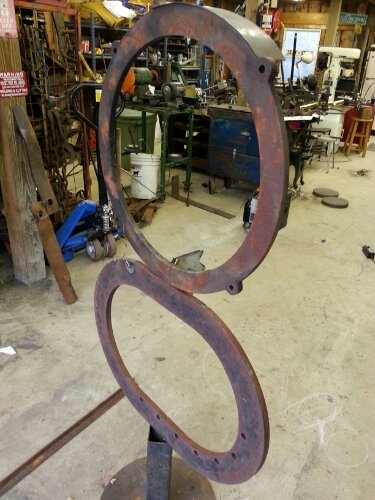
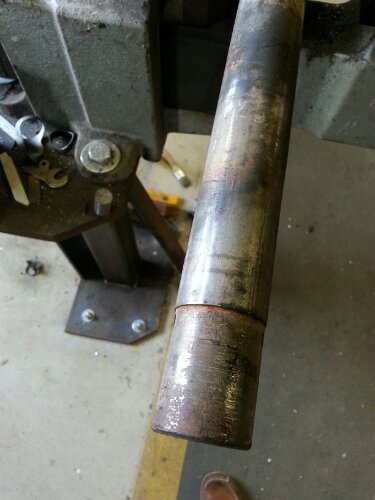
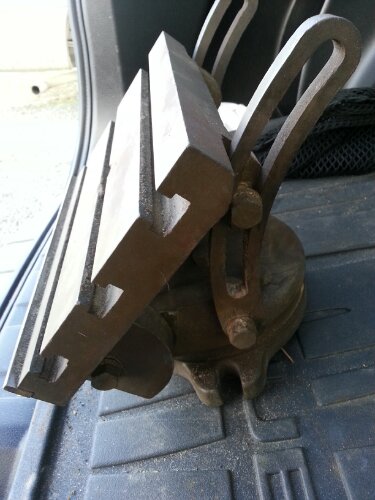
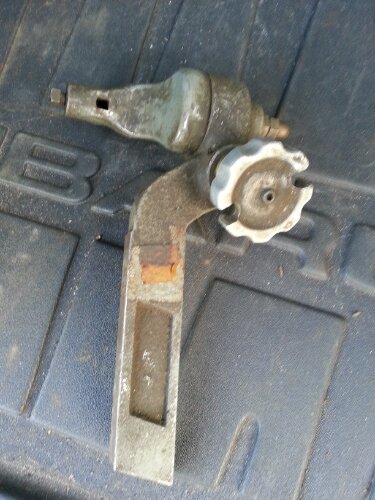
Finished up all the fabrication repair. Brazed the crack in the joint near clamp and brazed the hinge back on the clamp. Also got the adjustable clamp locking mechanism freed up.
Next step is to prep for paint and bring back to showroom standards.
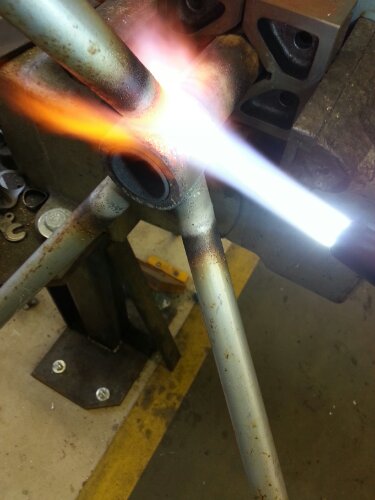
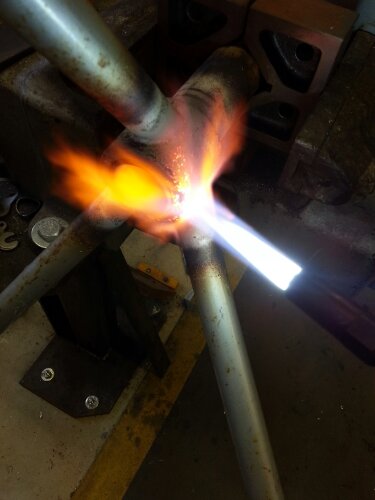
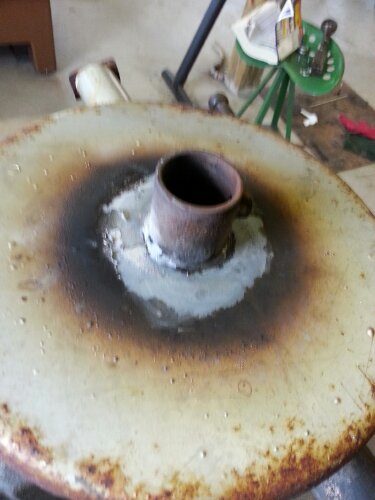
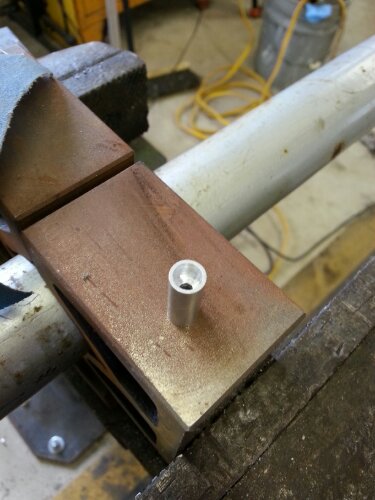
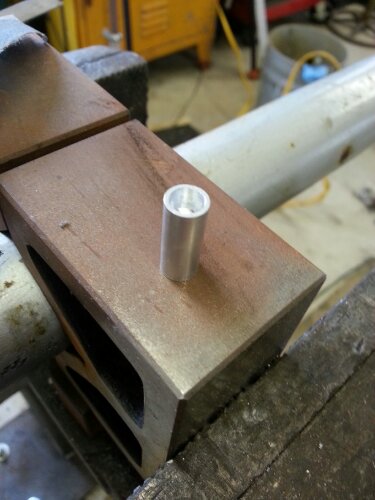
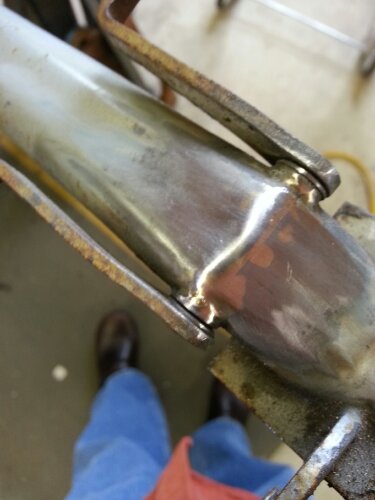
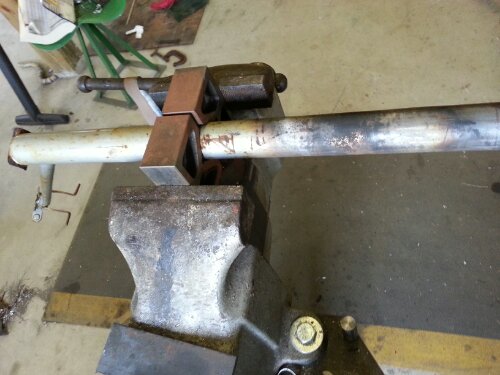 I have "un stuck" many a rusty joint but I am always still amazed when something is rusted solid and seemingly welded together falls apart with heat.
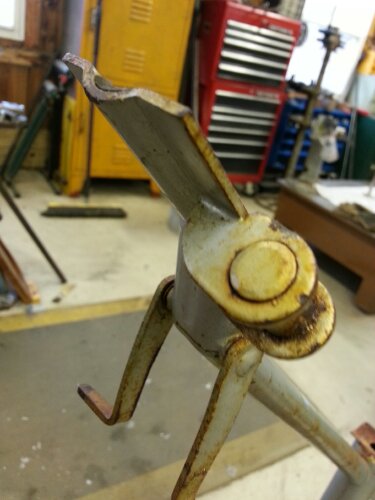
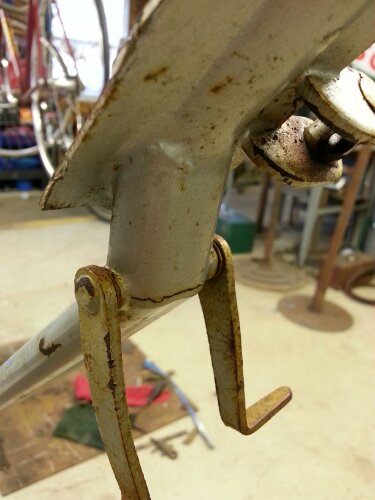
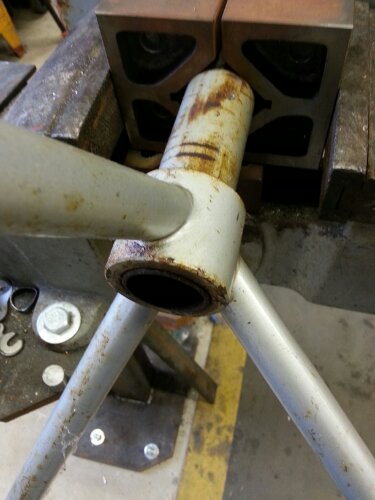
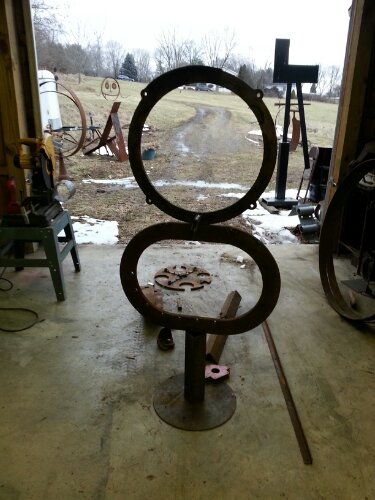
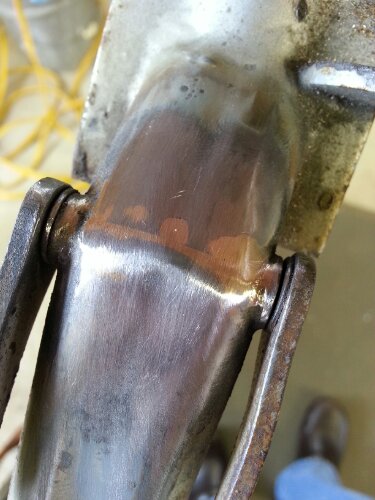
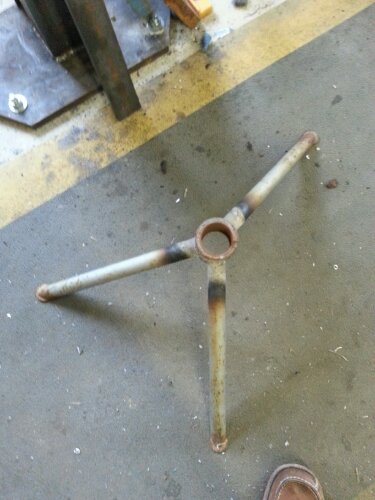
All the parts are together again...need to weld up the hinge and free up the rusted joints so it can be broken down.
read more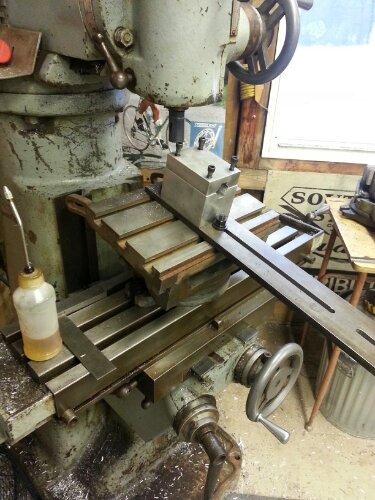
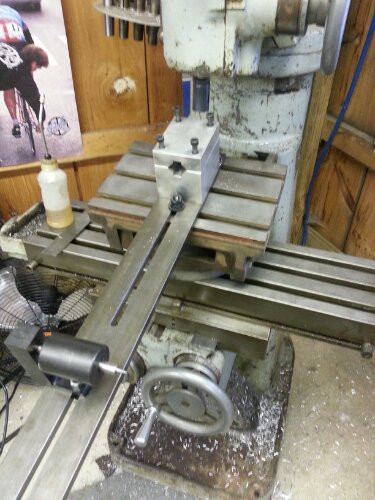
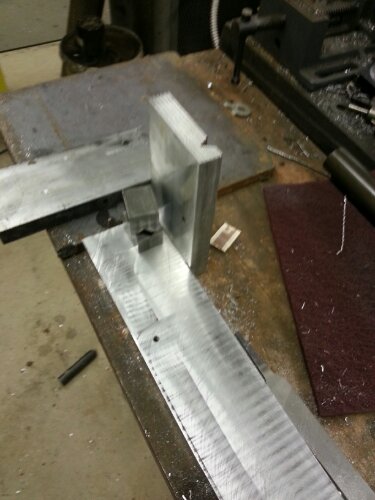
After making a few modifications to the jig I have it setup on the tilting table. Did a couple of practice cuts and all went smooth.
Next up I will work on tube length, alignment and angles.
read more
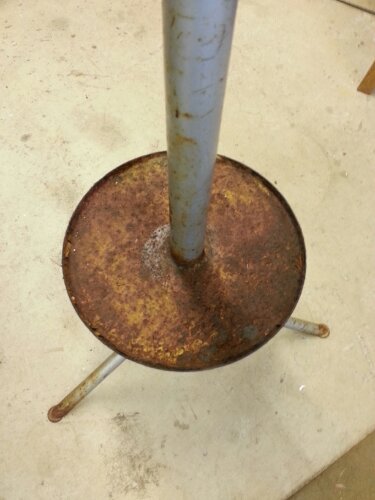
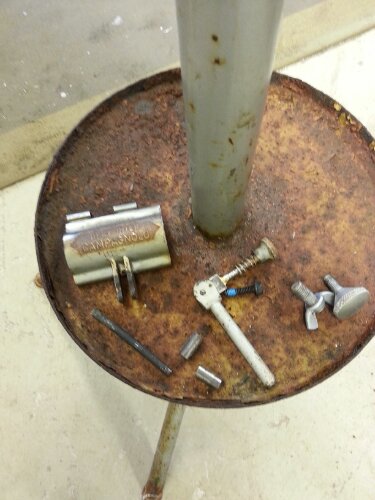
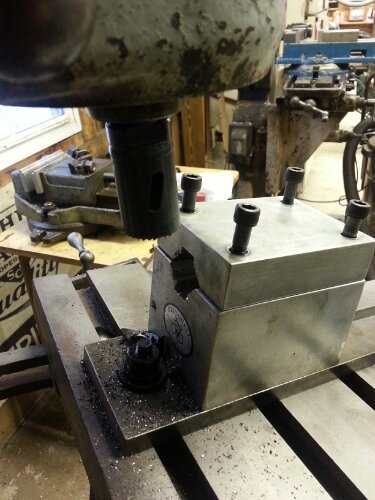
It has a lip screwed on to the base I need to remove...frozen/stripped screws. EZ Out in my future.
Ordered assortment of t-nuts and such so should be able to attach this weekend. Goal to have Bringhelli jig mount by end of weekend.
read more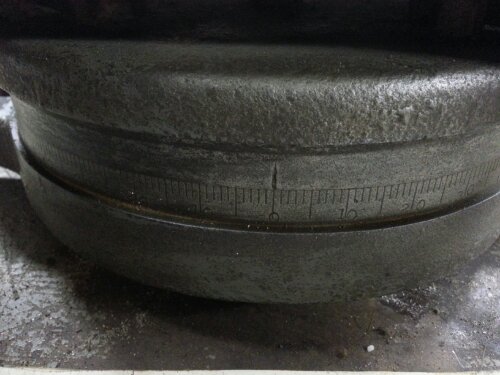
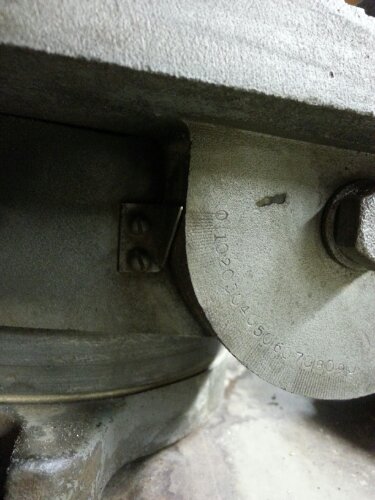
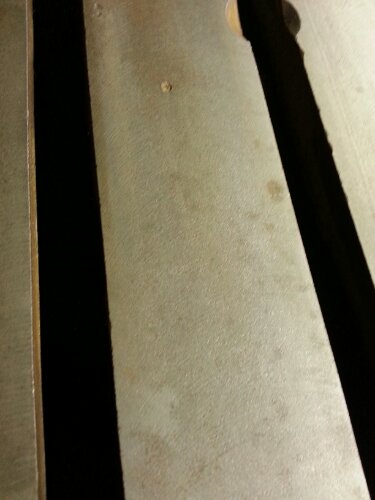
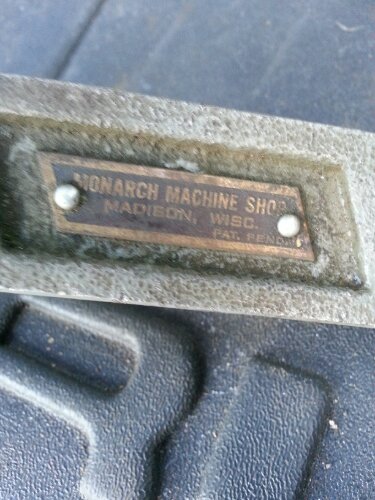
Could not help myself..did a closer look at the table and took a few more shots. Can not find a mark on it bit appears to be very well made.
As expected the radii tool from previous post is too big for my lathe...solution...start looking for bigger lathe:)
read more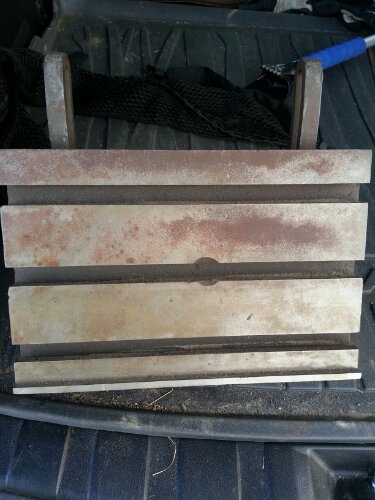
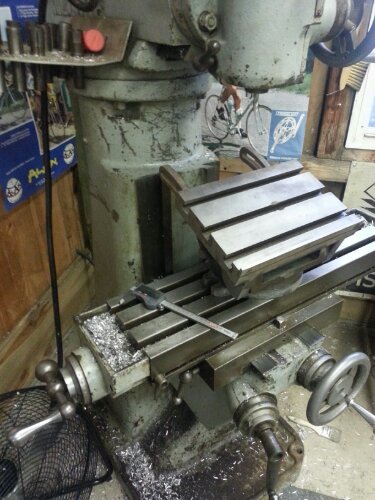
A few finds from Dempsey and Co visit this morning. Needed a tilting table so that worked out well. Convex radii tool was a bonus althought not sure fits the lathe yet. Will try that out later.
Tilting table is a nice 12x8 with what looks like a swivel base. Will clean it up and post updates.
read more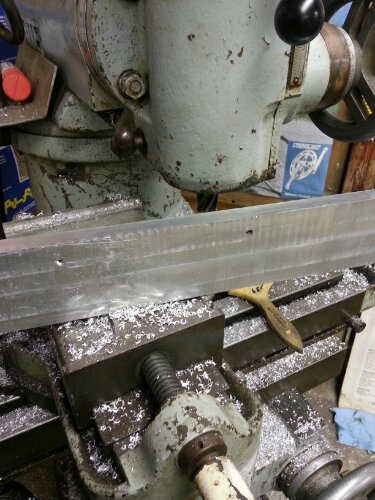

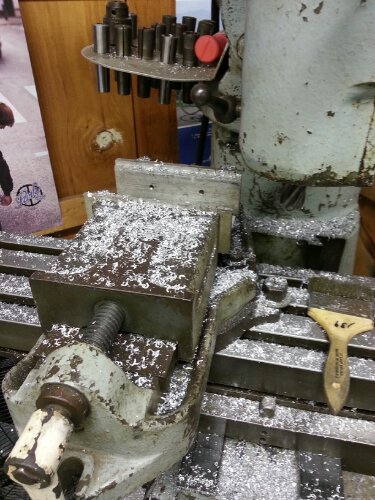
Looks like snow inside and out today. Did a fair amount of squaring on the mill today. Used fly cutter and an end mill. Still getting used to fly cutter ... getting bit ground right has been most of the challenge. Mill size a bit if a challenge as well.
read more