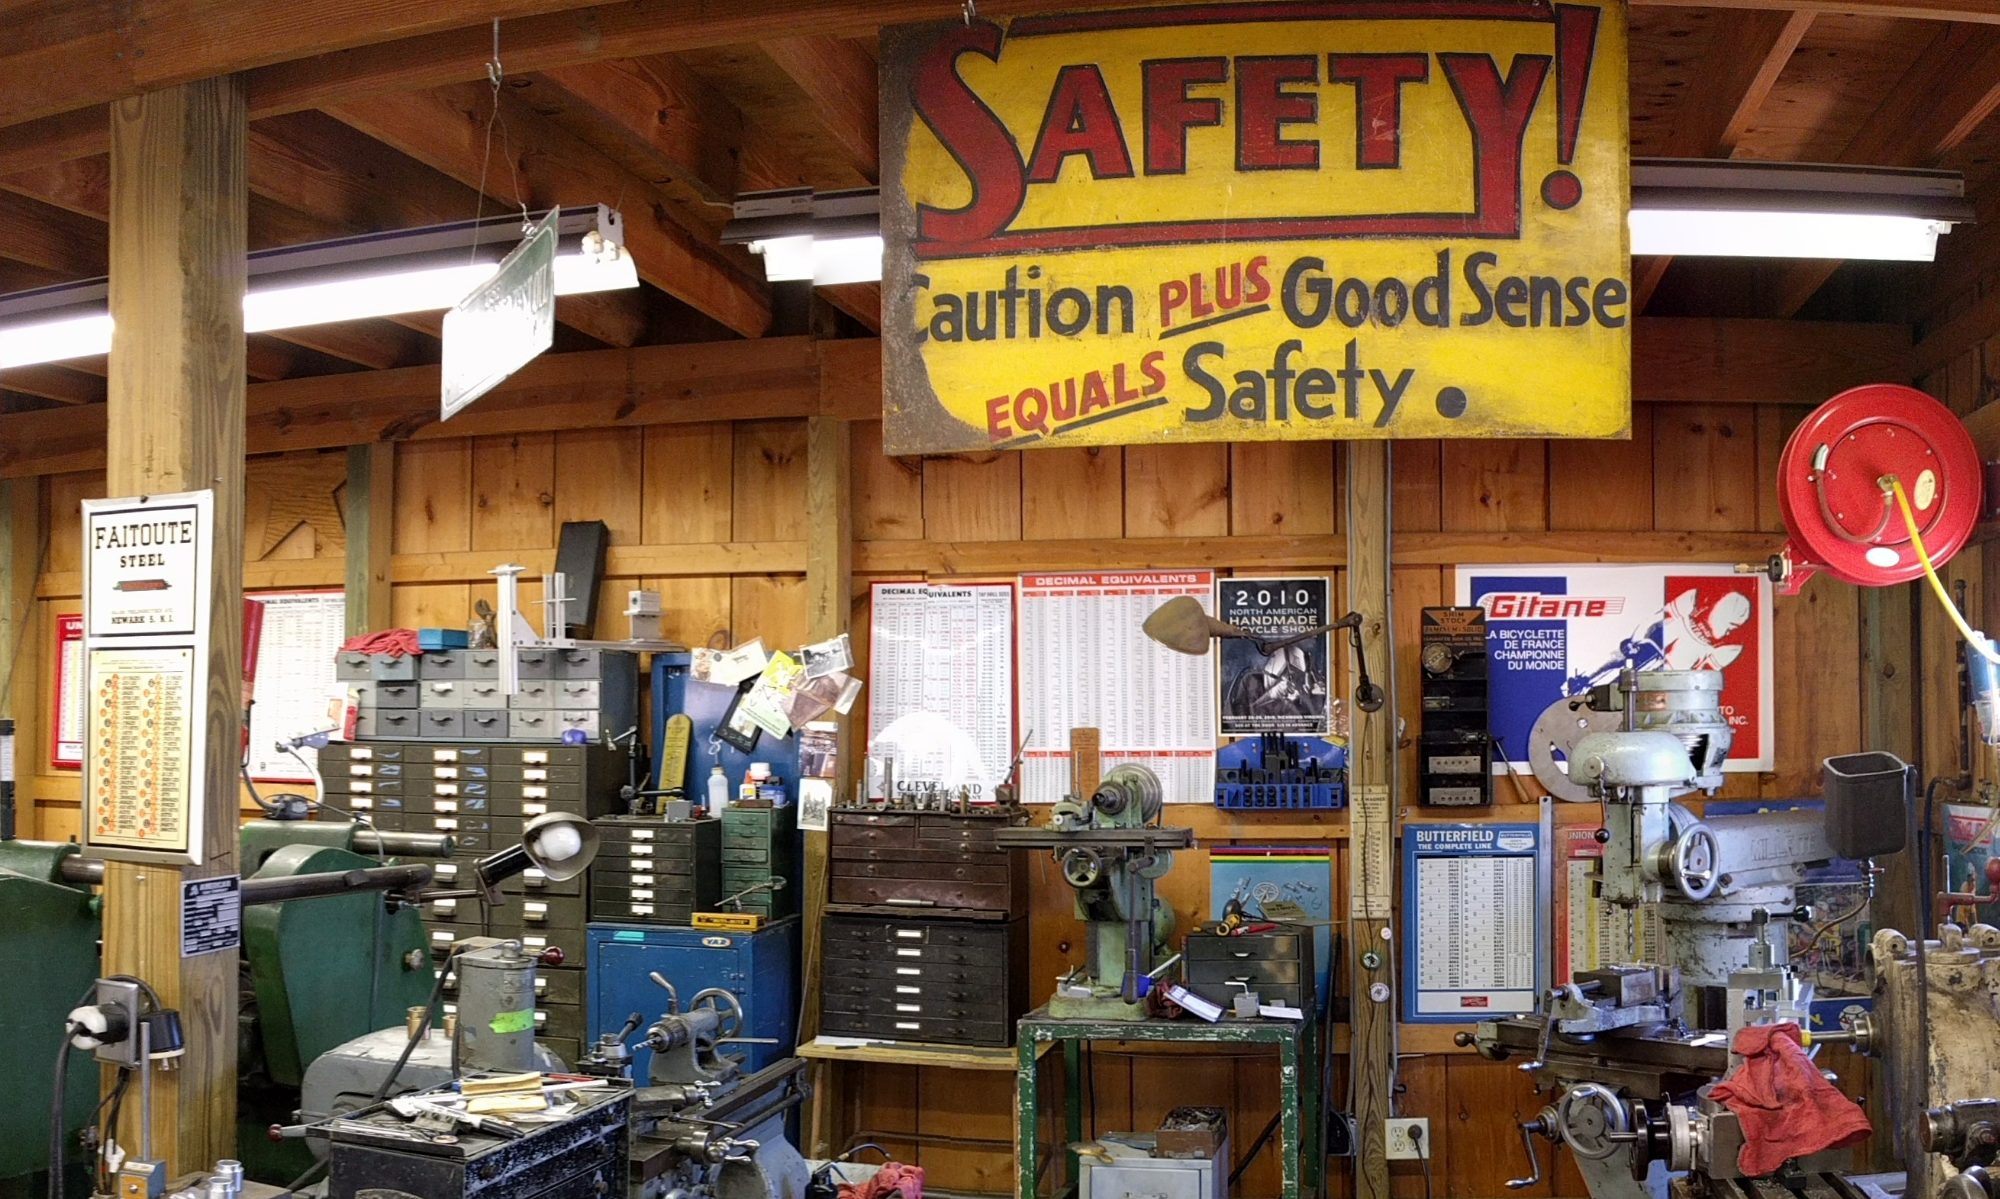
Ordered replacement belts based on existing belts. Easy enough when you can still read the old belts…B83 x 3.
What I did not factor on is how poorly installed the existing ones were. Slack was completely taken out of adjustment and spacers under the motor mounts. Removed all that nonsense and reordered some B86s so I can have room to adjust.
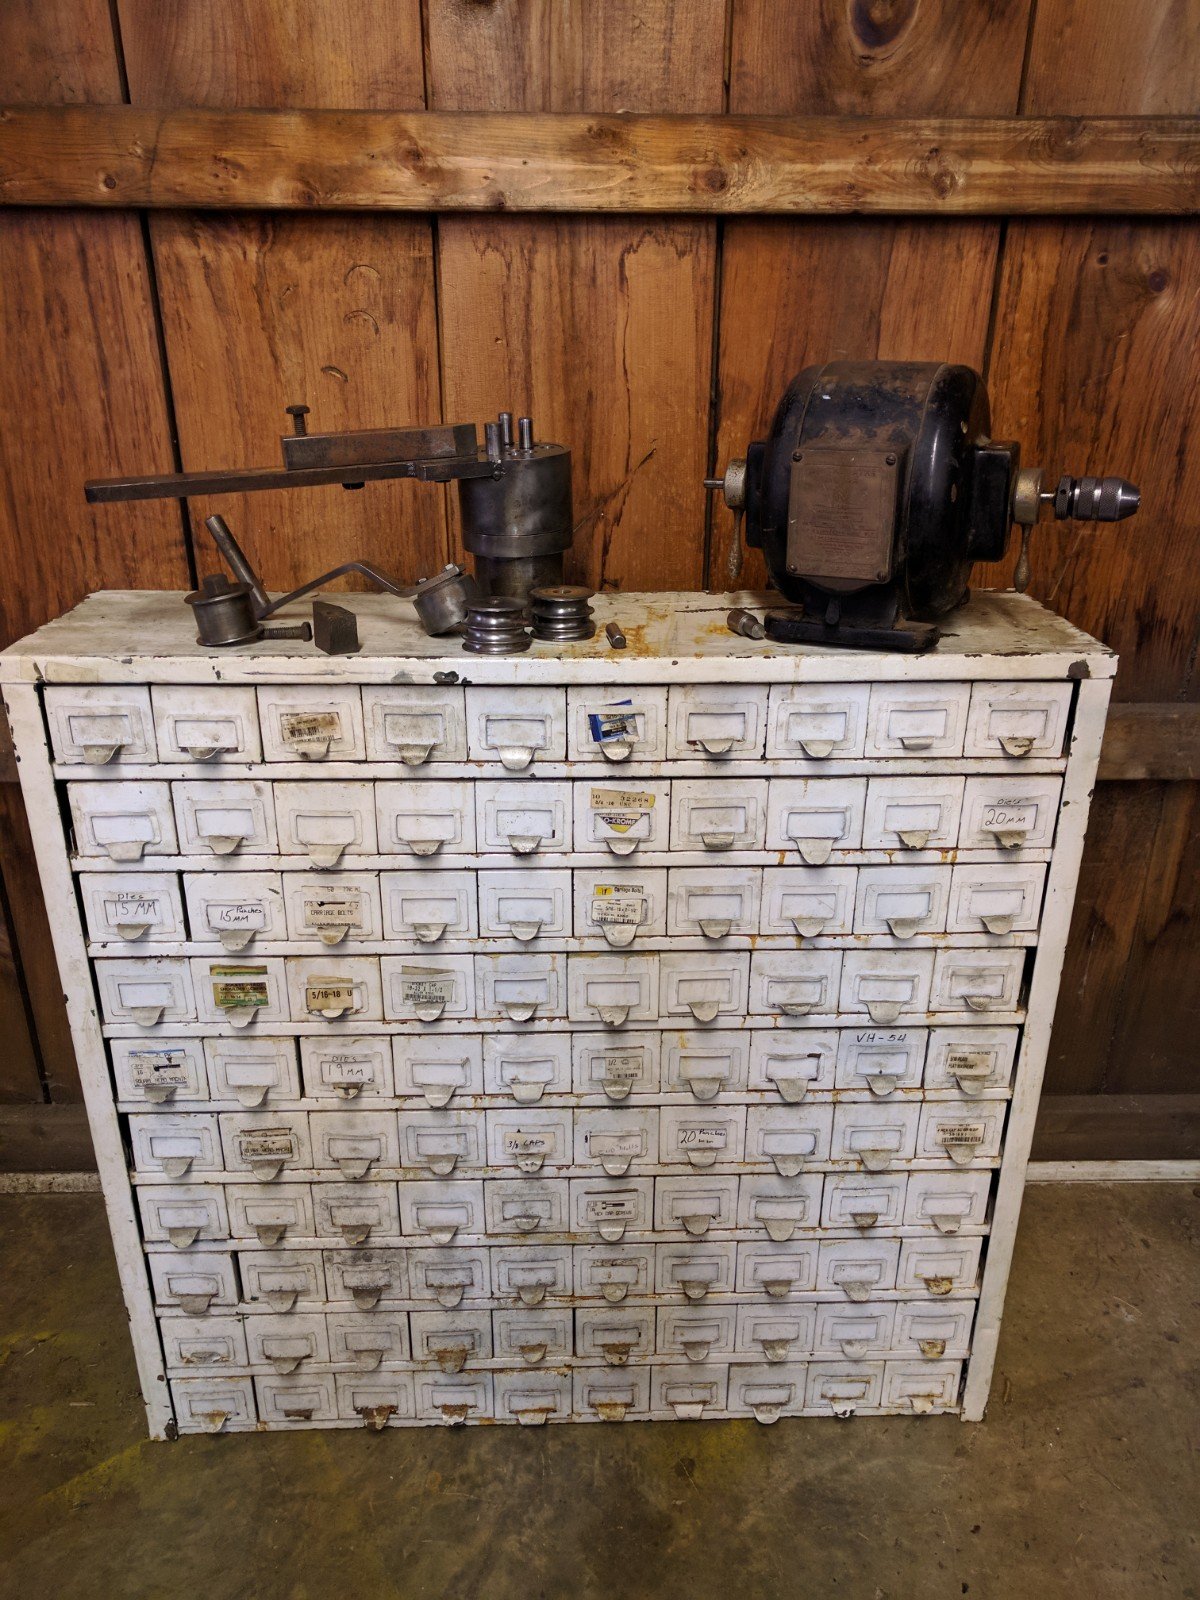
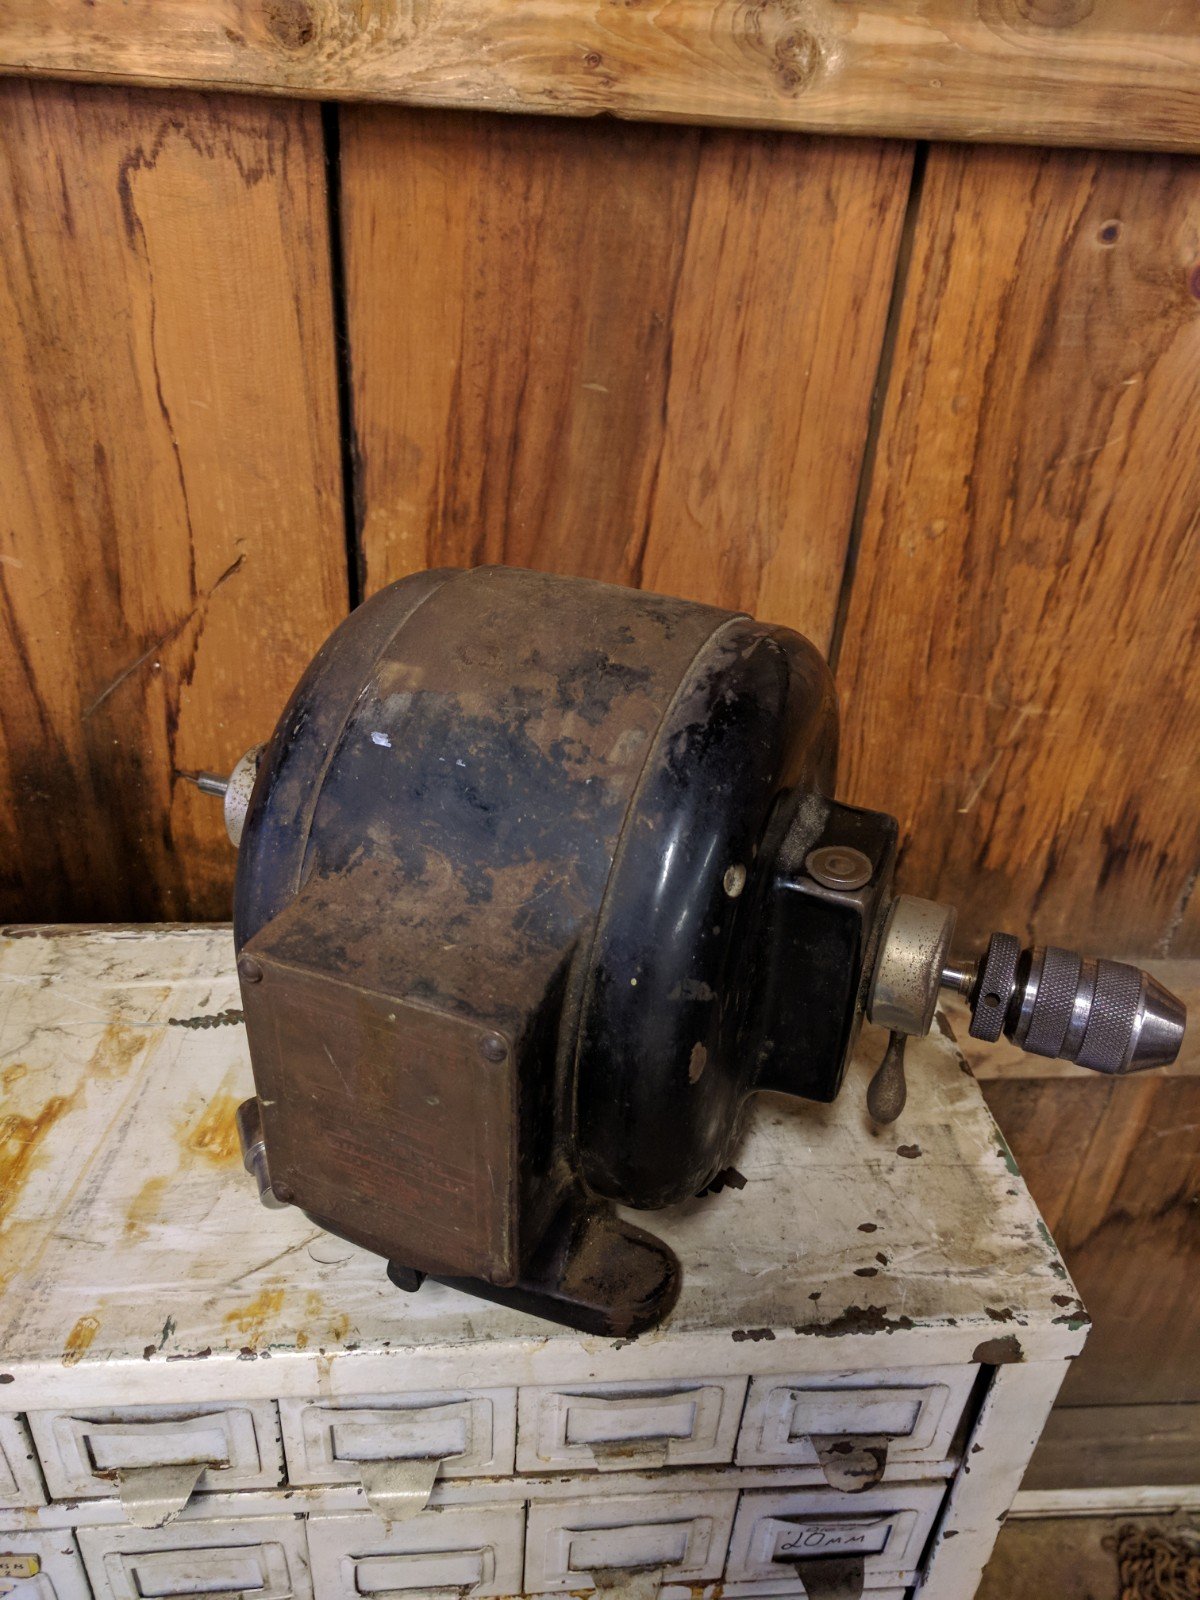
Motor appears not original of course but reinstalled after cleanup of all the motor mounting apparatus.
Old Cracked Belts 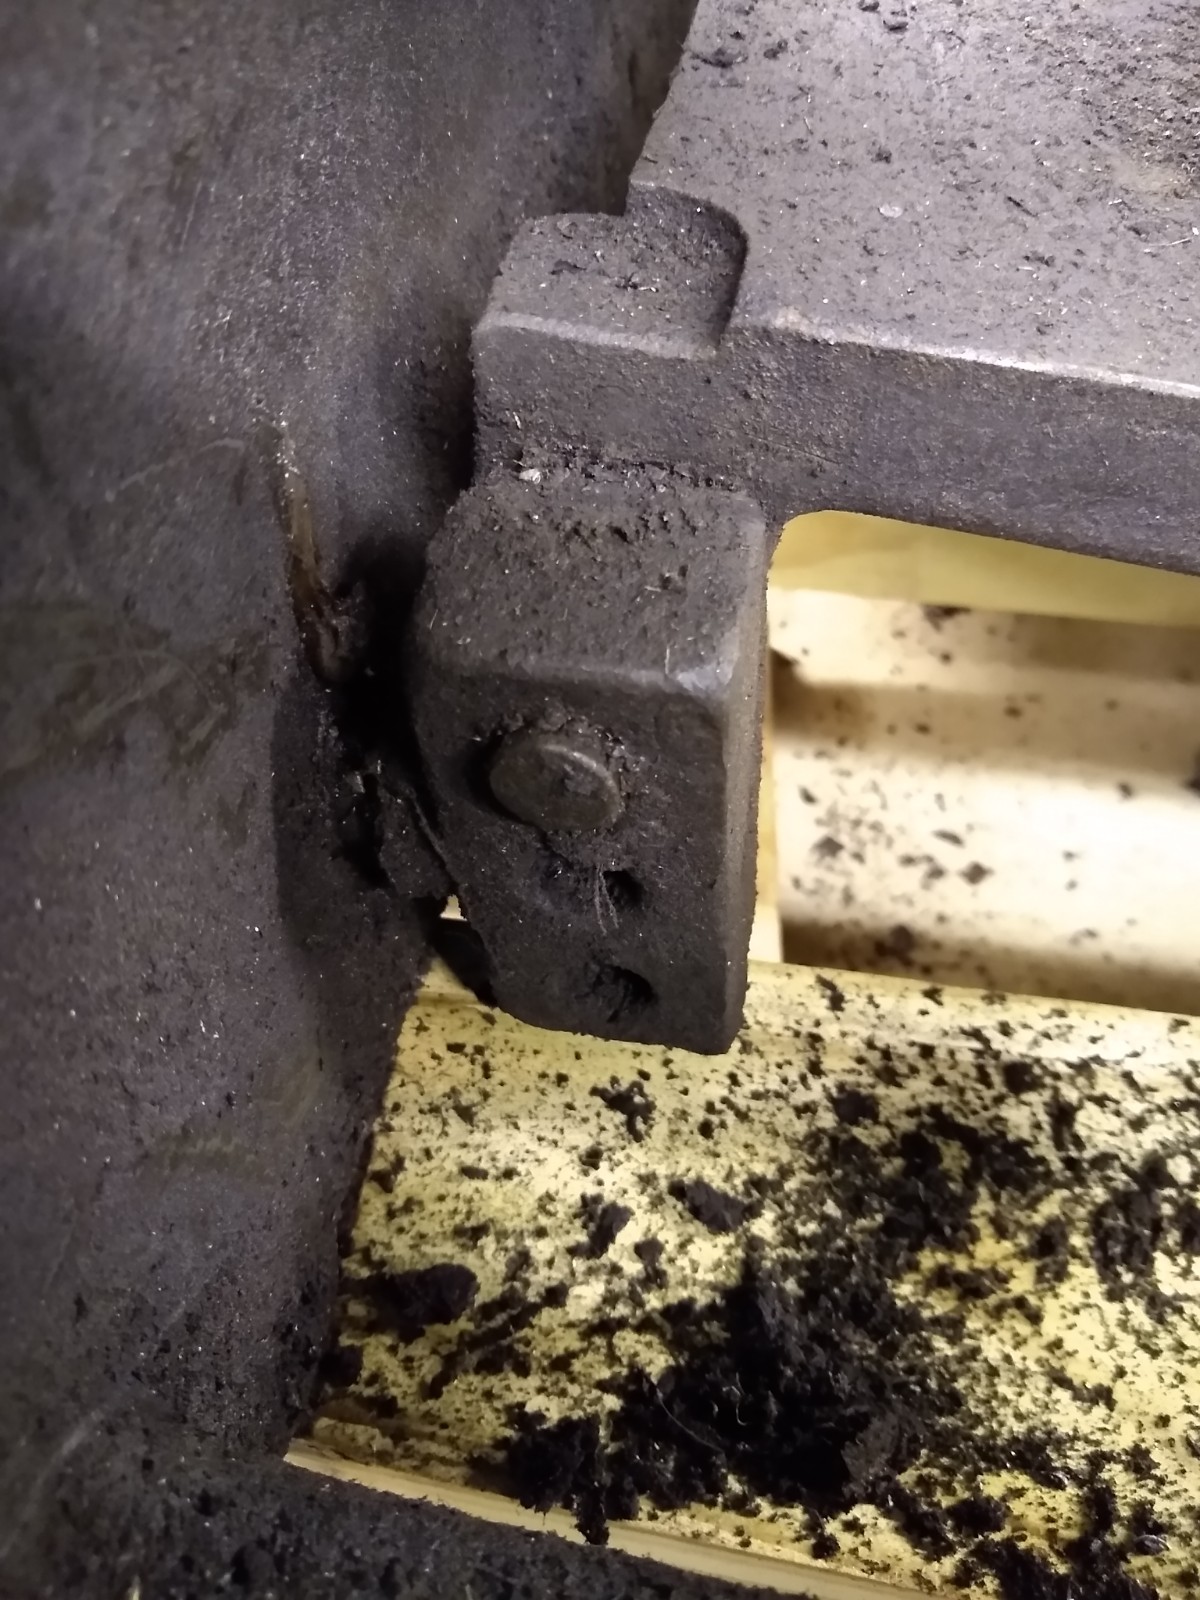
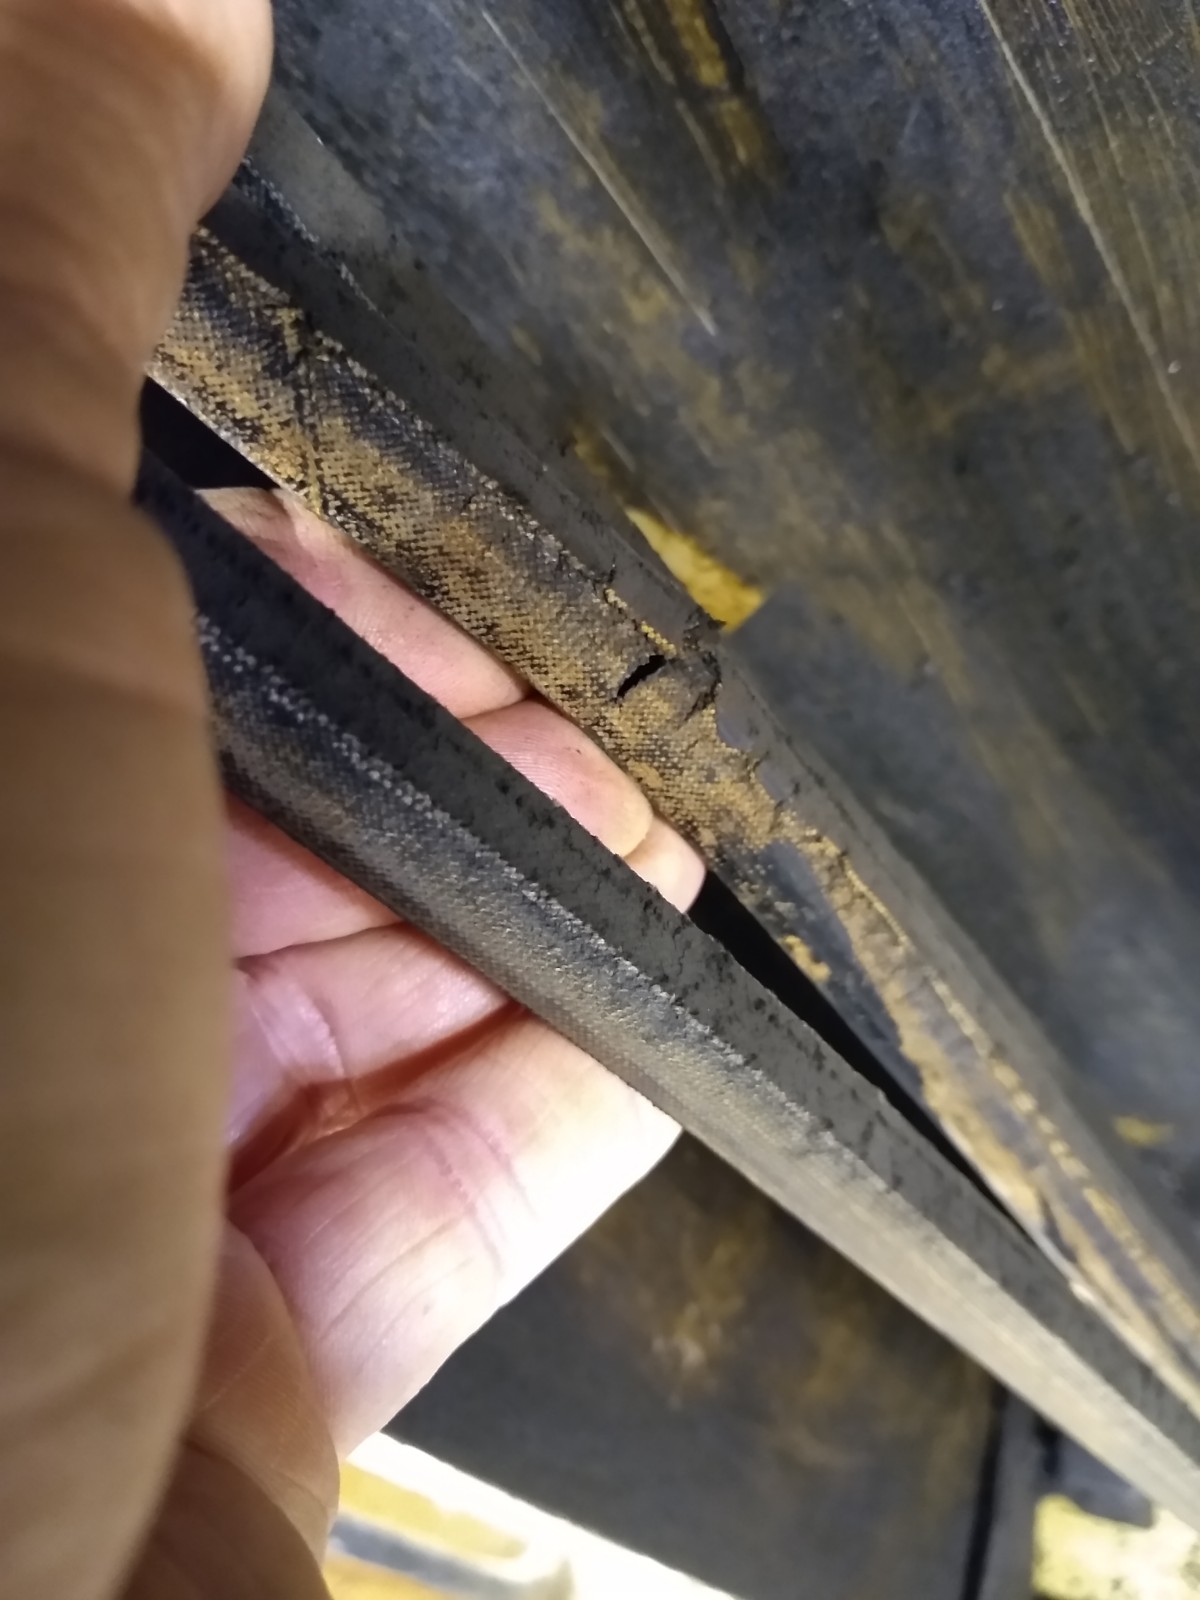
Plate Bracket As Found 
Motor Removed via Pallet Jack 
Motor Out 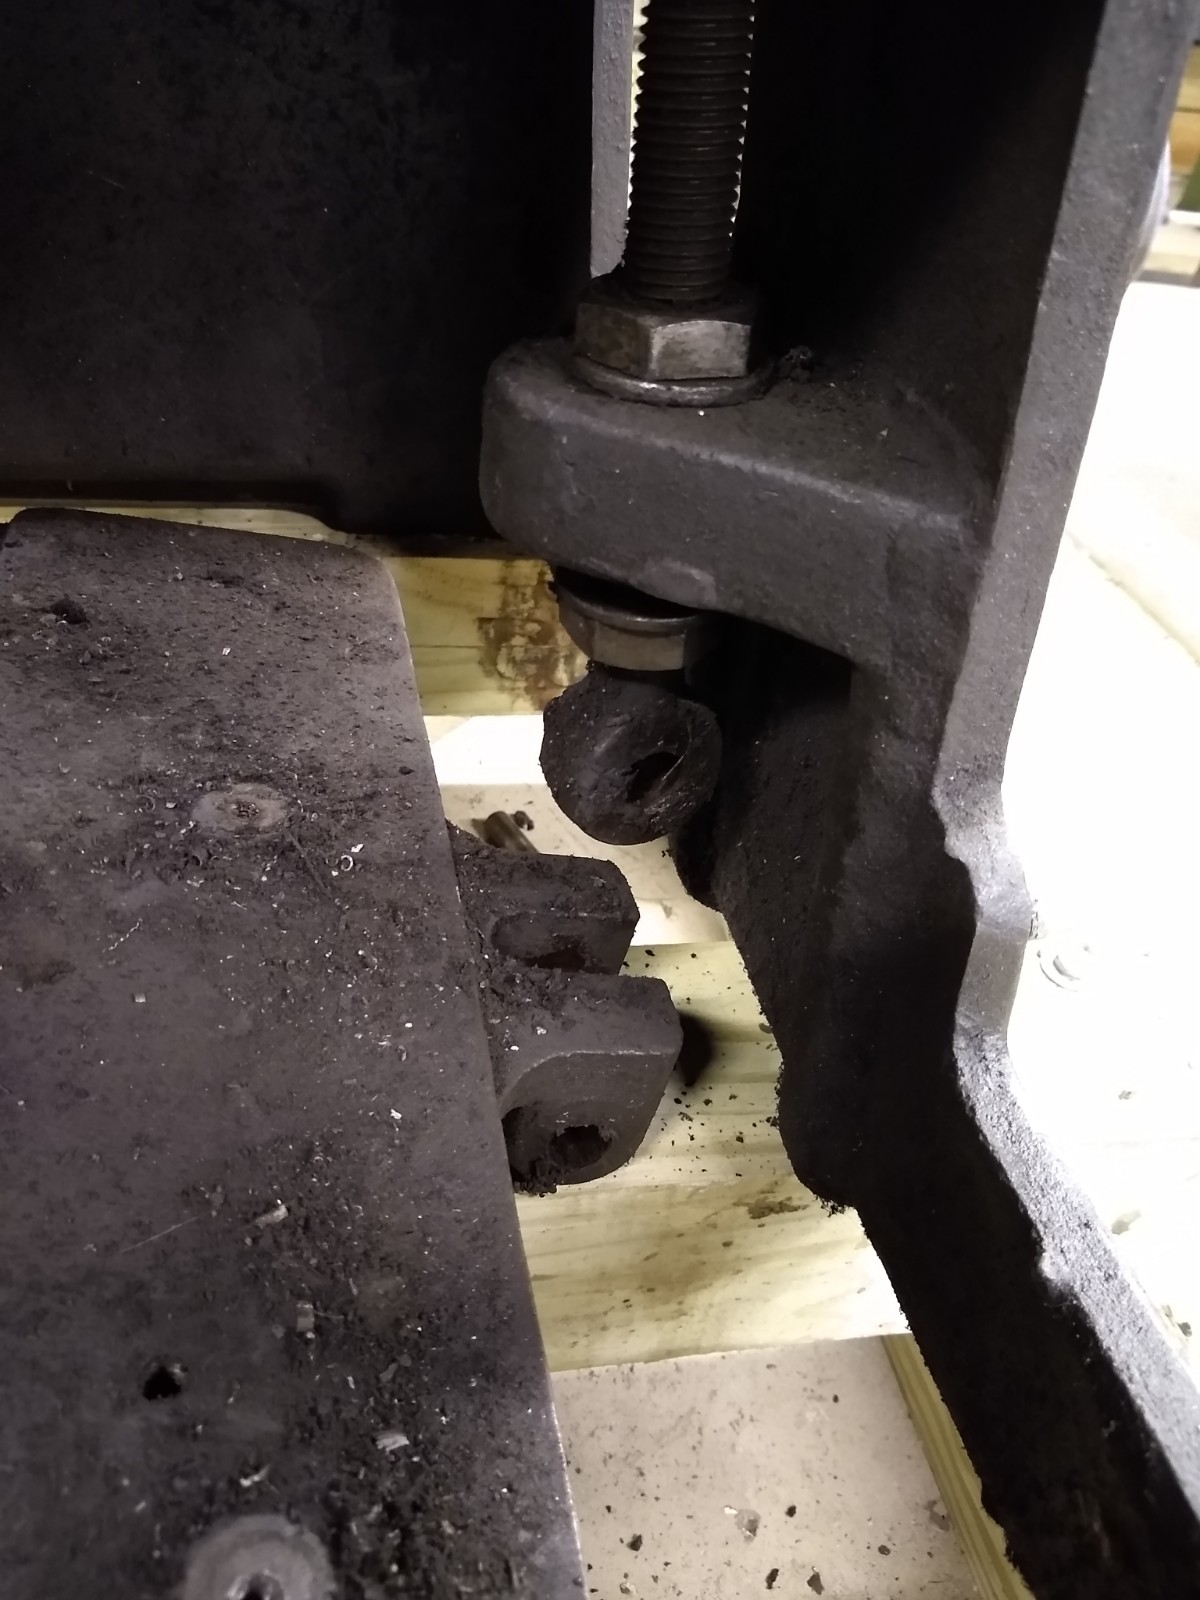
Adjustment 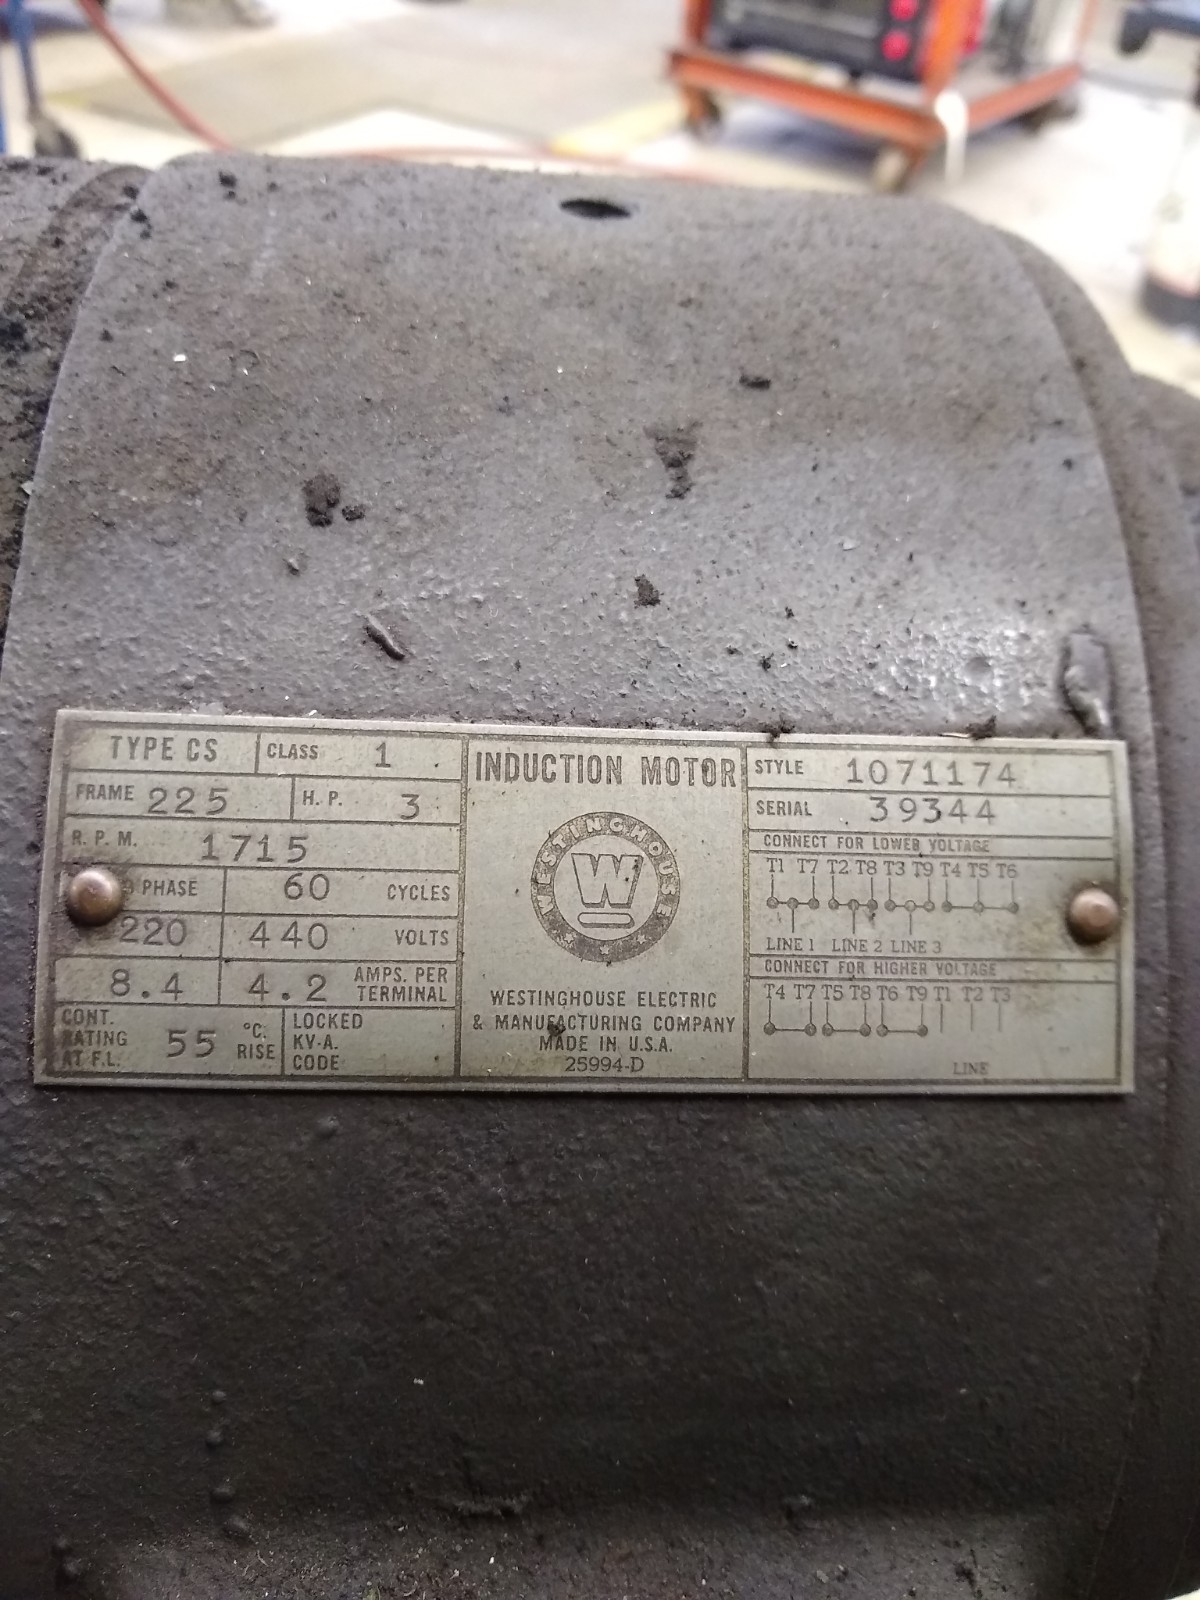
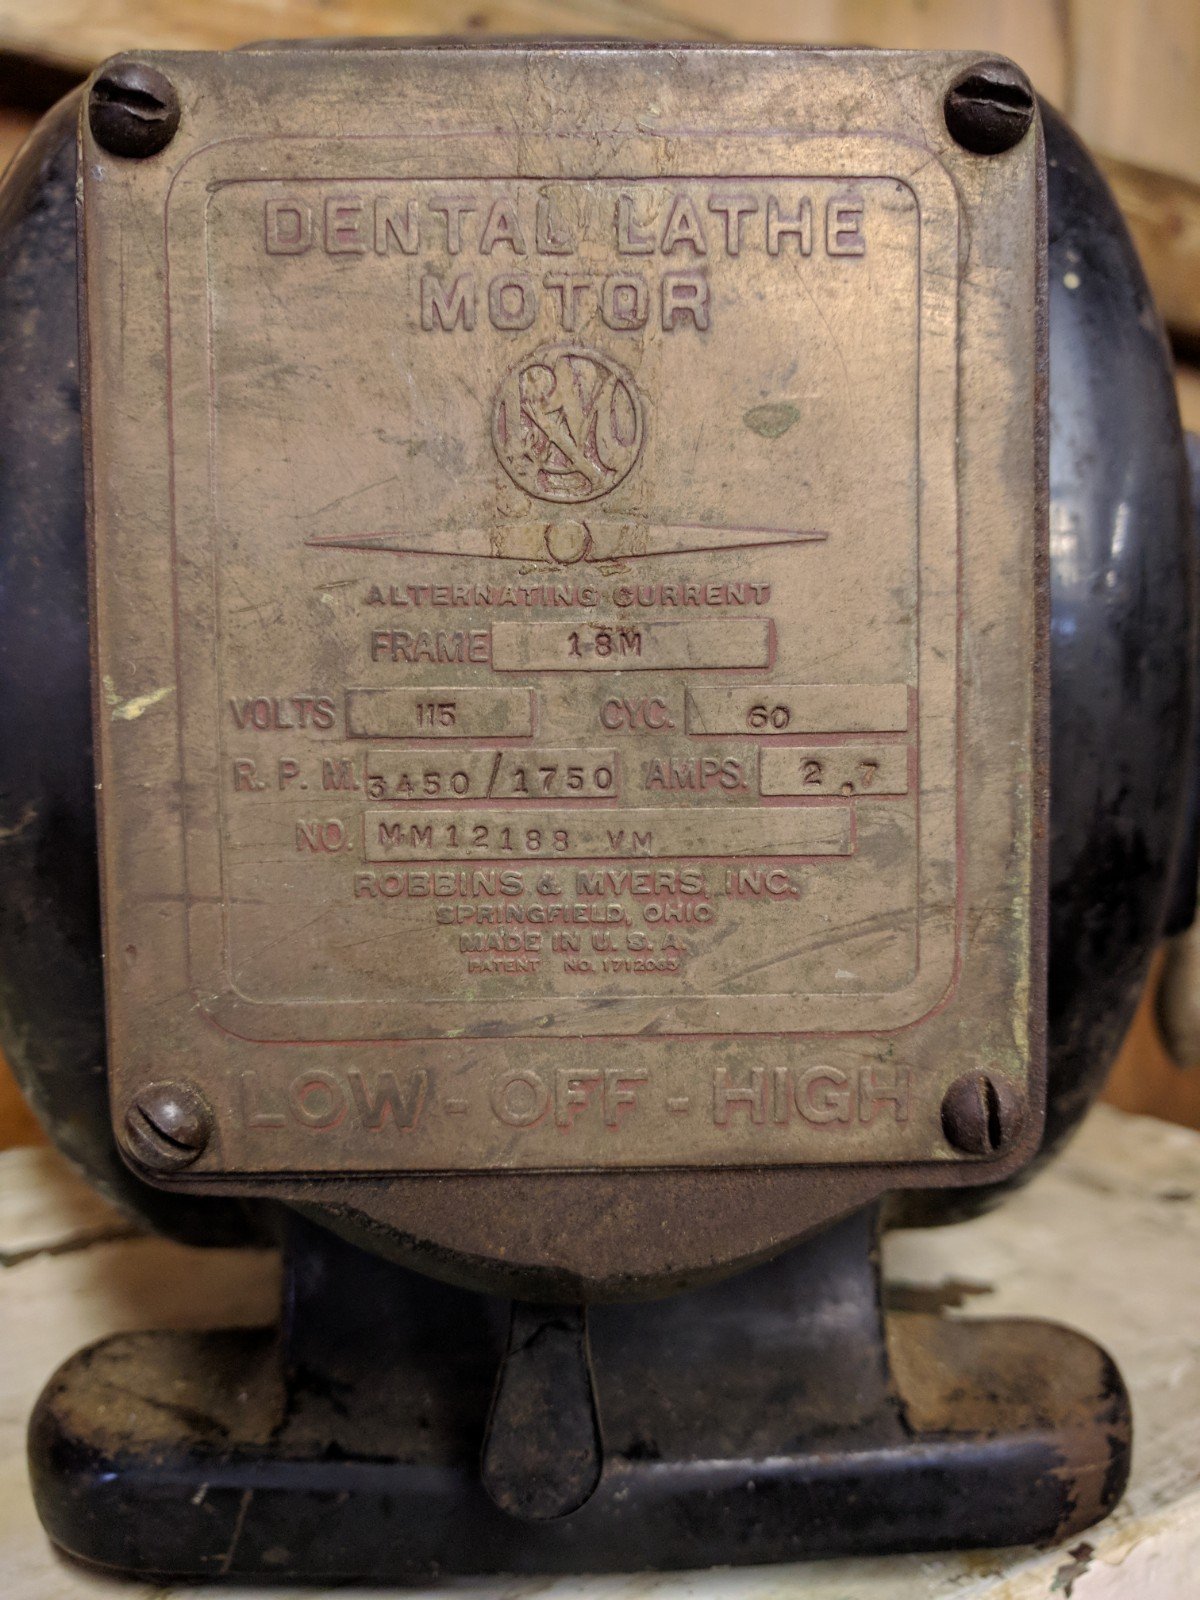
Motor Name Plate 
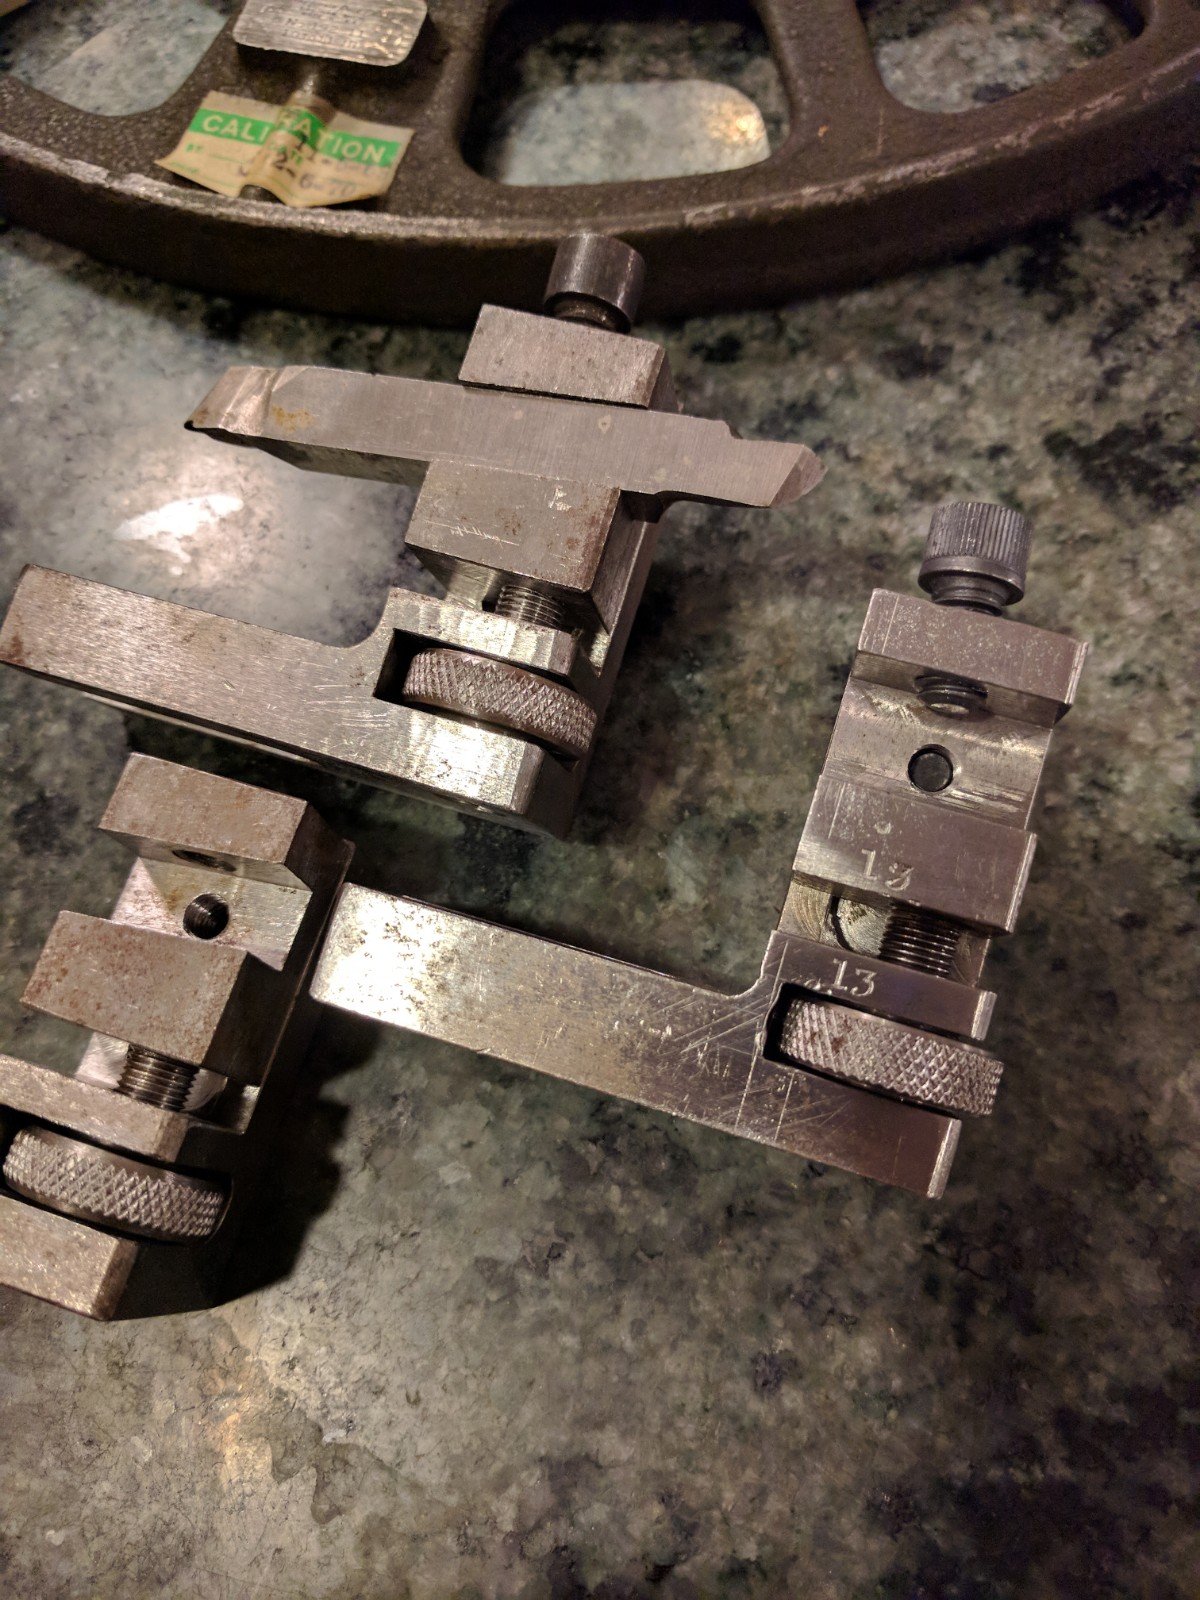
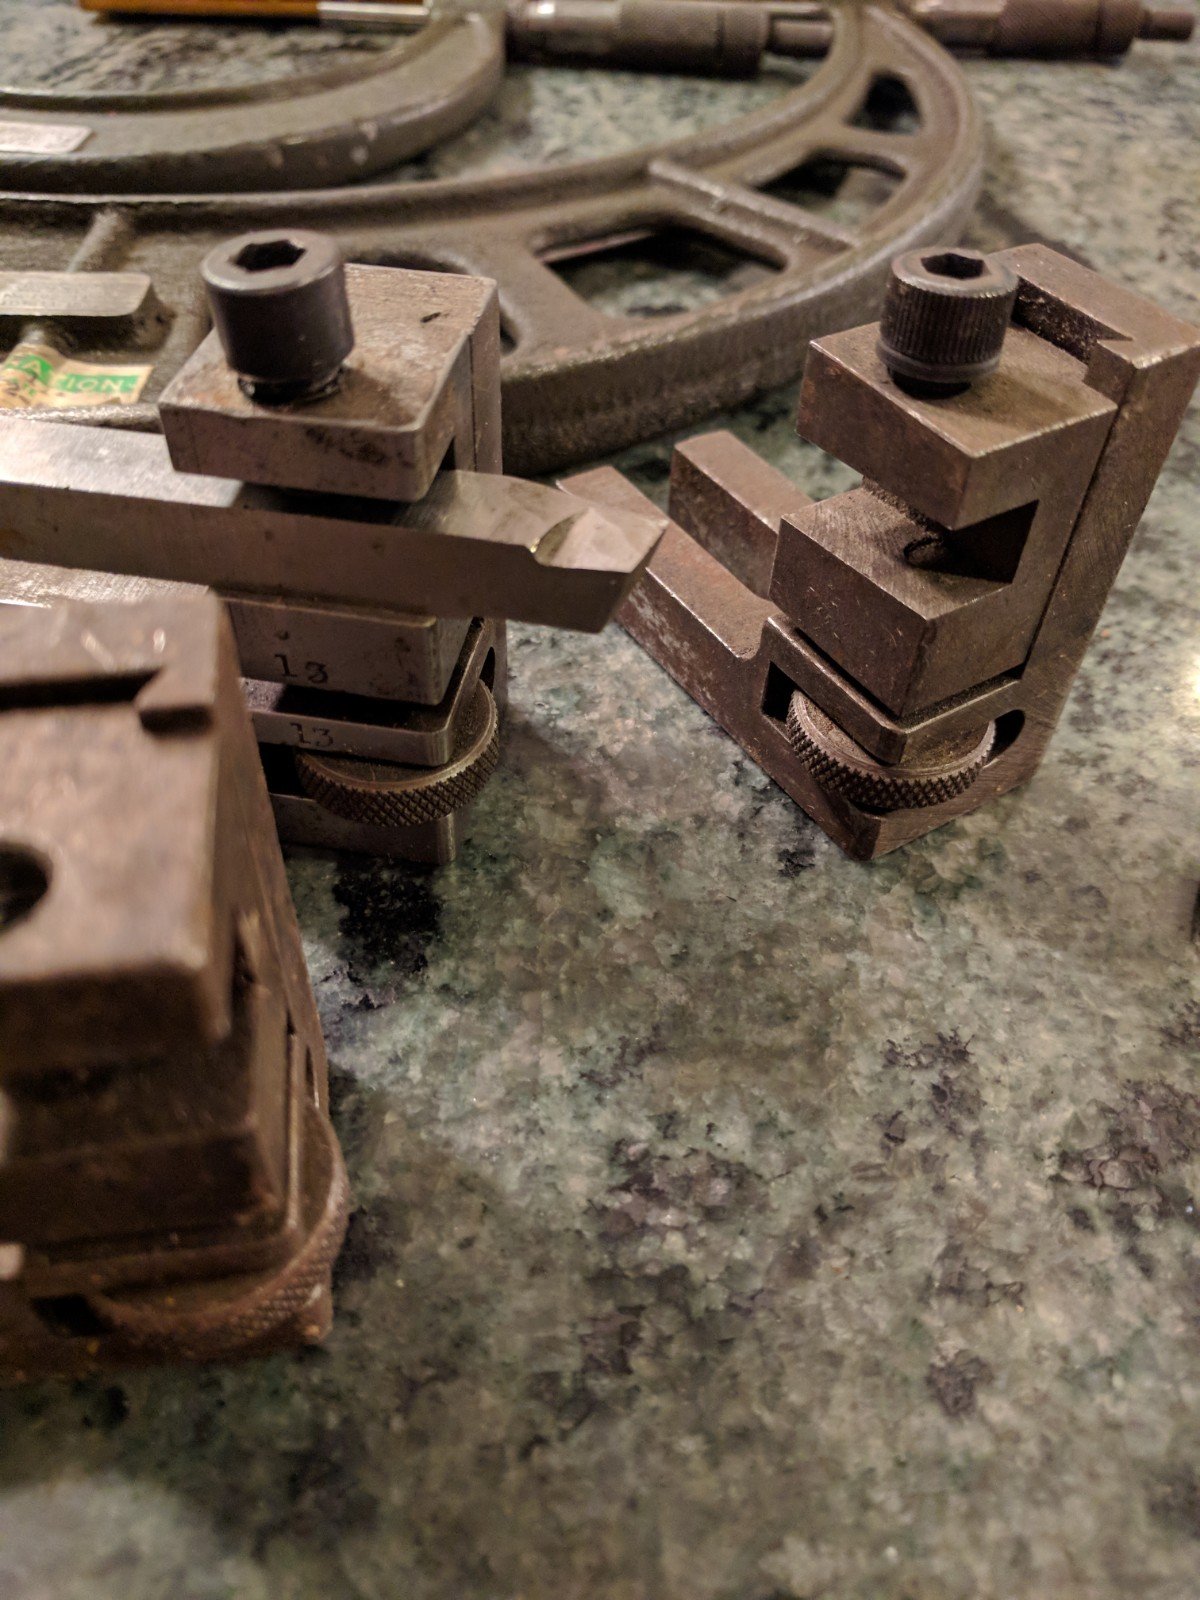
Floating Base Plate Brackets Cleaned Up 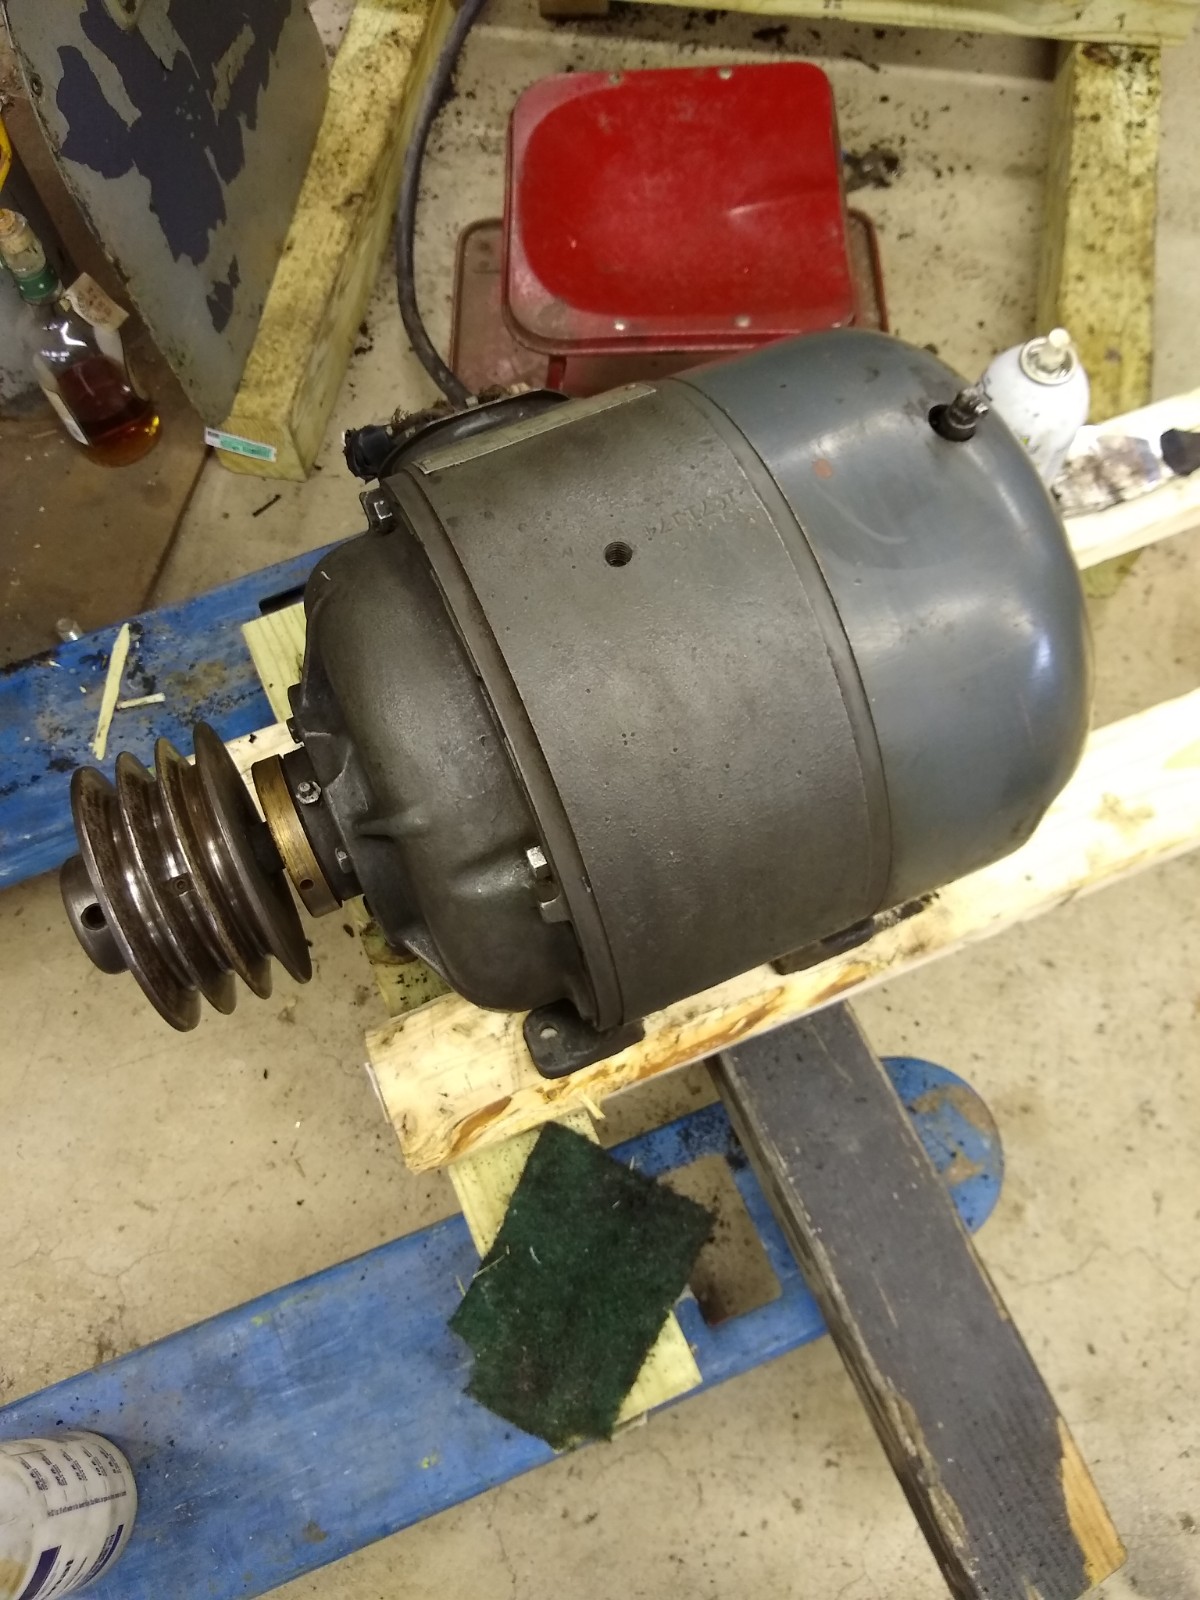
Motor Cleaned Up 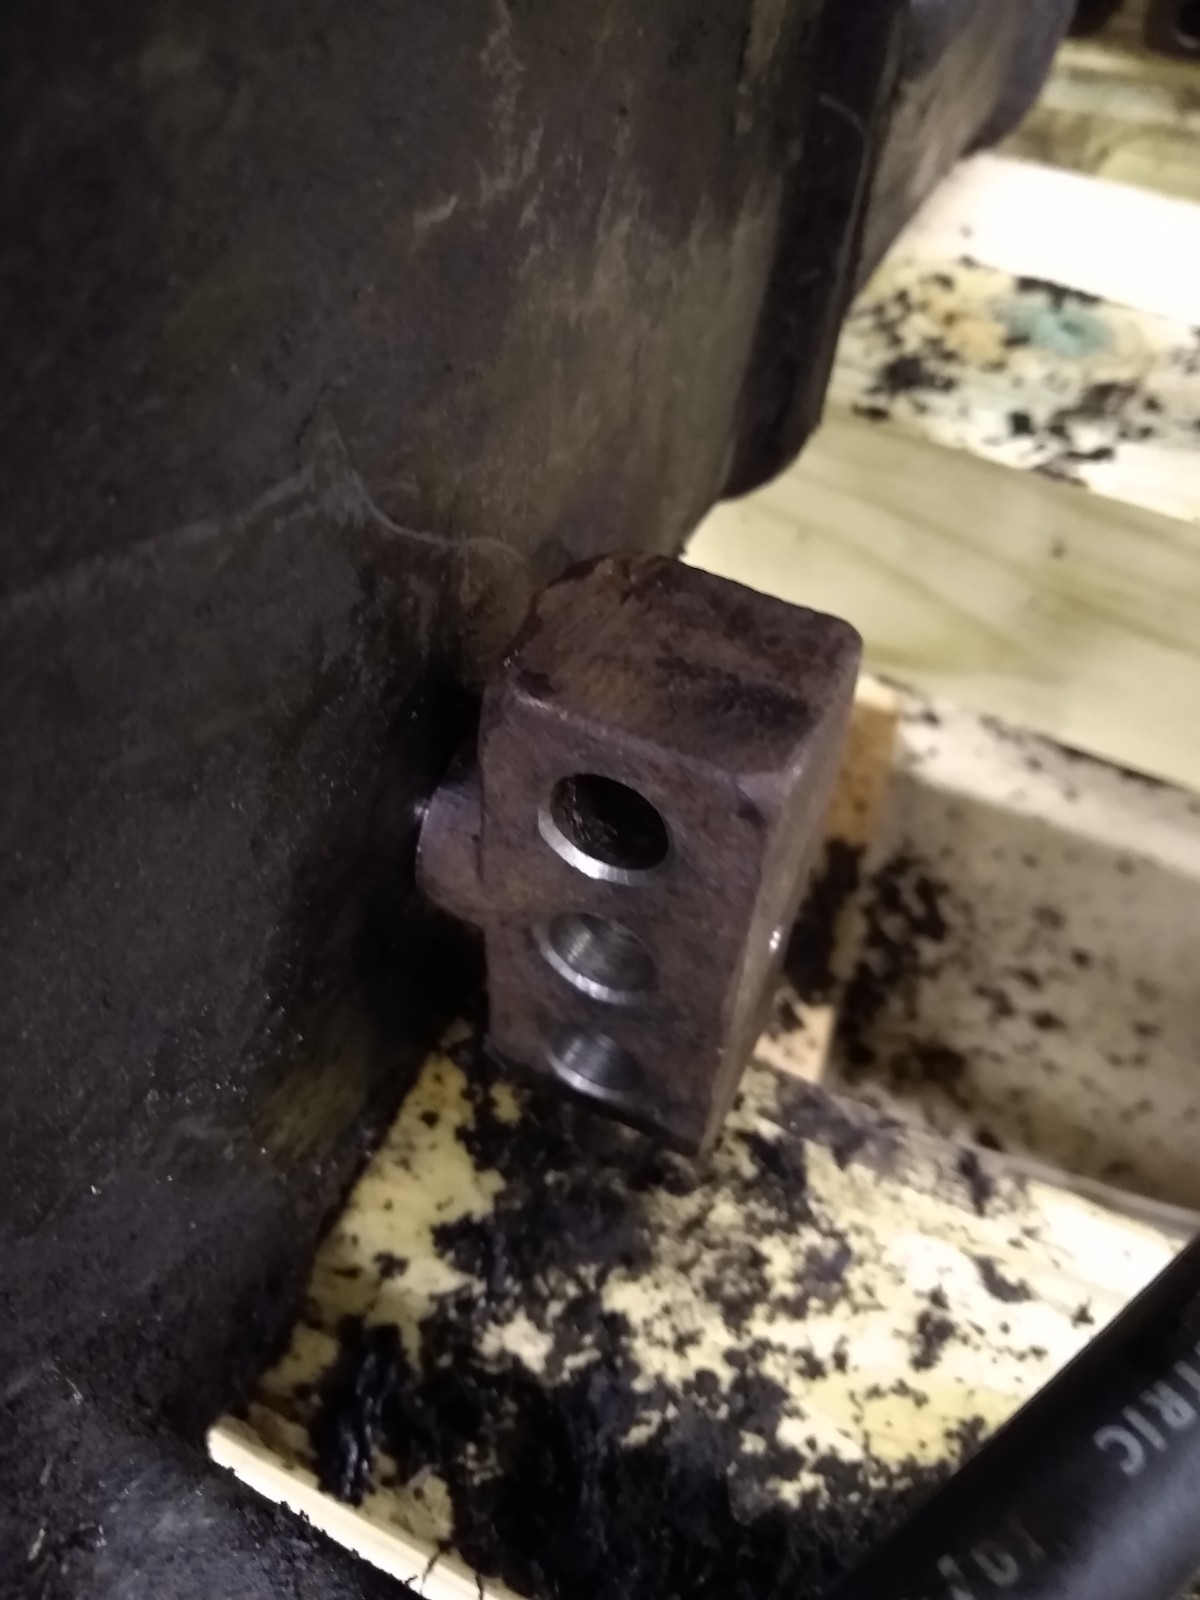
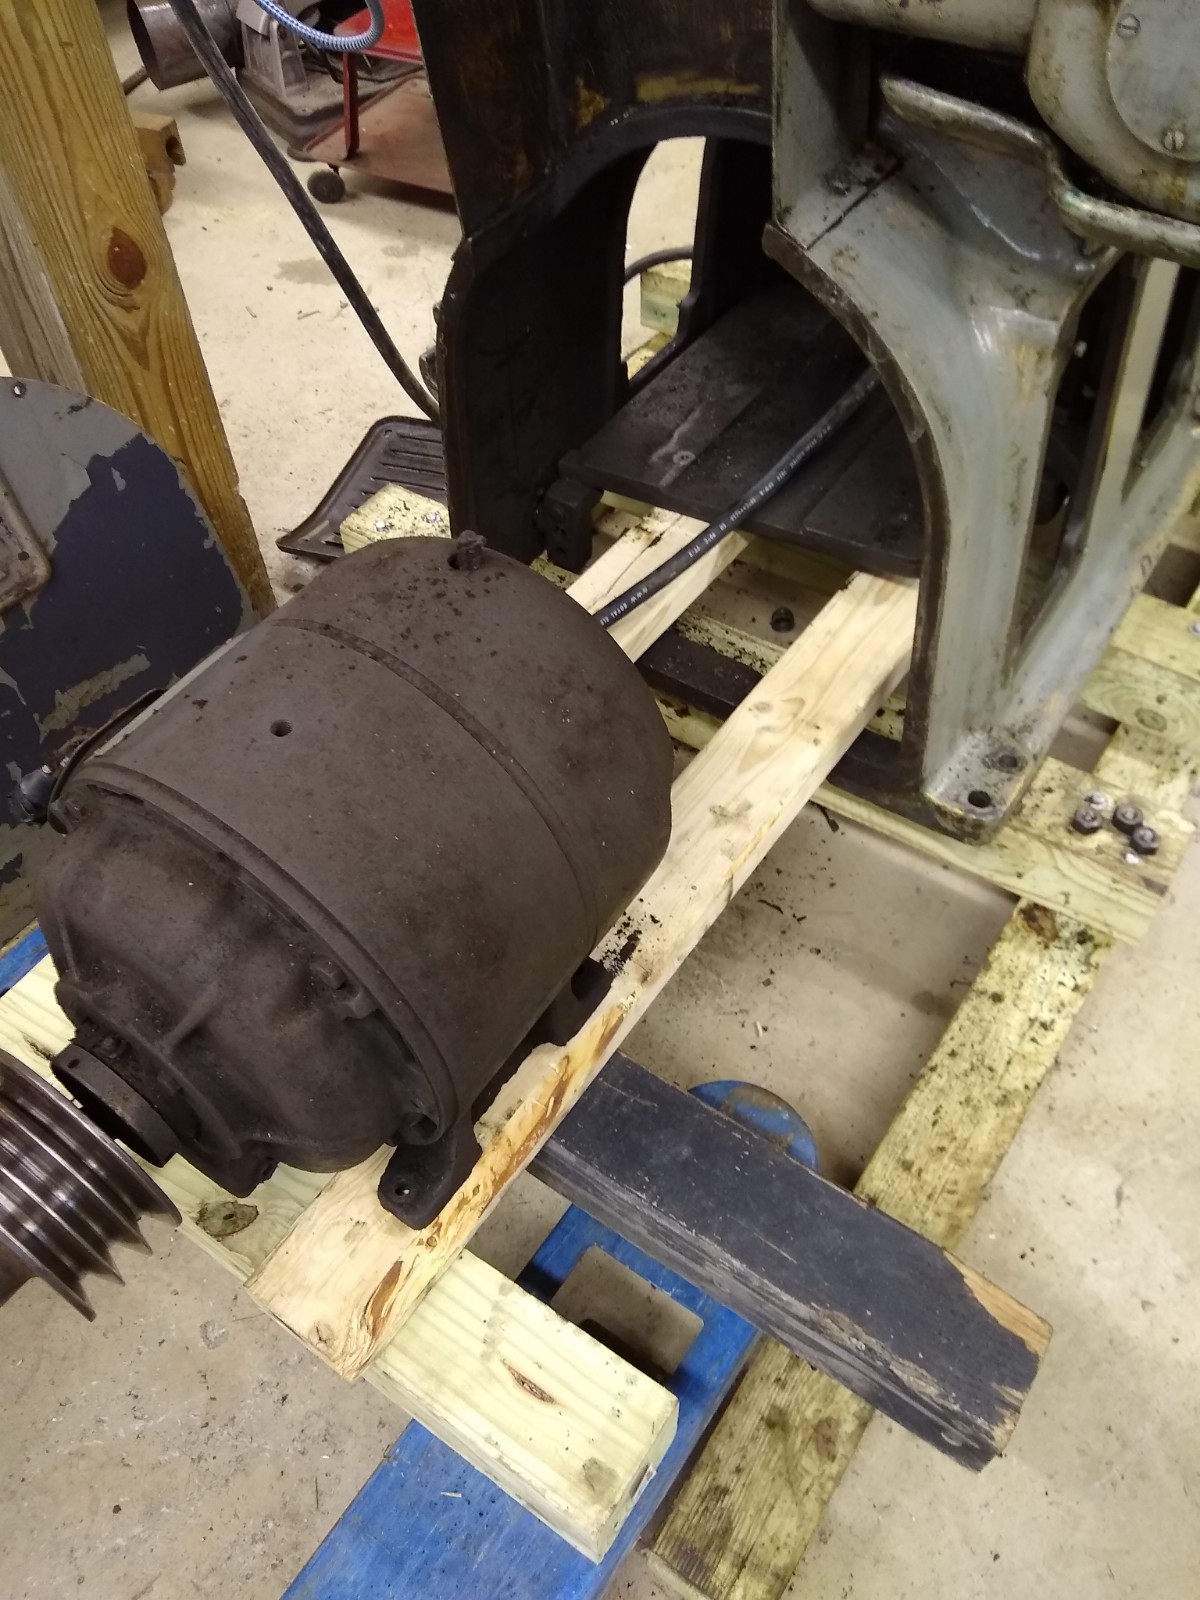
Plate Bracket Reinstalled 
Restricted Air Flow
More pics coming of reinstalled motor and belts once the belts get here.